Version: Yurbi v11
Role: Agent and higher
Permission:  agent with view permission or higher
The Dashboard is your interface to view your reports as widgets. Each widget can have specific filters applied.
Please note that the images shown in this guide are for illustrative purposes. Actual fields, names, and settings depend on the organization and the individual user.
Getting Started
If you have not previously created or favorited a dashboard, your home screen contains a call-to-action message to create one.
Click on the drop-down arrow icon located in the upper left, beside the default dashboard name.
 1-84NUYVls.png)
The dashboard menu will appear displaying your favorite dashboards with a Create Dashboard button at the bottom. Click on it to start crafting your unique dashboard.
 2-16cWdEH8.png)
Creating Your Dashboard
You will be directed to the Dashboard Wizard. Here, you will enter your new dashboard name, a brief description, and optional configurations.
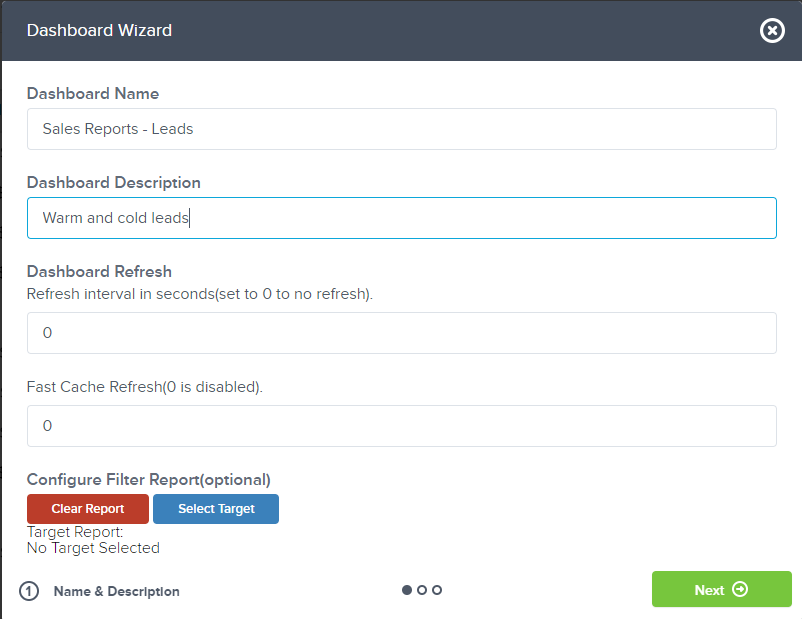
Dashboard Name (required): Enter the name for your new dashboard. This will be shown in the Library and in your favorites list.
Dashboard Description (required): Add a summary of your dashboard. This will be visible in the Library.
Dashboard Refresh (optional): We advise leaving the refresh rate as 0 to pull fresh data each time you load the dashboard. If you want your dashboard to auto-refresh while viewing, set the refresh frequency in seconds (we recommend no less than 60 seconds). If your use case is to display a dashboard on a big screen or public monitor, using the Display Mode feature is better than setting a refresh in this location.
Here is a more in-depth article on Dashboard Refresh.
Fast Cache Refresh (optional): Determines how often the dashboard should refresh. A good default setting is 1440 minutes, which equates to a daily update.
Here is a more in-depth article on Fast Cache Refresh.
Configure Filter Report (optional): This setting allows you to add a report as a hidden widget, to be used as a lookup table for Stored Procedure driven widgets.
Once you have entered the details, click the Next button.

Choosing a Dashboard Location
You will then select where to save your dashboard - either in the Public or Private library.
If you select the Public library, you’ll see a list of available Public library folders. Depending on your permissions, you can also create a new library folder for your dashboard by clicking on Add Folder
 5-Hq6AF1Pq.png)
If you opt for the Private library, you can simply select a folder to save the dashboard in or create a new folder by clicking on Add Folder.
 6-Yr9Cn_tO.png)
Depending on your chosen location, you might be prompted to input a name and select folder permissions.
After setting up the location, click Next.

Setting up Permissions
Decide the permissions for your dashboard.
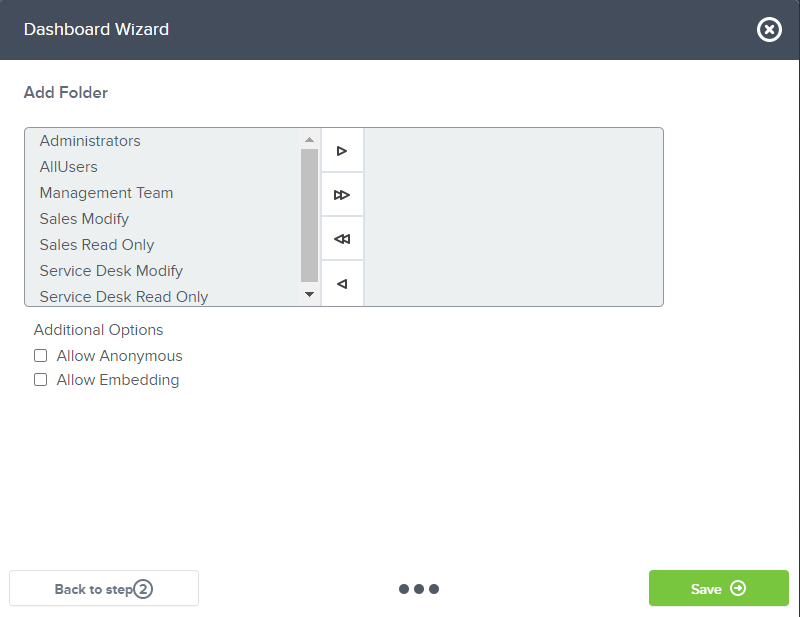
For additional options, you can select one, both, or leave them unchecked:
Allow Anonymous: allows the dashboard to be viewed by a "Guest" user or anonymous user with no login needed, but all the reports on the dashboard should also be in allow anonymous.
Allow embedding: This lets users embed the dashboard onto a webpage, either through a direct link or an iFrame code.
Note: If you assign a permission, only users in that permission group will be able to see or modify the dashboard. If you leave it blank, permissions will default to those of its parent folder.
After setting permissions, click Save.

You will then be taken to a blank slate and prompted to create a widget for your new dashboard.
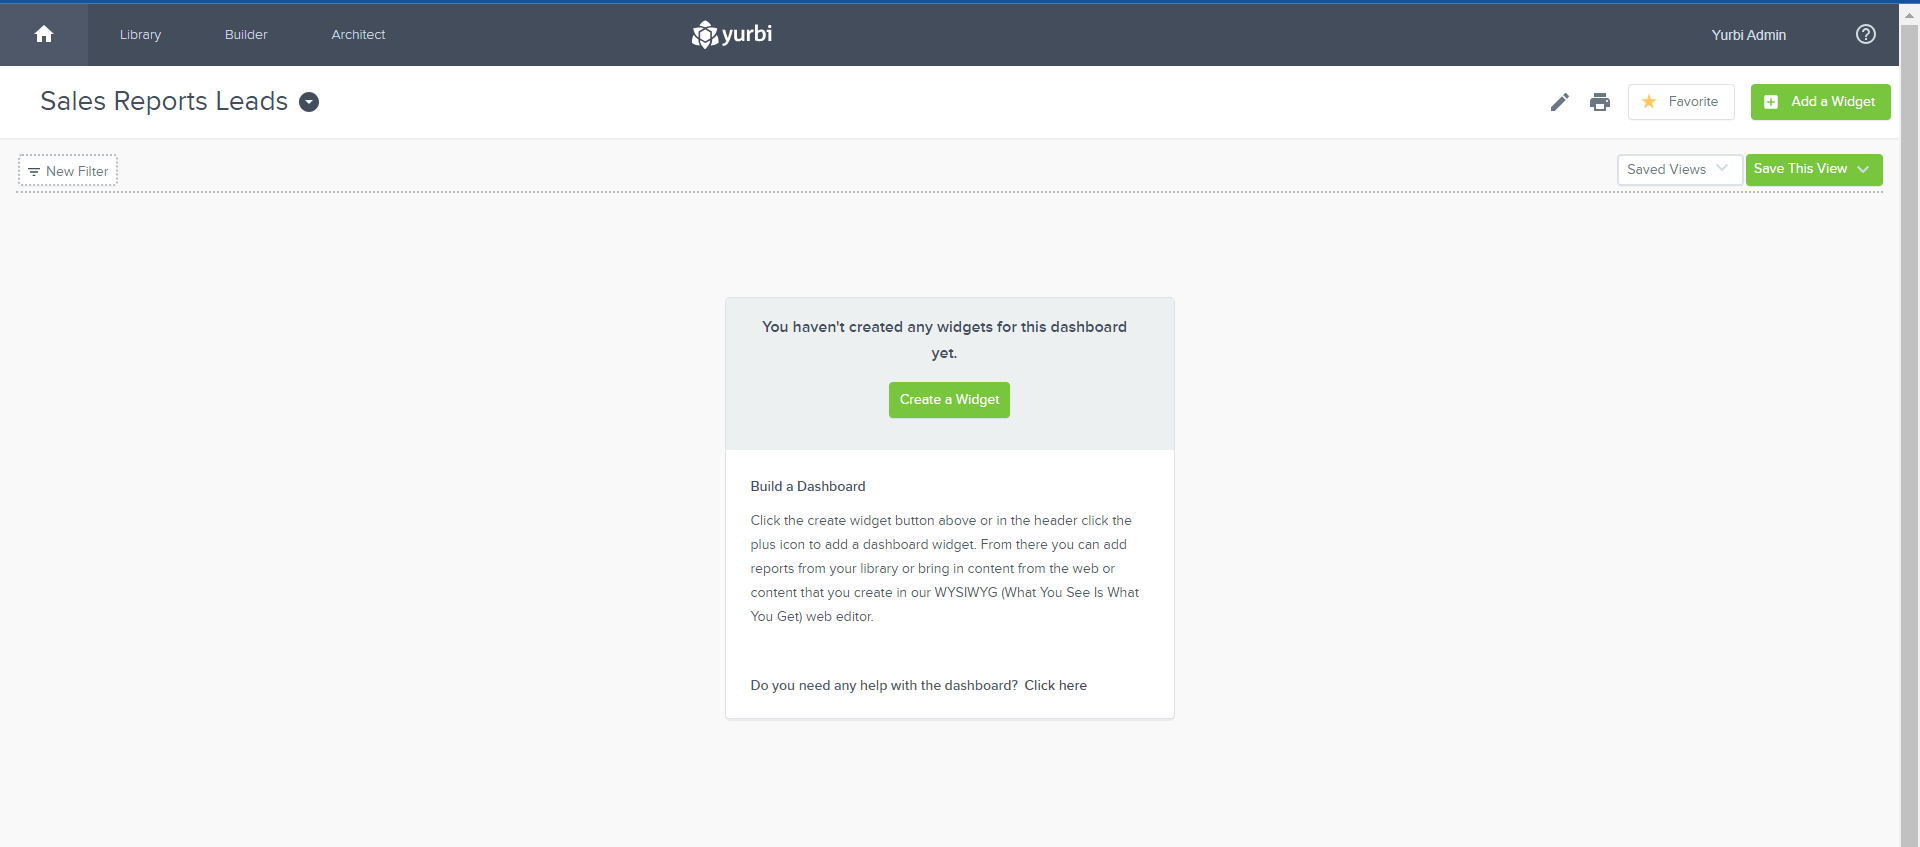
Finally, any dashboard you create will automatically be added to your favorites list. You can always access it by selecting the drop-down in the upper left that you initially used to create the dashboard. It can also be accessed from the library location where you saved it.
And there you have it! You now know how to create a dashboard!