Version: Yurbi v11
Role: Agent and higher
Permission:  Agent with modify permission to the dashboard
Adding a Widget
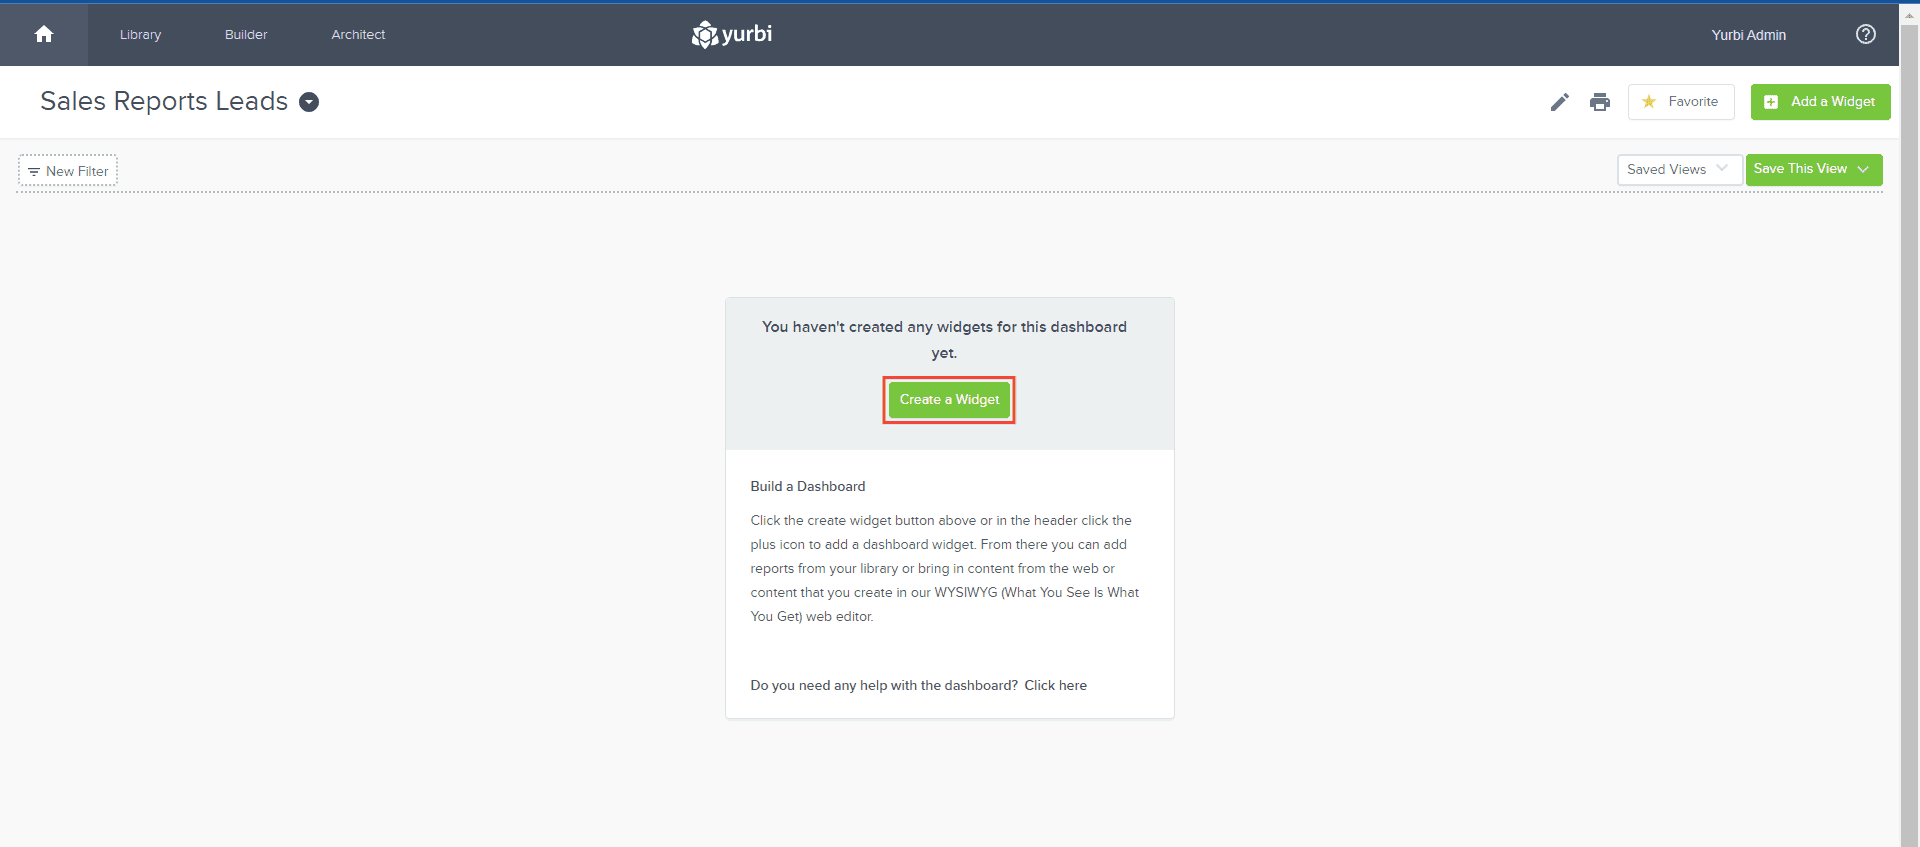
Creating a new one: Click on the Create a Widget button, located at the center of your dashboard.
Creating another one: Click on the Add a Widget button, at the top-right corner of your dashboard.

Setting up the Widget
On the Widget Wizard screen, enter a name for your widget.
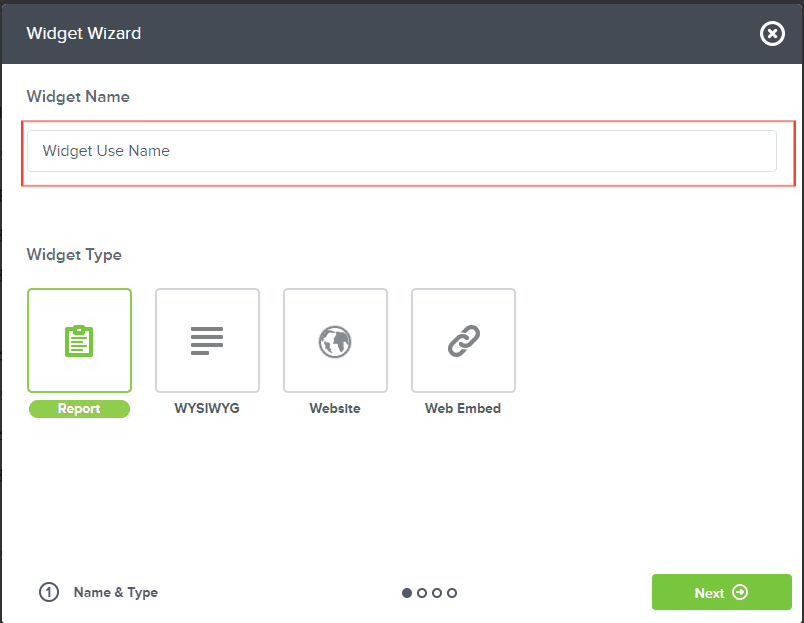
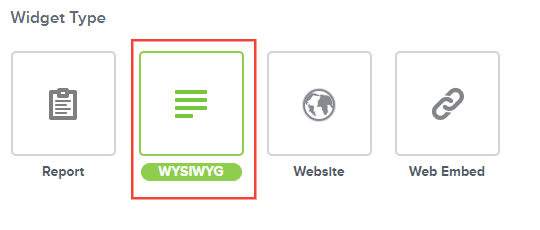
Next, select the desired widget type from the following options:
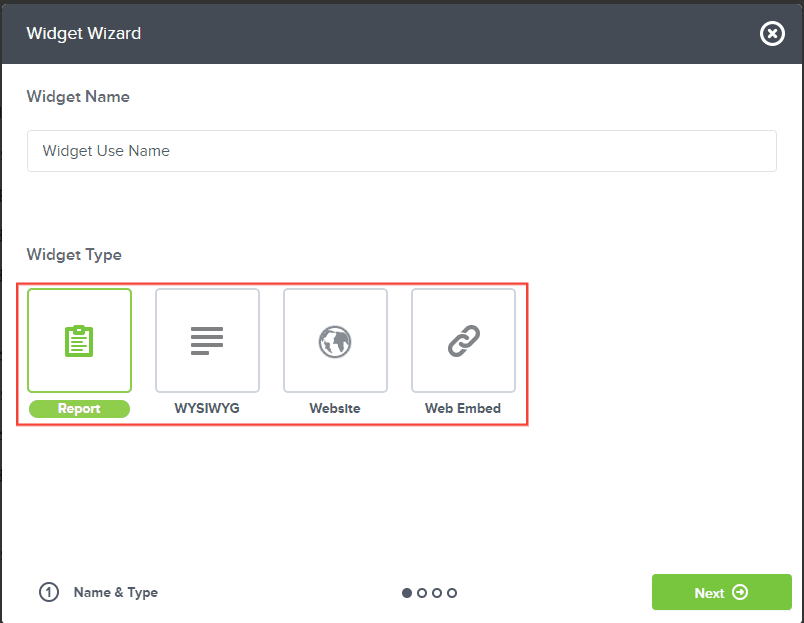
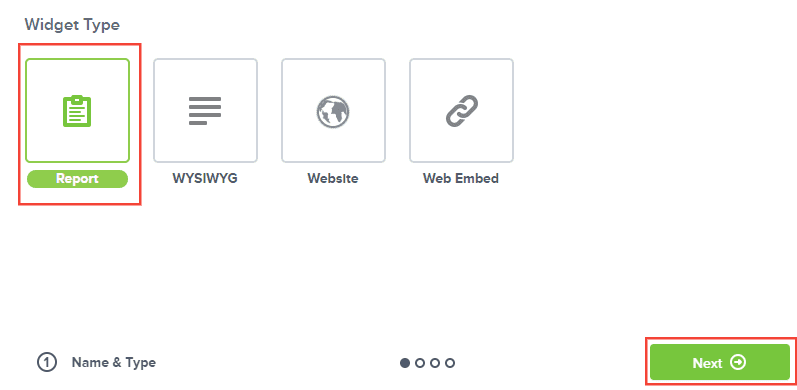
Reports - This lets you pick any report you have permission to and add it to the dashboard, resize it, add filters to it, etc. For anyone who needs to view the reports, the user will need at least view permission to it.
WYSIWYG (What You See Is What You Get) – This is a text editor. This is where you can add text, with formatting. One use case is to add hyperlinks to help resources, put in explanatory text, and embed a hyperlinked image.
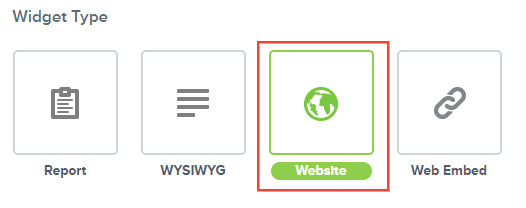
Website – can be used to place a URL into the iframe of a dashboard. A common use case is having a web form, that has a link to the form which can be rendered and users can submit forms, etc., right from their dashboard. This type is very useful when placing a web file on the Yurbi server that has a custom visualization. If a developer builds a custom visualization it can be placed on the webfile in the Yurbi directory on the server and then link to it from there.
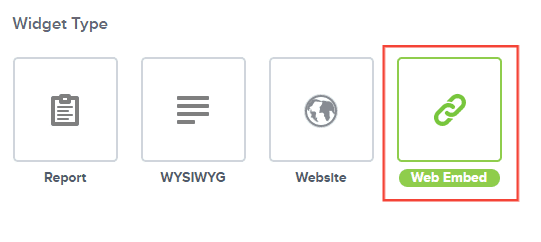
Embed - You can copy/paste javascript code using embed. Very useful for embedding videos, social media feeds, and embedding forms if you have the code.
Widget Type Configurations
Reports
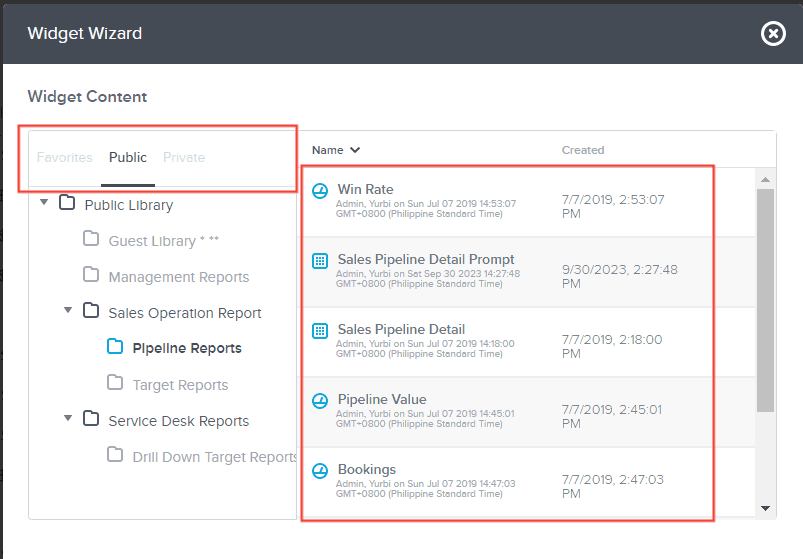
If Reports is chosen, click Next.
Locate and select the specific report for this widget.
If your report has a prompt, leave the Remember Prompt Value option unchecked.
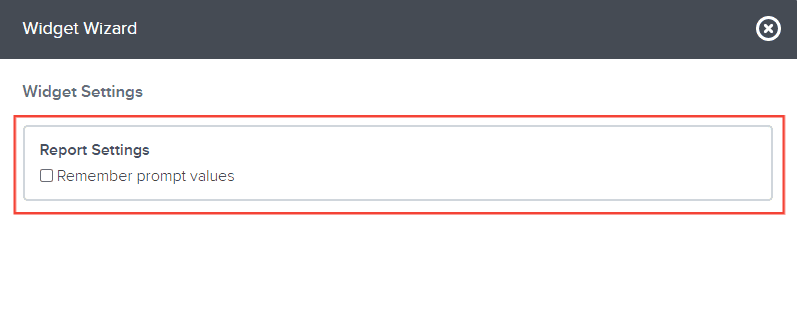
Note: We don't recommend adding a prompt-based report on a dashboard, except for specific use cases.
If you do want to add a report with a prompt on a dashboard, generally the best practice is that a Global Filter wouldn't also be assigned to that report.
If you are adding a report with a prompt to the dashboard, it is generally recommended to check the box to remember saved prompts, so the dashboard will load and all widgets will execute and show data. However, if the desired outcome is for that report on the dashboard to display the prompt to the user, keep this checkbox unchecked so the report prompt isn't saved with the dashboard.
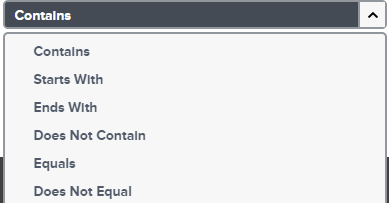
After configuring the prompt (if any), click Finish. Alternatively, you can skip this step.
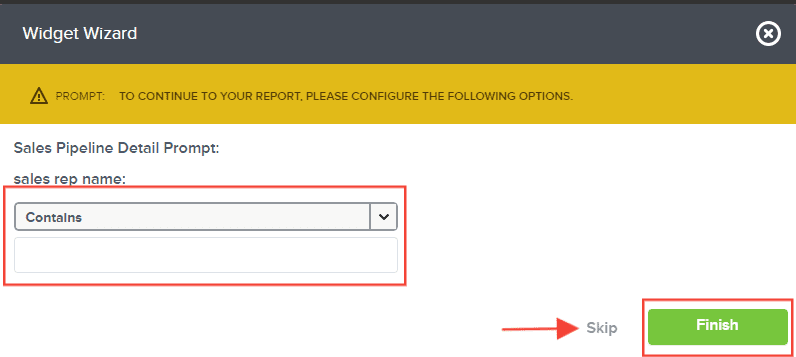
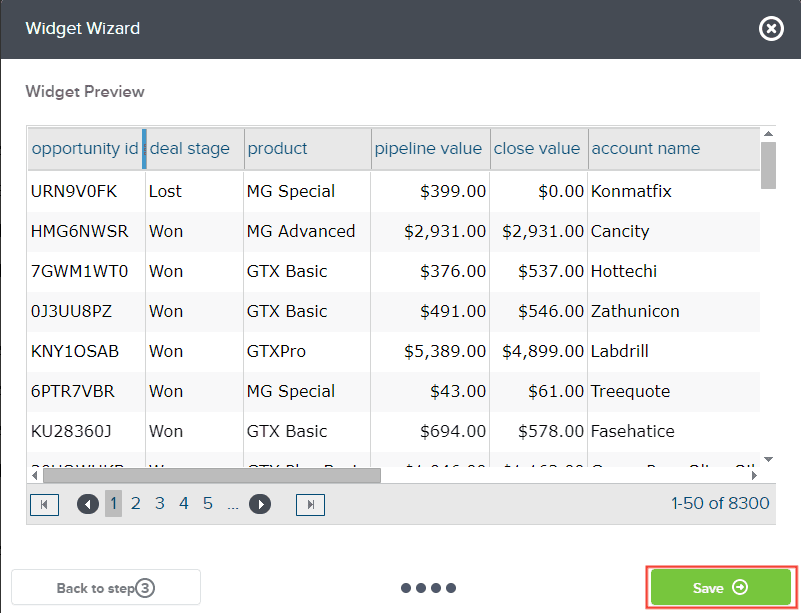
A preview of the widget type will be shown. Click Save to finalize.
WYSIWYG
If WYSIWYG is selected, click Next.
You will be directed to a text editor for hyperlink insertion and text formatting.
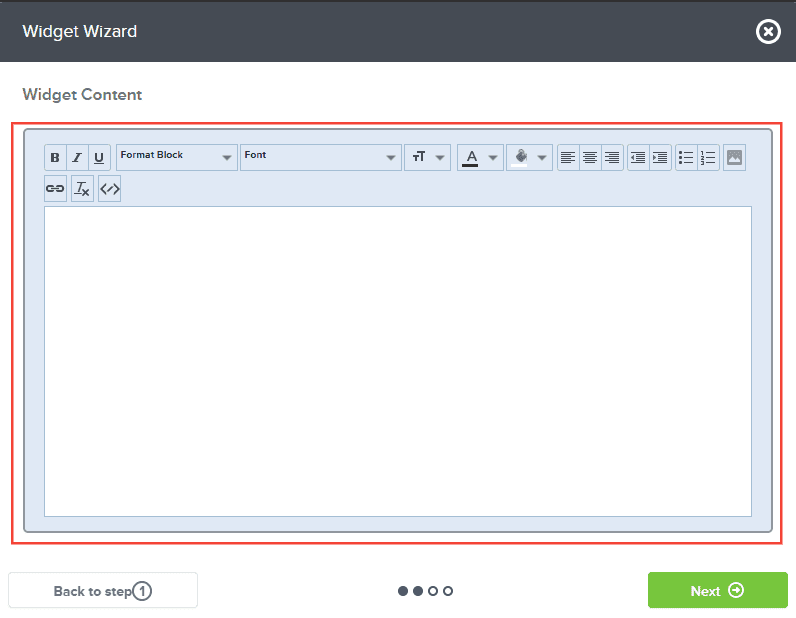
After entering your content, click Next.

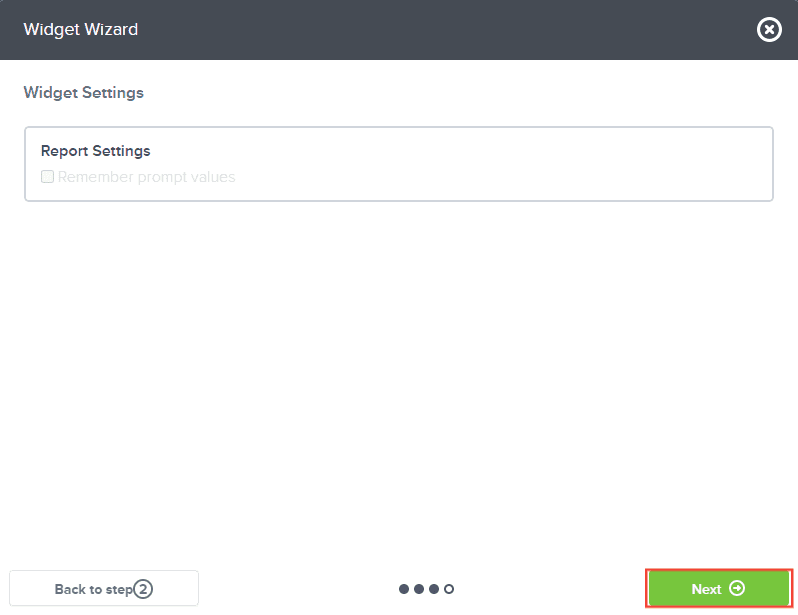
On the Widget Settings, click Next.
A preview of the widget type will be displayed. Confirm by clicking Save.

Website
If you pick Website, click Next.
Insert the URL to be placed into the dashboard's iframe.

Click Next.

On the Widget Settings, click Next.

A preview of the widget type will appear. Finalize by clicking Save.

Embed
If Embed is chosen, click Next.
A field to embed code will appear. Insert the necessary code.
Click Next.

On the Widget Settings, click Next.

After viewing the widget type preview, confirm your configuration by clicking Save.

And there you have it! Now, you know the different types of widgets and their functions, and how to set them up in your dashboard!