Version: Yurbi v11
Role: Builder or higher
Permission: Builder access to the application
In this guide, we will cover the process on how to configure a report field using add criteria option and incorporate a prompt and target list report within it.
A Values Report List helps you customize the values shown in your dropdown list at the start of running your report. Instead of relying on the natural output of the data, you can specify what you want to appear.
When configuring this, ensure that the report you want to use is ready.
Selecting your Report Field
This section shows the steps on how to select the report field you want to include the add criteria option
Go to the report field and select the field you wish to configure.
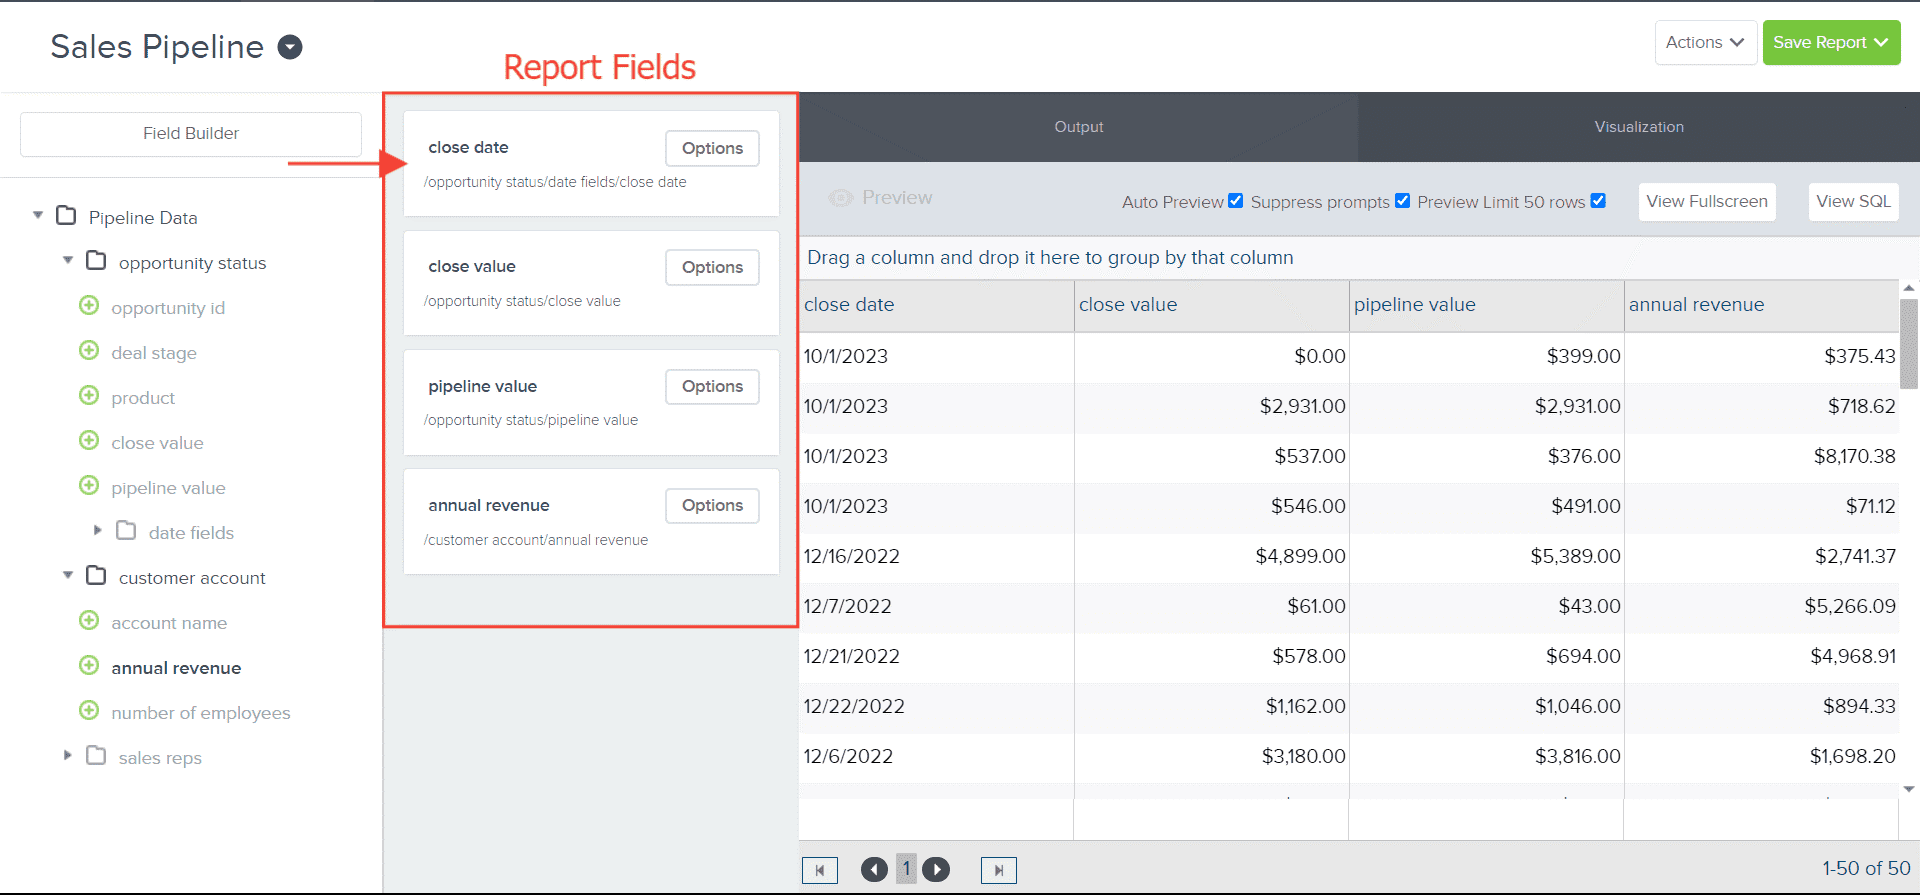
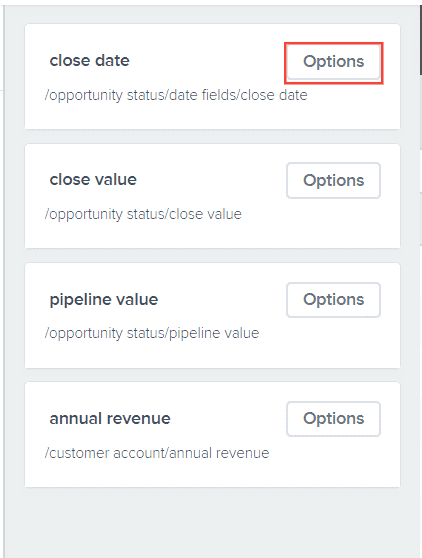
Click on the Options button.
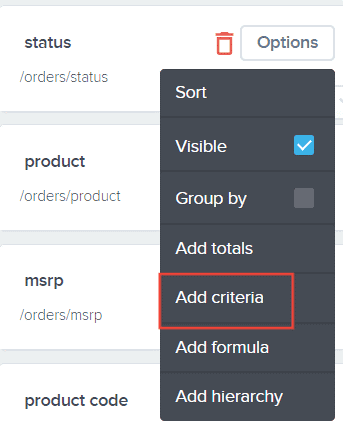
Select Add Criteria option.
Creating Add Criteria with Prompt
This section shows the steps on how to configure the add criteria option.
The Criteria Builder will appear. Click Create to build your criteria.

For Logical Filter, select either And or Or.
For the first criteria, it should always be And Logical Filter Option and the succeeding multiple criteria should be Or Logical Filter Option
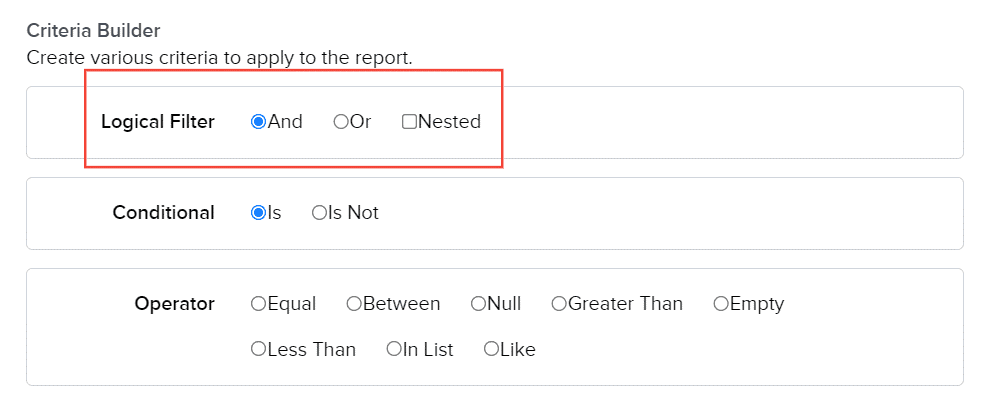
For Conditional, select either Is or Is Not.
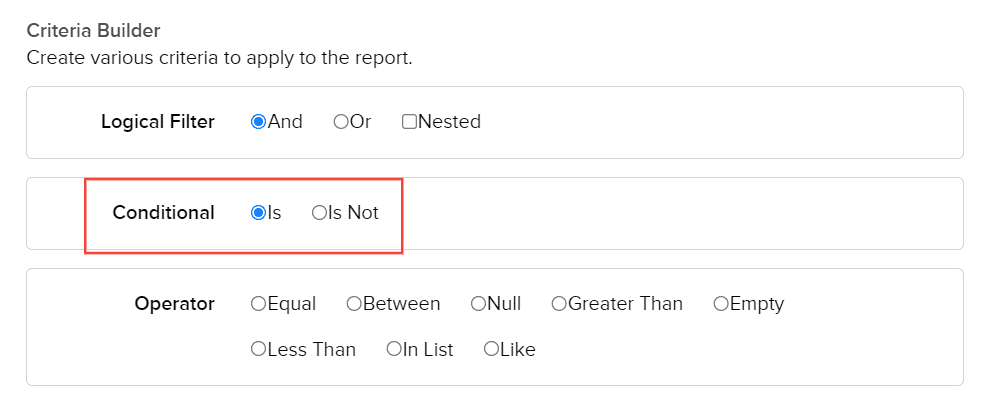
Select Operator from the options.

Here is an article to understand the different operators found in the add criteria option.
It is best to choose Custom Value in the drop-down menu of your chosen operator. This gives you an option to choose when the prompt appears in the report.
Note: Applicable only to Equal, Greater Than, and Less Than operators

Adding Prompt and Selecting Values List Report
This section shows the steps on how you can add a prompt and values list in your selected report field.
By default, Enable Get Values List is checked. A Values Report List helps you customize the values shown in your dropdown list or text field box. Instead of relying on the natural output of the data, you can specify what you want to appear.

Note: This is best when the criteria your building will be a prompt. When this is the use case, make sure that aside for the Enable Get Values List is checked, Prompt for Value is also checked.
When this is checked, the prompt will give you a drop-down list to choose from, and if it is unchecked, the prompt will be a text field box where you enter the data. For criteria not set as prompts but hardcoded, this option is inoperative.
Check the Prompt for Value checkbox. For an add criteria with values list report, the Prompt for Value and Enable Get Values List must be both ticked off for it to be effective when building your report.

Note: Checking Prompt for Value gives you a prompt to configure either from a drop-down list or a text field box at the beginning of accessing a report. By doing so, you can specify what value to appear in the report within the criteria built.
Adding Target List Report
This section covers the step-by-step process of incorporating a target values list report to the report you are building.
Click Select Target

Select the desired report. The report selected will become the values shown at the beginning of running your report.
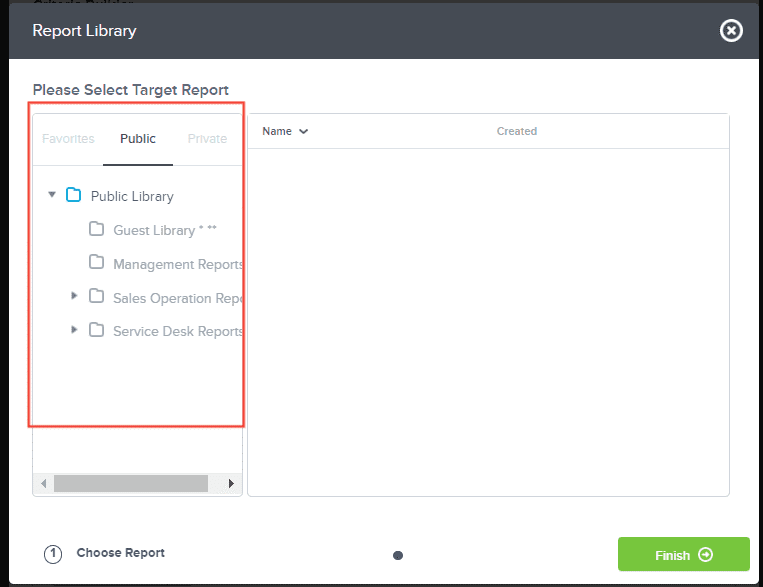
Click Finish

Sorting the Values in the Report
This section covers the use of display and values column, and values sort order option.
When the Prompt for Value is ticked off the Values Sort Order will appear. In this section, you can select how the value will be sorted when the options are presented to you at the initial viewing of the report.

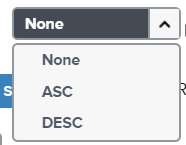
Default Value to First In List is useful when you want the options to automatically default to the current month, and your values list is a properly sorted list of months. This means that the recent value will always be on the top of the selection.

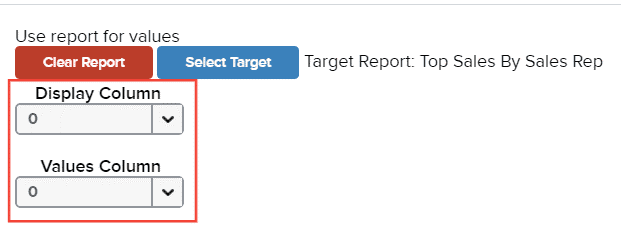
By default, both the Display Column and Values Column are set to 0.
For user-friendly dropdown options and numerical filter input, adjust the display/value settings to match the field order in the value list report. For instance, if display items are in the first column and value items are in the second, set the display value to 0 and the values option to 1.
Click Add to Table.

The configured criteria will be under the Current Criteria Section.
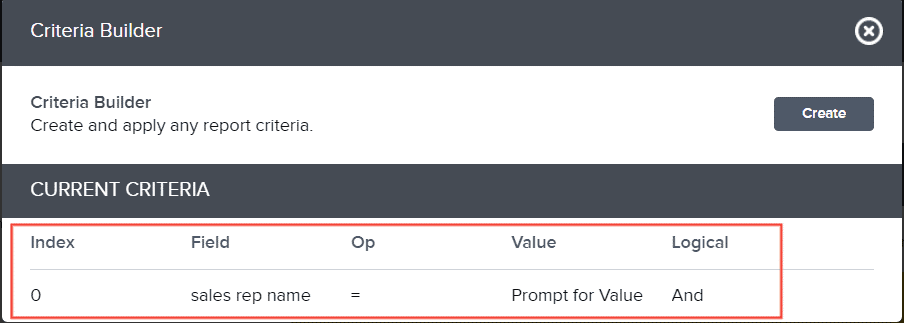
Preview of Report with a Prompt and Target List Report
This section covers how to check if the add criteria you have configured was successful and how you can run them.
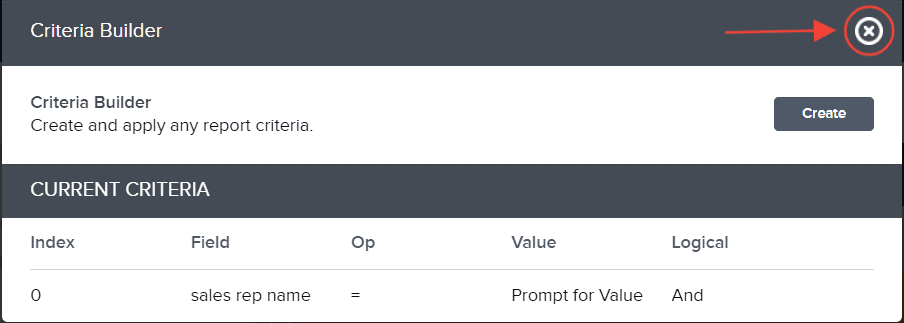
Click Exit button to check if the changes reflected in the preview section.
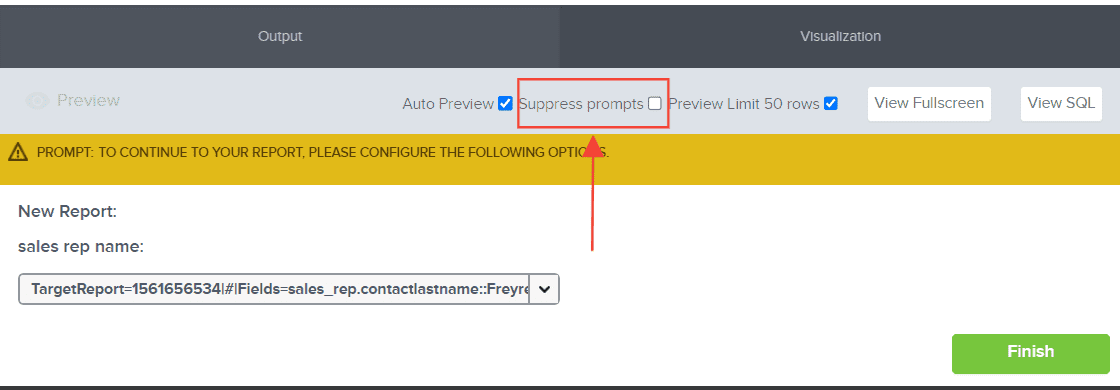
Remember to uncheck Suppress Prompts to check if the configured add criteria with a prompt was successful.
Once you have selected a value, click Finish to proceed with the preview of your report.
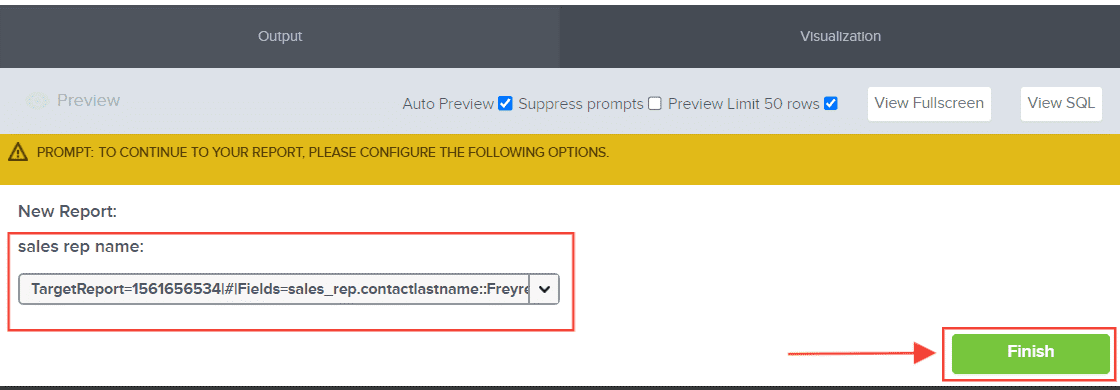
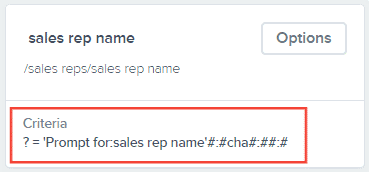
Also, an indication that an add criteria configuration was successful will be criteria appearing on the configured field report.
Remember to save the report once you are done!
And there you have it! You now know how to configure an add criteria with a prompt and target list in the report you are creating!