Login Page Branding
The login page is often the first interaction users have with your branded Yurbi environment. With Login Page Branding, you can create a customized login experience that matches your brand - even on a per-tenant basis if you're running a multi-tenant environment.
When Login Page Branding Matters
In most embedded scenarios where you're authenticating users seamlessly, they never see the Yurbi login page. However, login page branding becomes important when:
Users log in directly to access Yurbi's full interface
Running multi-tenant environments where different customer organizations access via different domains
Network issues or session timeouts might redirect embedded users to a login page
You want consistent branding from the moment users arrive
How Login Page Branding Works
Login page branding uses a domain-based policy system. You can create:
Domain-specific policies - Different branding for each custom domain (perfect for multi-tenant setups)
A default/fallback policy - Applied when no domain-specific policy matches
The login page is anonymous (we don't know who the user is yet), so once they log in, their personal Application Branding policy takes effect.
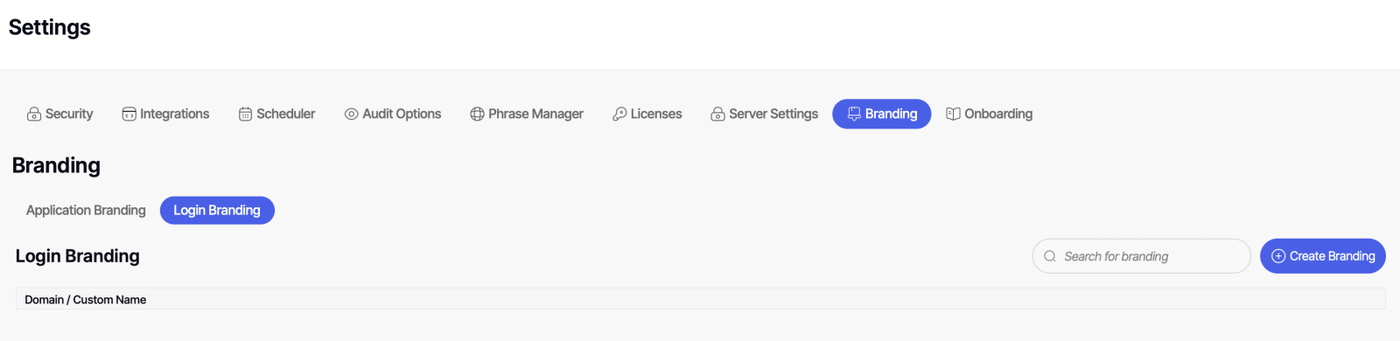
Creating Login Page Branding
Navigate to Settings → Branding → Login Branding → Create Branding
Configuration Options
Basic Settings
Title The page title that appears in the browser tab. Make this descriptive and brand-appropriate.
Domain Name The fully qualified domain name this policy applies to (e.g., reports.yourcompany.com).
To create a default/fallback policy: Leave the Domain Name blank. Only one default policy is allowed. If you try to create a second default policy, you'll get an error - edit the existing default or add a domain name to create a domain-specific policy instead.
Important for multi-domain setups: If your users access Yurbi via both www.yourcompany.com and yourcompany.com, you'll need to create separate policies for each domain.
Branding Elements
Logo Upload your logo or provide a link to it. This appears prominently on the login page.
Footer Text and Link Customize the footer with your own text and hyperlink (such as copyright information or links to your main website).
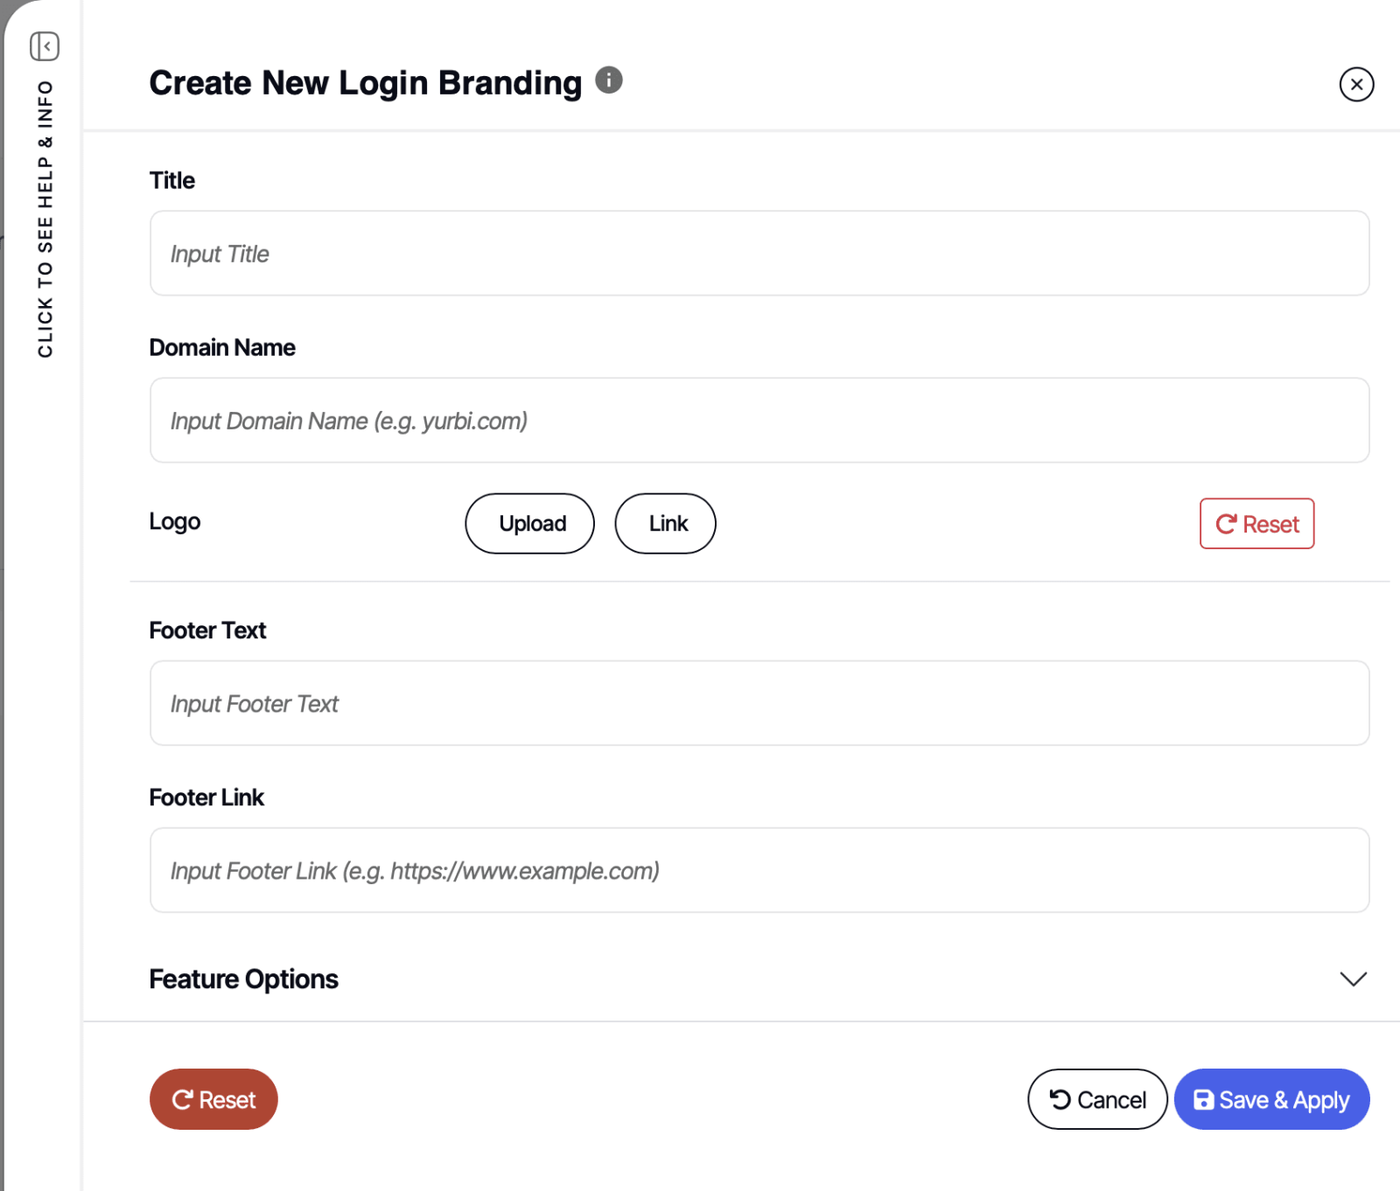
Image Requirements
Format | Dimensions | Max Size | |
|---|---|---|---|
Logo | PNG or JPG | Max 400×200px | 100KB |
Background Image | JPG recommended | 1920×1080px | 500KB |
Favicon | PNG | 32×32px or 64×64px | 50KB |
Tips: Use PNG for logos that require a transparent background. Use JPG for background images unless transparency is needed — JPG files are significantly smaller at the same quality. SVG is not supported. When linking to an image instead of uploading, use a full
https://URL.
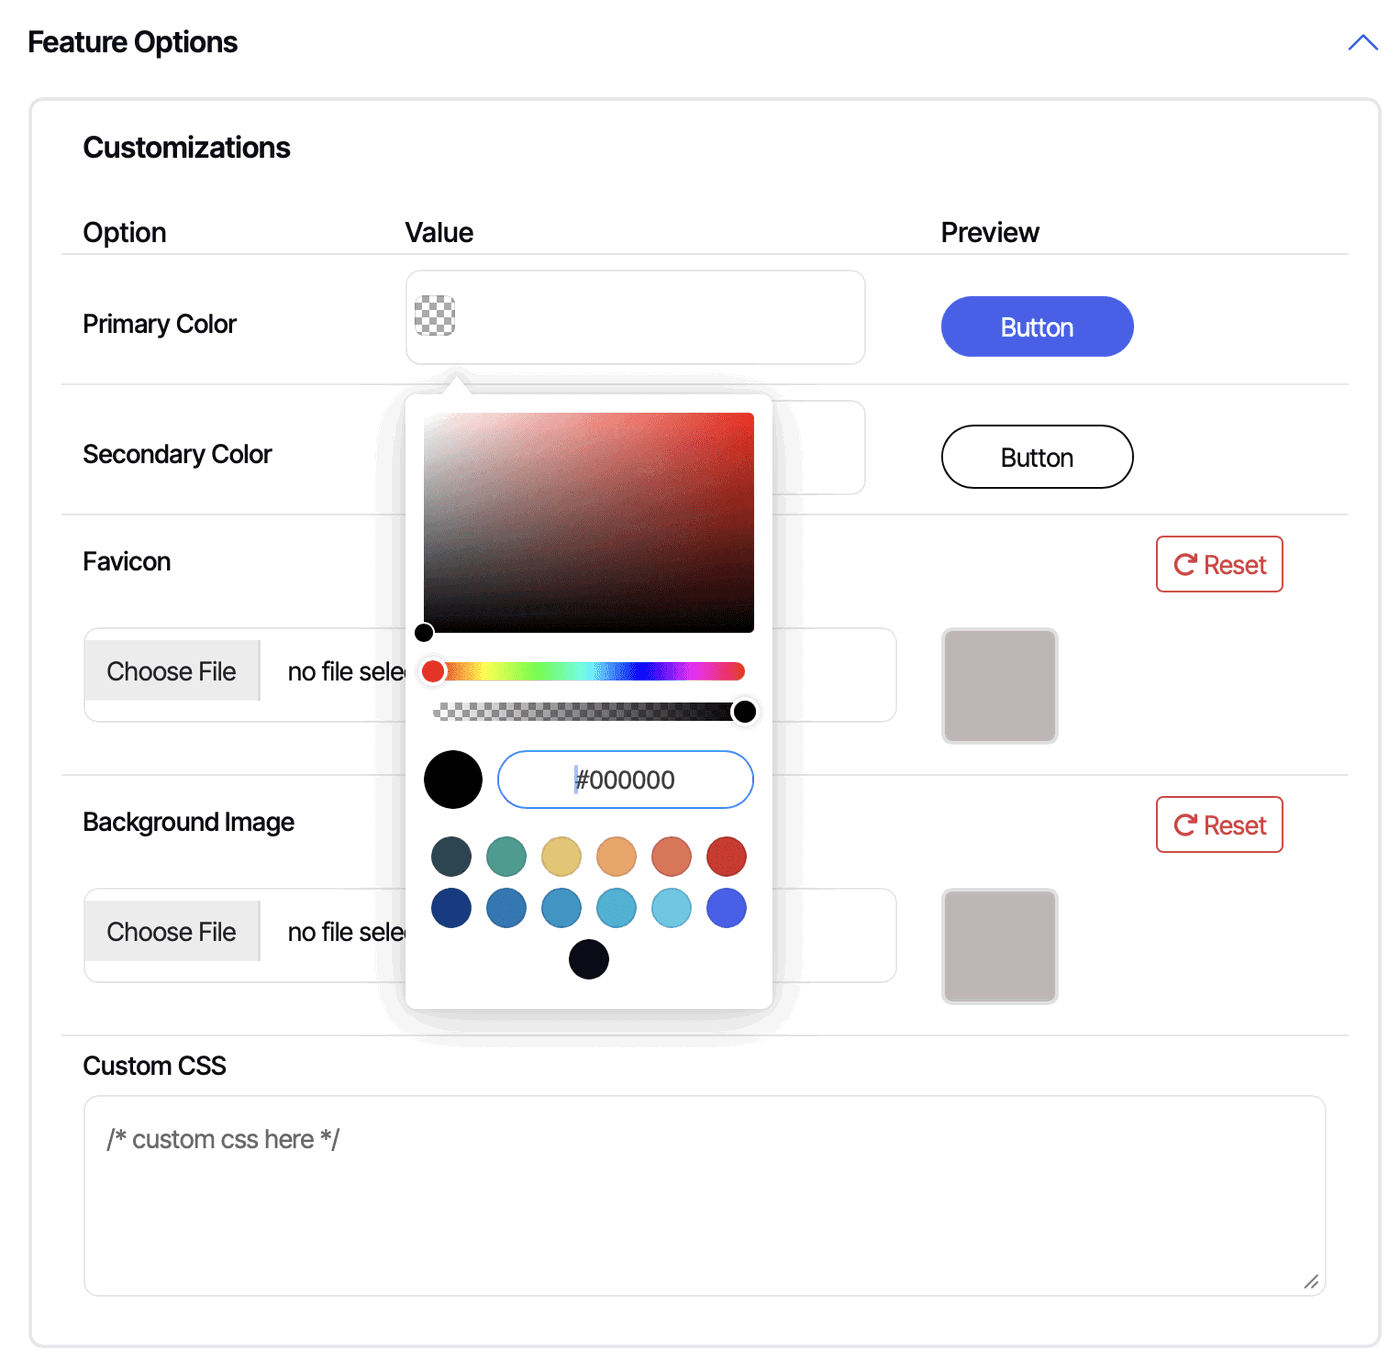
Feature Options
Click to expand the Feature Options accordion to access these settings:
Primary Button Color The color of the main action button (typically the Login button).
Secondary Button Color The color of secondary buttons or accents on the page.
Favicon Upload your favicon to appear in the browser tab.
Background Image Set a custom background image for the login page. This can dramatically change the look and feel.
Custom CSS Add your own CSS to further customize the page styling beyond the standard options.
Multi-Tenant Example
If you're using CNAMEs or custom domains per tenant, create one policy per domain with each tenant's branding:
Customer A (domain:
customer-a.yourapp.com)Their logo, colors, and branding
Customer B (domain:
customer-b.yourapp.com)Their logo, colors, and branding
Default Policy (no domain specified)
Your company's branding as fallback
When a user arrives at customer-a.yourapp.com, they see Customer A's branded login page. If someone accesses via an unmapped domain, they see your default branding. If no default is configured, they'll see standard Yurbi branding.
Fallback Behavior
The system checks for branding policies in this order:
Exact domain match - If a policy exists for the exact domain, use it
Default policy - If no domain match and a default policy exists, use it
Yurbi branding - If no policies match, display standard Yurbi branding
When Branding Takes Effect
Login page branding changes take effect immediately. Just navigate to the login page or refresh the page to see your changes. You may need to clear your cache to see changes depending on your browser settings.
Tips and Best Practices
Test with multiple domains if you're supporting both www and non-www variants
Create your default policy first to ensure there's always a fallback
Use high-quality logos that look good on various screen sizes
Consider background images carefully - they should not interfere with login form readability
Keep custom CSS minimal to ensure compatibility with future Yurbi updates
Handling Session Timeouts in Embedded Scenarios
If you're embedding reports and want to prevent users from seeing the login page during session timeouts or network issues, you can configure a redirect. See the Embedded Report and Dashboard Branding article for details on using the custom_handleexpired_session function.
Note: Image formats supported include JPG and PNG. SVG and WebP format is not currently supported for logo uploads.