Guest/Anonymous/Public View Report Branding
Guest, anonymous, public view access allows you to share reports and dashboards publicly without requiring users to log in. With Guest Branding, you can control the appearance and available features for all your public content - whether it's embedded in a webpage, accessed via direct share links, or organized in a Guest Library.
What is Guest/Anonymous Access?
Guest access enables you to share Yurbi content with anyone, without requiring authentication. This is useful for:
- Public dashboards on your website or customer portal
- Shared reports distributed via email or messaging
- External stakeholder access without creating user accounts
- Customer-facing analytics embedded in your product
How Guest Branding Works
Guest Branding is a global setting - there's only one Guest Branding policy, and it applies to all non-authenticated users. Unlike Application Branding where you can create different policies for different groups, guest users all see the same configuration.
Guest content can be accessed in three ways:
- Embedded in your web pages
- Direct share links to specific reports or dashboards
- Guest Library - a curated collection of public content
Accessing Guest Branding
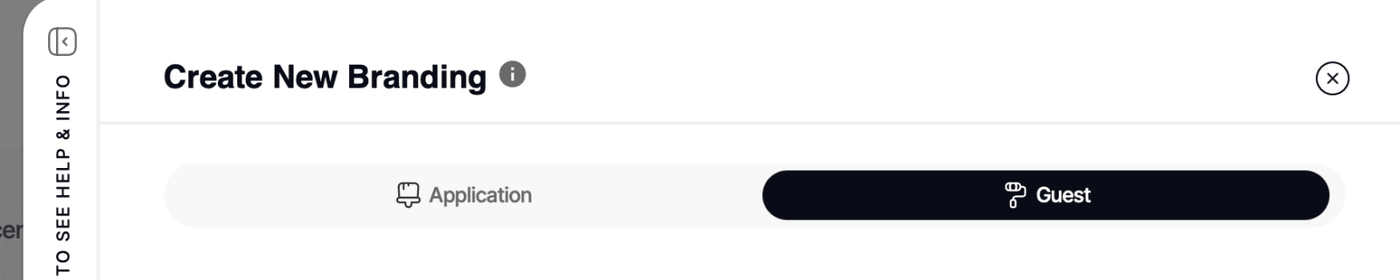
Navigate to Settings → Branding → Create New Branding (or edit an existing branding policy)
Look for the tabs at the top of the sidebar and click on the Guest tab to switch from Application Branding to Guest Branding.
Configuration Sections
Feature Options
Feature Options control the logos and colors that appear in the Guest Library - the organized collection of your public reports and dashboards.
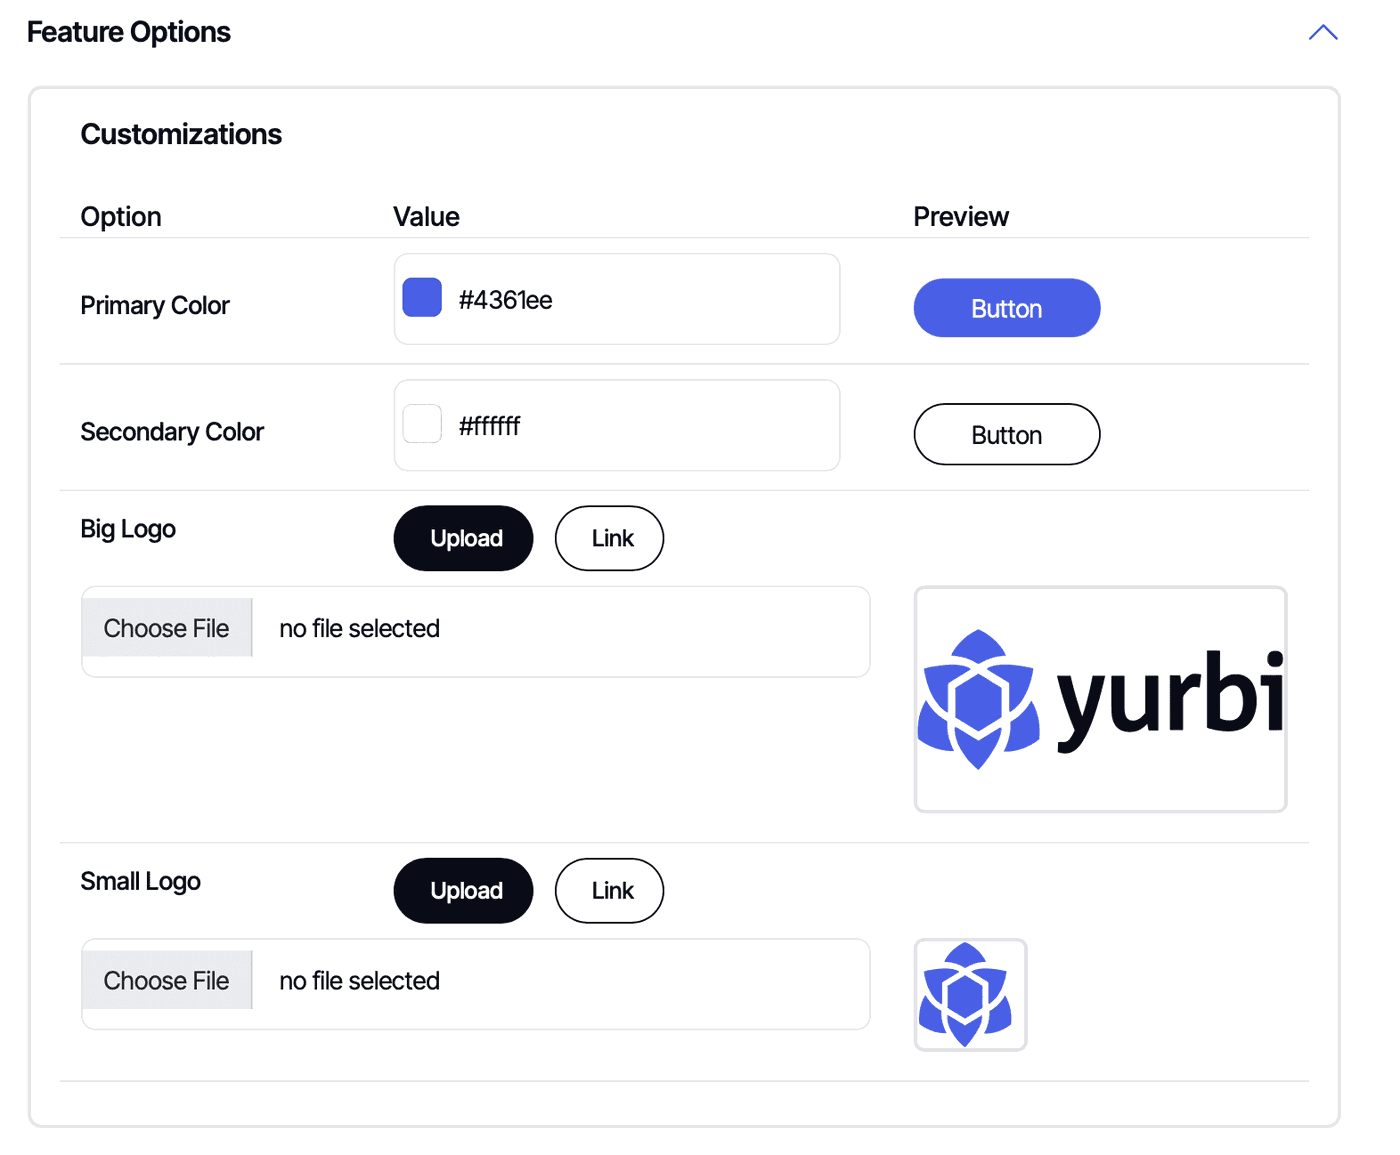
Configure:
- Logo - Your brand's logo displayed in the Guest Library
- Colors - Primary and secondary colors for the interface
These settings create a cohesive branded experience when users browse your public content.
Sidebar Options
Sidebar Options also apply to the Guest Library, controlling what appears in the sidebar and what links and labels are displayed.
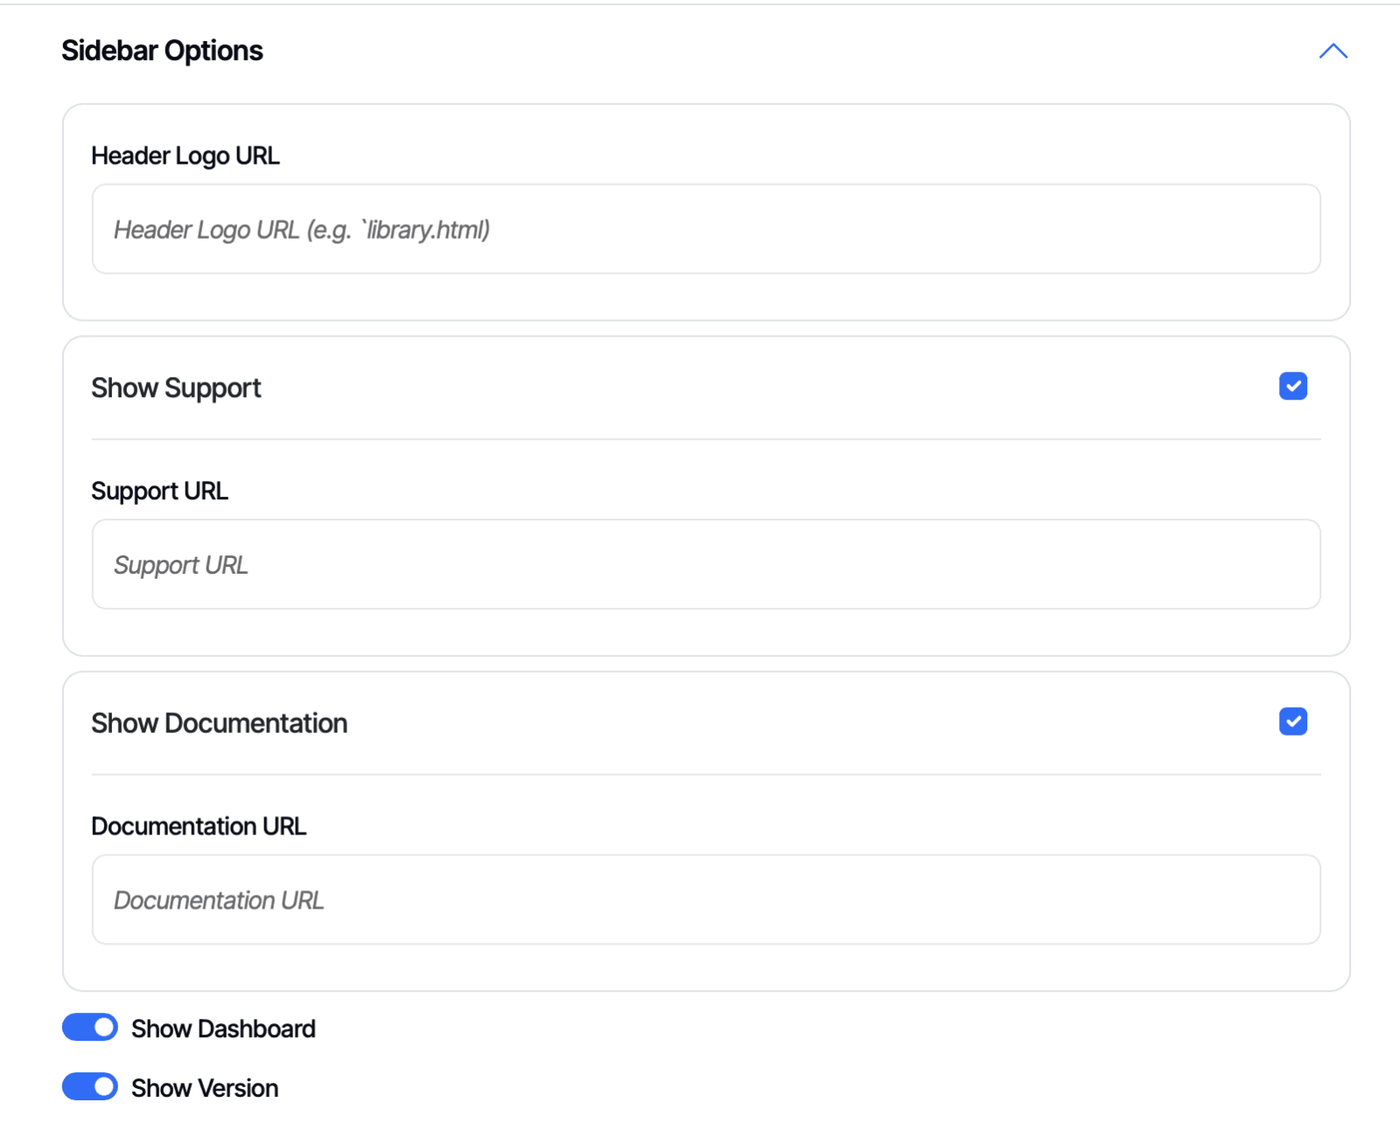
Use these settings to:
- Show or hide navigation elements
- Add custom links (such as "Back to Main Site")
- Customize labels and text
- Control which sections of the Guest Library are visible
Dashboard Options
These settings apply to dashboards viewed through either the Guest Library or via a guest dashboard share link. All options are enabled by default - toggle them off to hide features.
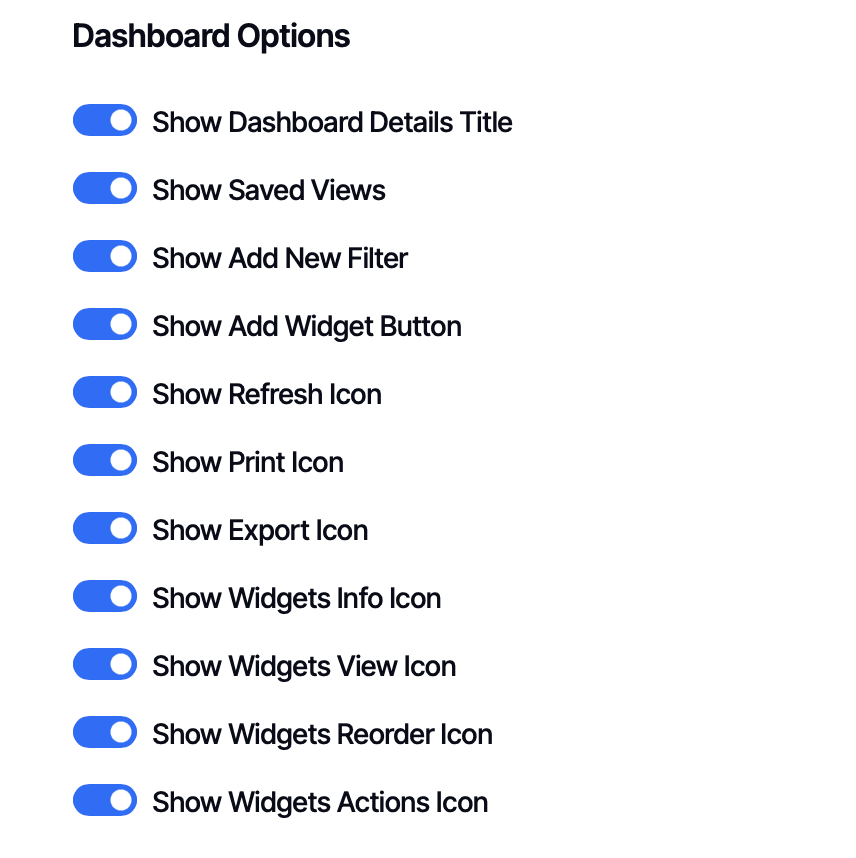
Available options:
- Show Dashboard Details Title - Display the dashboard name
- Show Saved Views - Allow access to pre-configured dashboard views
- Show Add New Filter - Enable users to add their own filters
- Show Add Widget Button - Allow adding new widgets
- Show Refresh Icon - Display the refresh button to reload data
- Show Print Icon - Enable printing the dashboard
- Show Export Icon - Allow exporting dashboard data
- Show Widgets Info Icon - Display information about each widget
- Show Widgets View Icon - Show the option to view widget details
- Show Widgets Reorder Icon - Enable drag-and-drop widget reordering
- Show Widgets Actions Icon - Display the actions menu for widgets
Why hide features? You might want to simplify the interface for public users, removing complexity they don't need. For example, guest users typically don't need to reorder widgets or add new ones.
Library Options
Library Options control both the Guest Library appearance and how reports display when viewed in the library or via direct share links. All options are enabled by default.
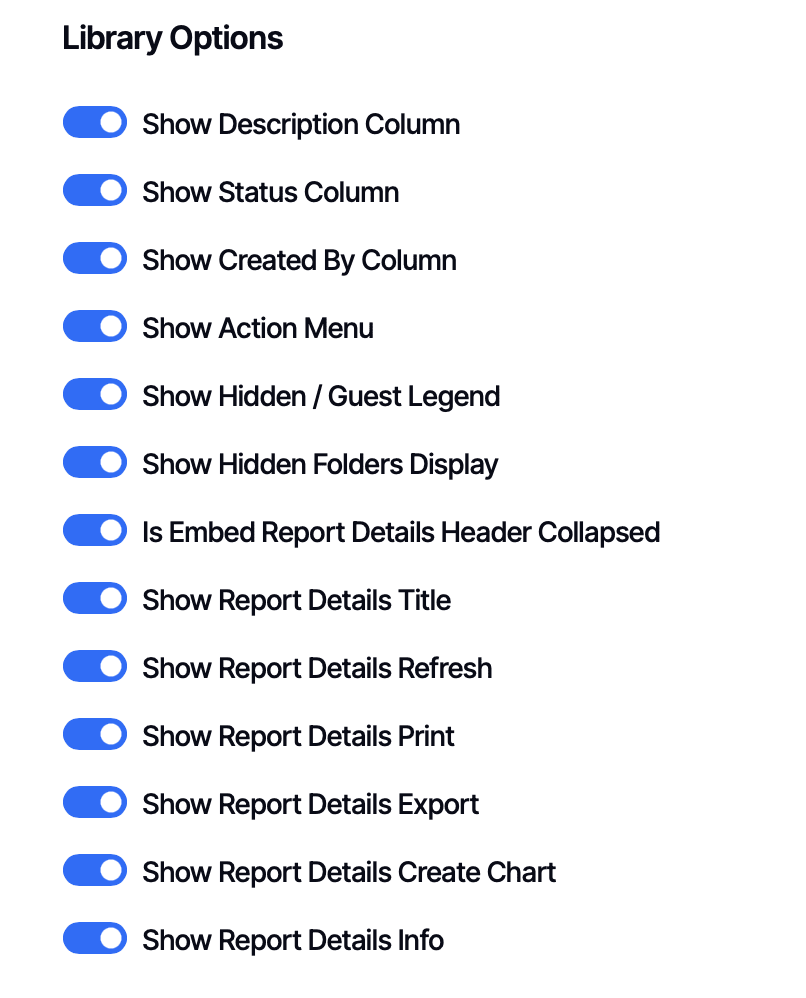
Library Display Options:
- Show Description Column - Display report descriptions in the library
- Show Status Column - Show the status of each report
- Show Created By Column - Display who created each report
- Show Action Menu - Show the menu with additional actions
- Show Hidden / Guest Legend - Display the legend explaining visibility icons
- Show Hidden Folders Display - Allow viewing of hidden folders (if applicable)
Report Details Options:
These apply to reports viewed either through the Guest Library or via direct share links:
- Is Embed Report Details Header Collapsed - Start with the details header collapsed
- Show Report Details Title - Display the report name
- Show Report Details Refresh - Show the refresh button
- Show Report Details Print - Enable printing the report
- Show Report Details Export - Allow exporting report data
- Show Report Details Create Chart - Show the visualization builder
- Show Report Details Info - Display information about the report
Example configuration: If you're sharing reports externally, you might hide the "Create Chart" visualization builder to keep the interface simple, while keeping Print and Export enabled for usability.
Advanced Customizations
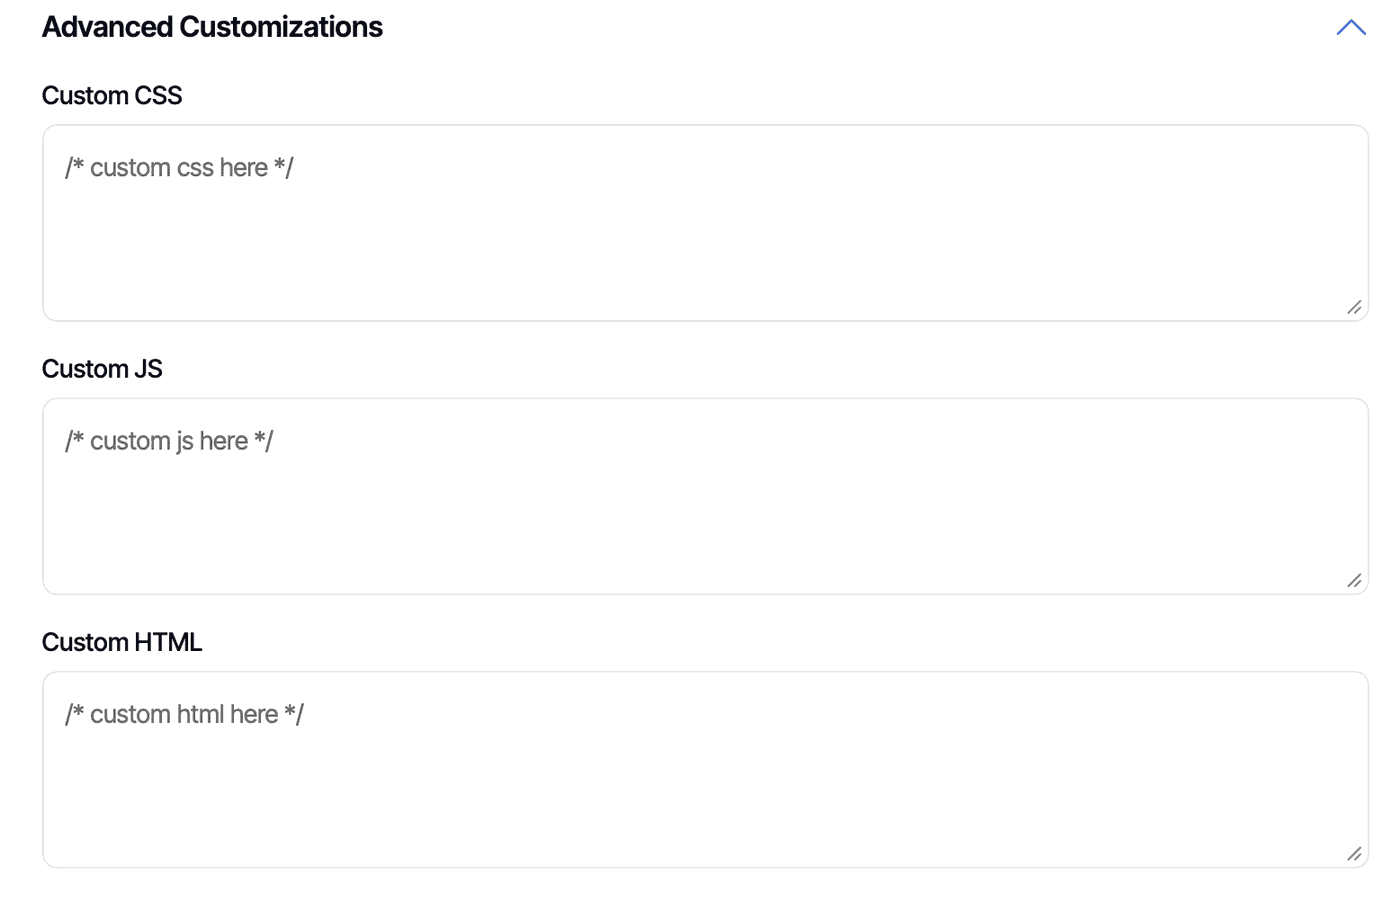
Advanced Customizations provide ultimate flexibility for extending your guest experience beyond the standard options. You can add:
Custom CSS Add your own stylesheets to further customize the appearance. This is perfect for matching exact brand guidelines or making specific visual tweaks.
Custom JS (JavaScript) Add interactive functionality or integrate with other tools. Common uses include:
- Adding analytics tracking
- Integrating chat widgets
- Custom behaviors on specific actions
Custom HTML Inject additional HTML into the page, such as:
- Custom headers or footers
- Disclaimer text
- Additional links or navigation
Example - Handling Session Timeouts:
If you're embedding guest content and want to handle session expiration gracefully, add this to Custom JS:
custom_handleexpired_session = function() {
  window.location = "./index.html";  // Redirect to your main page
};
Replace ./index.html with wherever you want to redirect users if the login prompt appears in an embedded report or dashboard. This prevents users from seeing the Yurbi login page when they should stay within your application.
Creating and Activating Guest Branding
Since Guest Branding is global, you only need one policy:
- Navigate to Settings → Branding → Create New Branding
- Switch to the Guest tab
- Toggle Is Guest to ON
- Configure your Feature Options, Sidebar Options, Dashboard Options, and Library Options
- Add any Advanced Customizations needed
- Save your branding policy
Note: You can only have one active Guest Branding policy at a time. If you try to create a second guest policy, you'll need to deactivate the first one.
When Changes Take Effect
Guest Branding changes take effect immediately since they apply to non-authenticated pages. Users will see updates as soon as they refresh or access the content.
Common Scenarios
Scenario 1: Simple Embedded Reports
You're embedding a single report in your website footer showing system status.
Recommended settings:
- Hide all Report Details options except Title
- Keep the interface minimal and focused on the data
Scenario 2: Customer Portal with Guest Library
You're providing a library of public reports for customers to browse.
Recommended settings:
- Configure logos and colors to match your customer portal
- Keep Library Display options visible for easy browsing
- Add custom links in Sidebar Options to navigate back to main portal
Scenario 3: Shared Dashboard Link
You're sharing a specific dashboard link in a monthly email to stakeholders.
Recommended settings:
- Enable Print and Export for flexibility
- Hide "Add New Filter" and "Add Widget" to prevent confusion
- Keep Refresh enabled so they can get latest data
- Consider hiding the details title for a cleaner look
Relationship to Embedded Branding
Guest Branding controls the interface for non-authenticated users. If you're also using secure embedding (where users are authenticated), see the Embedded Report and Dashboard Branding article for additional controls that apply to embedded content for logged-in users.
Tip: Start with all features enabled and progressively hide features based on user feedback. It's easier to remove complexity than to explain why features are missing.