Version: Yurbi v11
Role: Agent and higher
Permission:  Agent with view permission to the report or dashboard
When editing a schedule of a report or a dashboard, the logged in user can edit the same configurations set when creating a new schedule of a report or dashboard. Same rules apply when scheduling a report or dashboard such as:
- When editing a report schedule’s time and date, and you’ve chosen a date in the past, it will promptly send out an email but not with that chosen date’s data. Instead, it will send the current data at the time of sending.
- Only individuals with access to the report will appear in the list of potential recipients
- If your report includes prompts (like location, customer, or date range), you'll need to select the desired values for these prompts before scheduling.
Let us dive into the process:
Accessing the Report
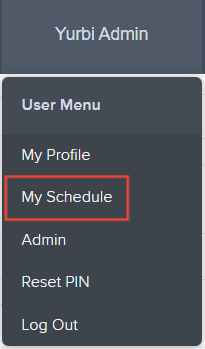
After logging in, click the User Menu on the upper left side beside the help resources icon

From the dropdown, click on My Schedule
Choose the scheduled item that you want to modify
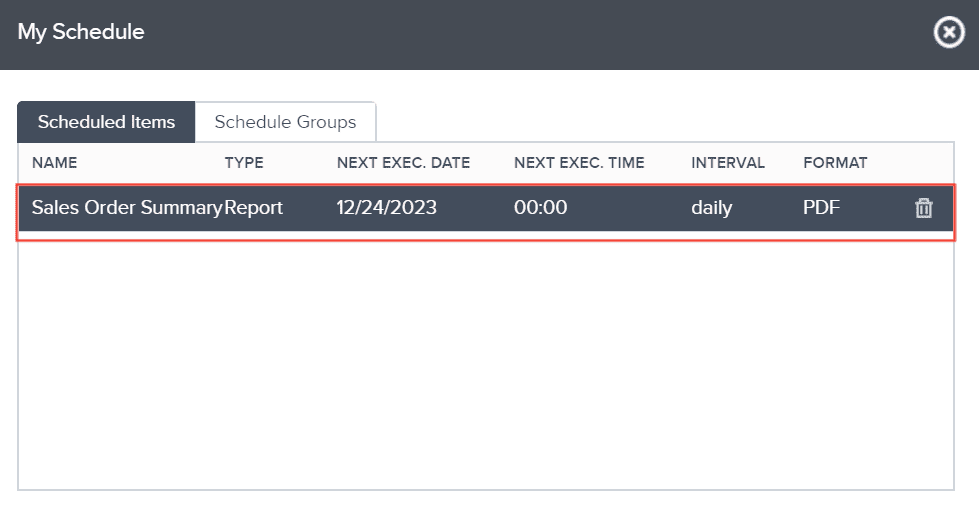
Click Next

Configuring the Report
Set the desired time and frequency for the scheduled item you have chosen.
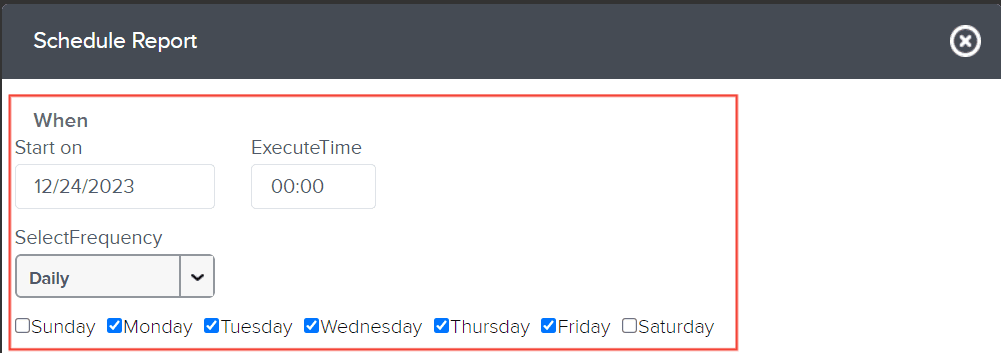
- When editing a report's schedule, if you adjust the start date to a day in the past, for example, yesterday, the scheduler interprets this as a missed action and will promptly send out an email.
- Keep in mind, this email won't contain yesterday's data but the current data at the time of sending. This technique is useful for triggering an instant email from the scheduler.
Click Next

Now, let's manage the recipients. You can add or remove them by using the arrows:
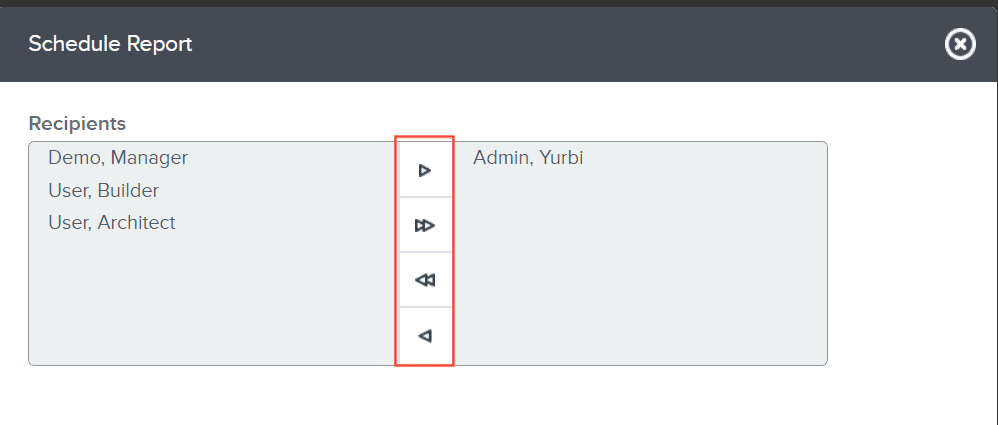
To add a recipient, select them from the left panel and then click the right arrow. This will move them to the right panel and add them to receive the scheduled item.


To remove a recipient, select them from the right panel and click the left arrow. They'll be moved back to the left panel, effectively removing them from the recipients list.


Once you are satisfied with your recipients list, click Next.

Next, modify the Email subject and the Email body
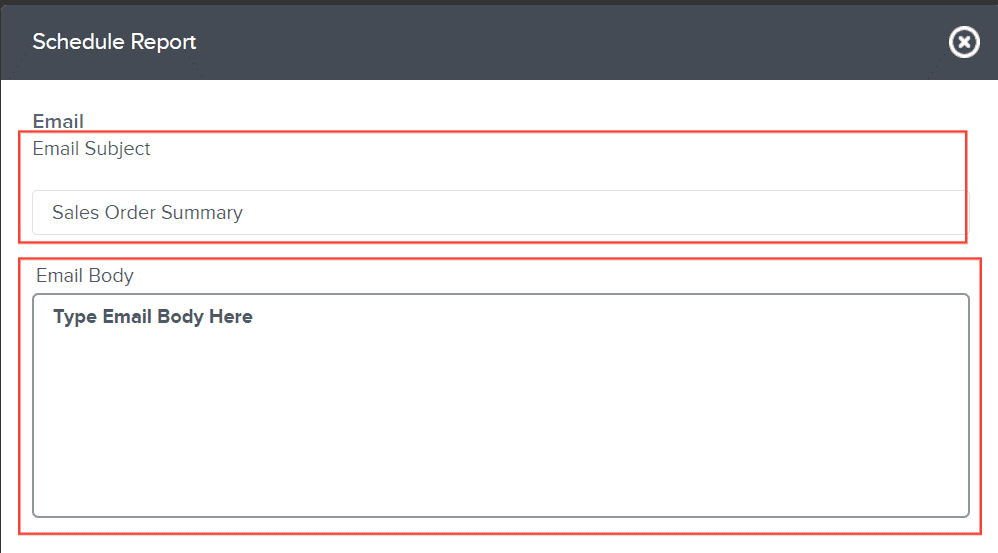
Click Next to move forward

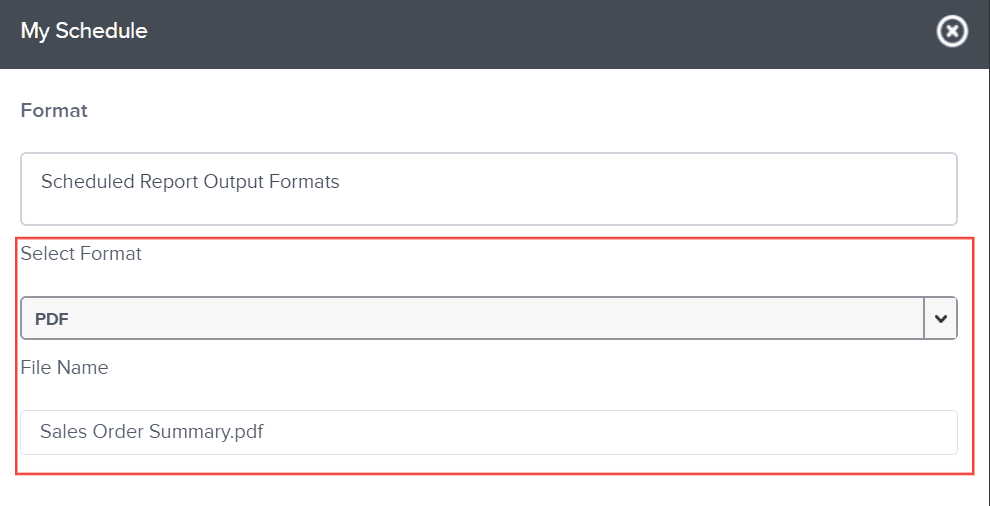
Finally, modify the Format and File Name of your scheduled item
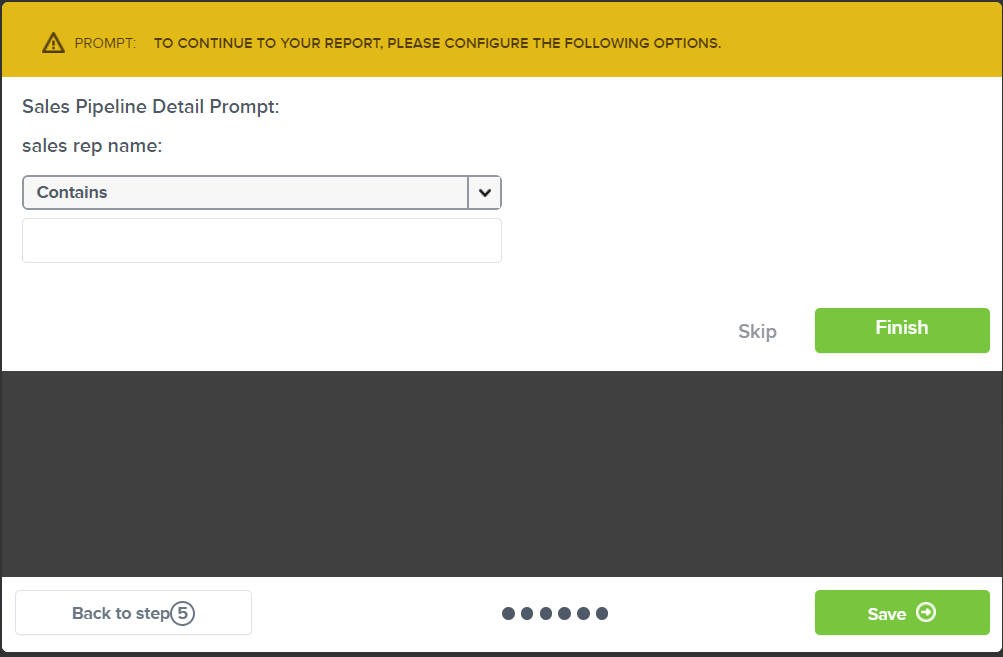
If your report includes prompts (like location, customer, or date range), you'll need to select the desired values for these prompts before scheduling.
- The values you choose will be saved with the scheduled report, ensuring it caters to the specific audience you're targeting.
- It's a standard practice to set up a report with prompts (like location, customer, or date range ) and then, during scheduling, specify the prompt values based on who will receive the report.
You will be then directed to a Preview section.
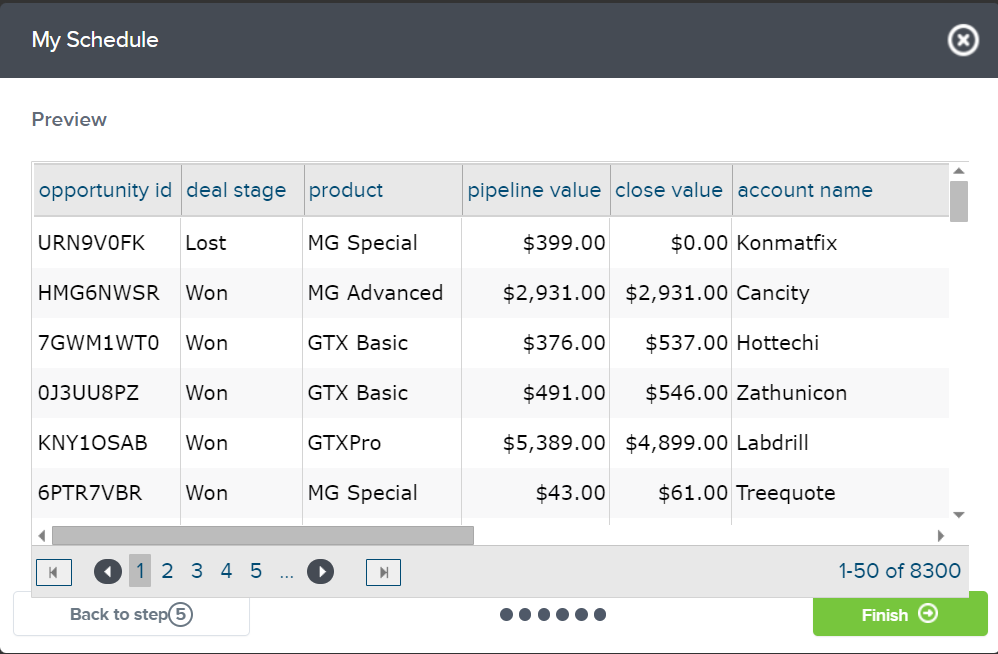
- Keep in mind that if the report does not have a prompt, it will automatically direct you to the preview section.
- Your preview of the report or dashboard will be based on the prompt you have configured, if there is any.
After everything is appropriately configured, click Finish.

And there you have it! You now know how to schedule a report or dashboard within the Library!