Version: Yurbi v11 or higher
Role: You must have root privileges or be a root-equivalent user to perform this installation.
All supported Linux versions
Introduction
In this article, we will guide you through the process of performing a fresh install of Yurbi on Linux, using a remote MS SQL Server as the backend database instead of the embedded PostgreSQL database.
This guide focuses specifically on the steps involved in choosing MS SQL during the Database Setup part of the installation. For the rest of the installation process, please refer back to the standard installation article you were initially following.
Important Notes and Pre-requisites
Before proceeding with the installation, please ensure the following:
- Network Connectivity: Ensure the Linux server has network connectivity to the remote MS SQL Server.
- Firewall Settings: Ensure the Windows server firewall (or Azure/AWS firewall) has the appropriate port open for your MS SQL Server and allows traffic from the Linux server.
- SQL Credentials: You will need a
saorsa-levelSQL username and password to complete this process. The user must have, at a minimum,DB CREATEpermissions.
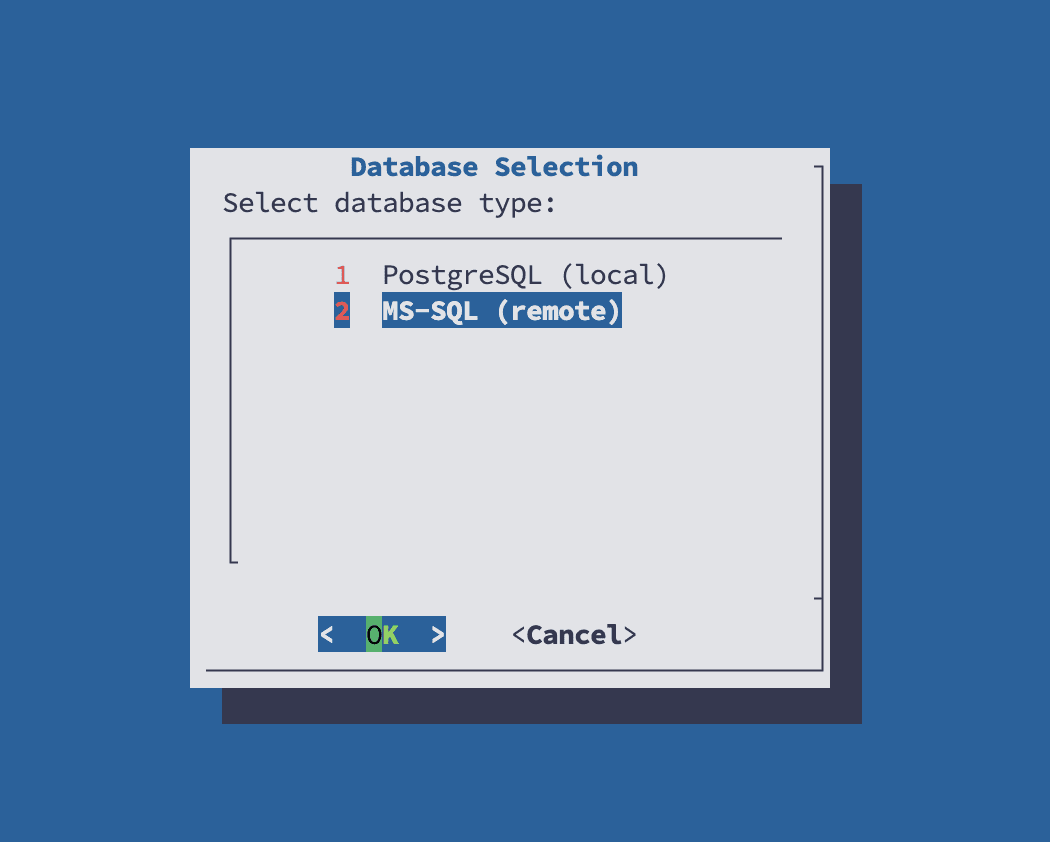
Step 1: Database Selection
User your down arrow to highlight MS-SQL (remote) and press Enter to select the MS-SQL database to be used as the Yurbi backend.
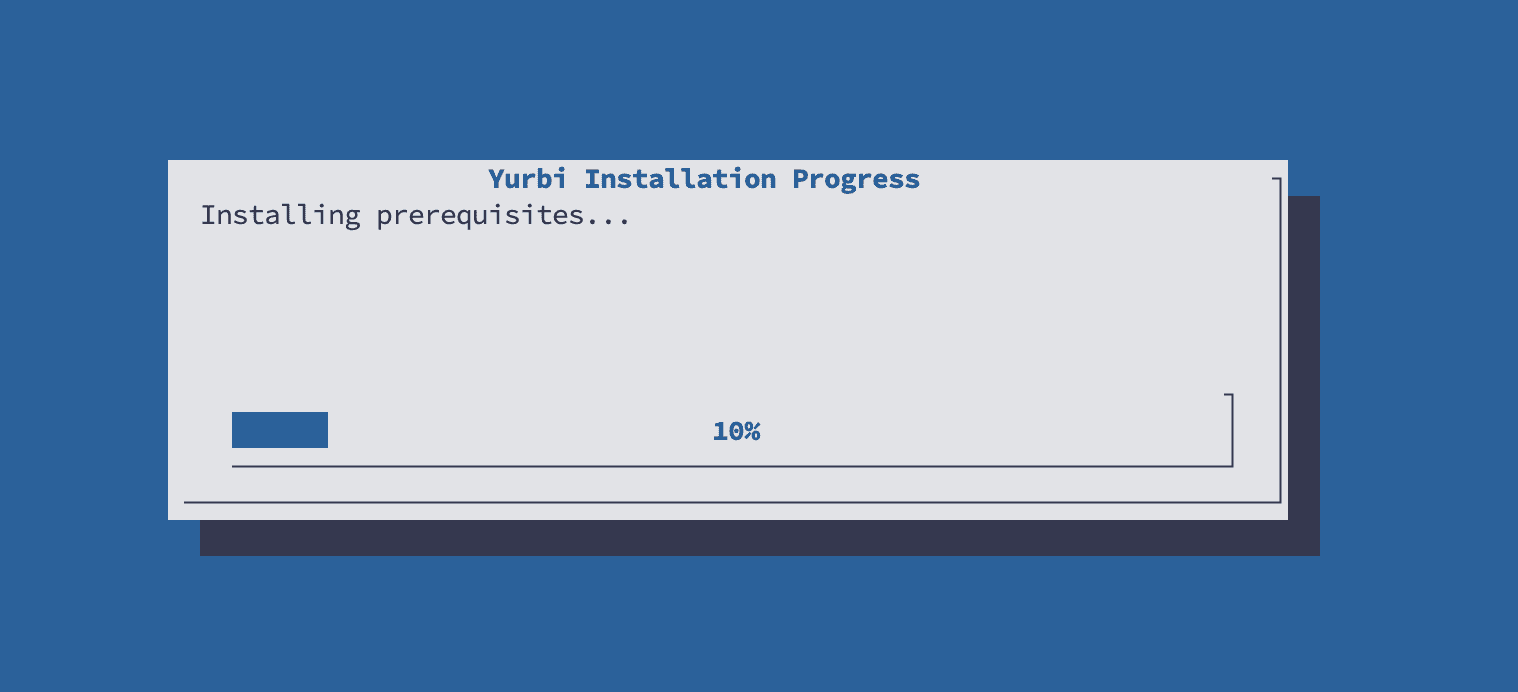
Step 2: Installing prerequisites
The installation script will proceed to install the necessary libraries to communicate with a remote MS-SQL server.
Step 3: Enter MS-SQL Connection Details
Once all prerequisites are in place, the MS-SQL Connection Details screen will display.
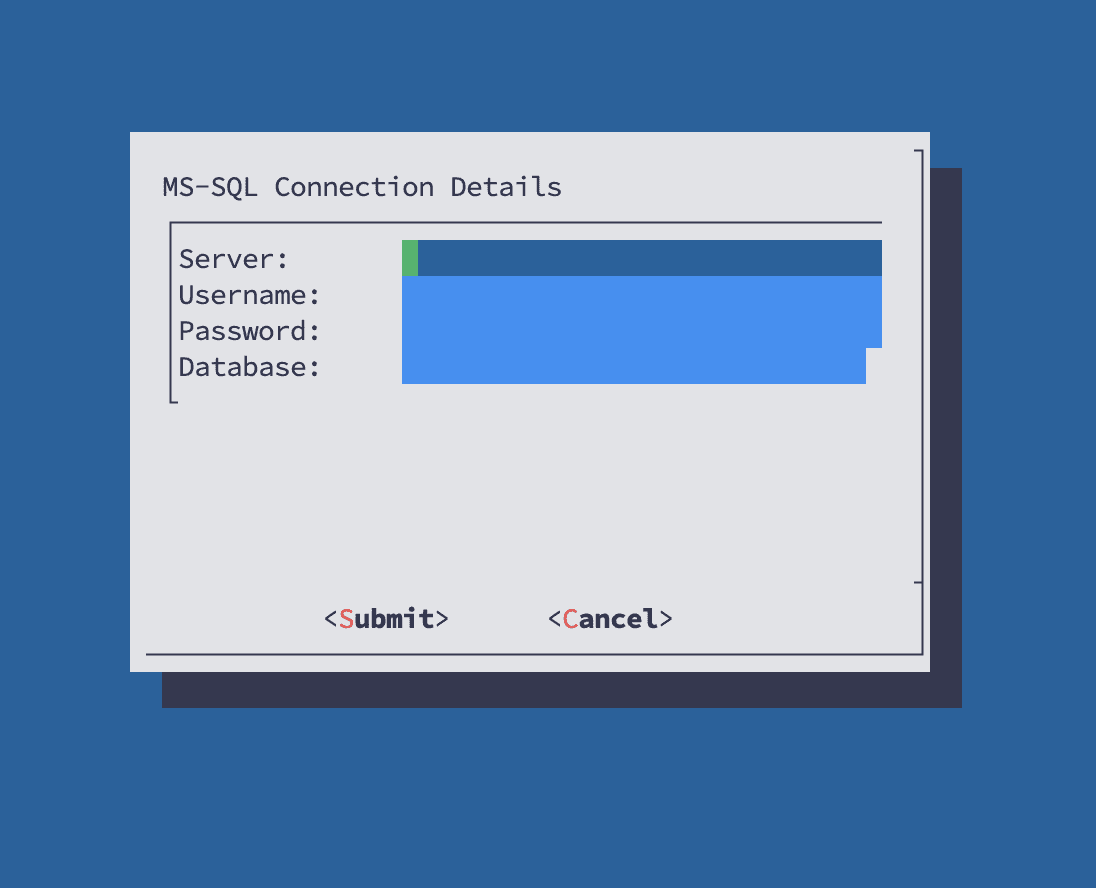
Step 4: Enter MS-SQL Connection Details
On the MS-SQL Connection Details screen, enter the following information:
- Server: Full connection string to the remote SQL server.
- Username: A
- Password: The password of the user.
- Database: By default, we recommend you enter
After entering all the information, press Enter to continue.
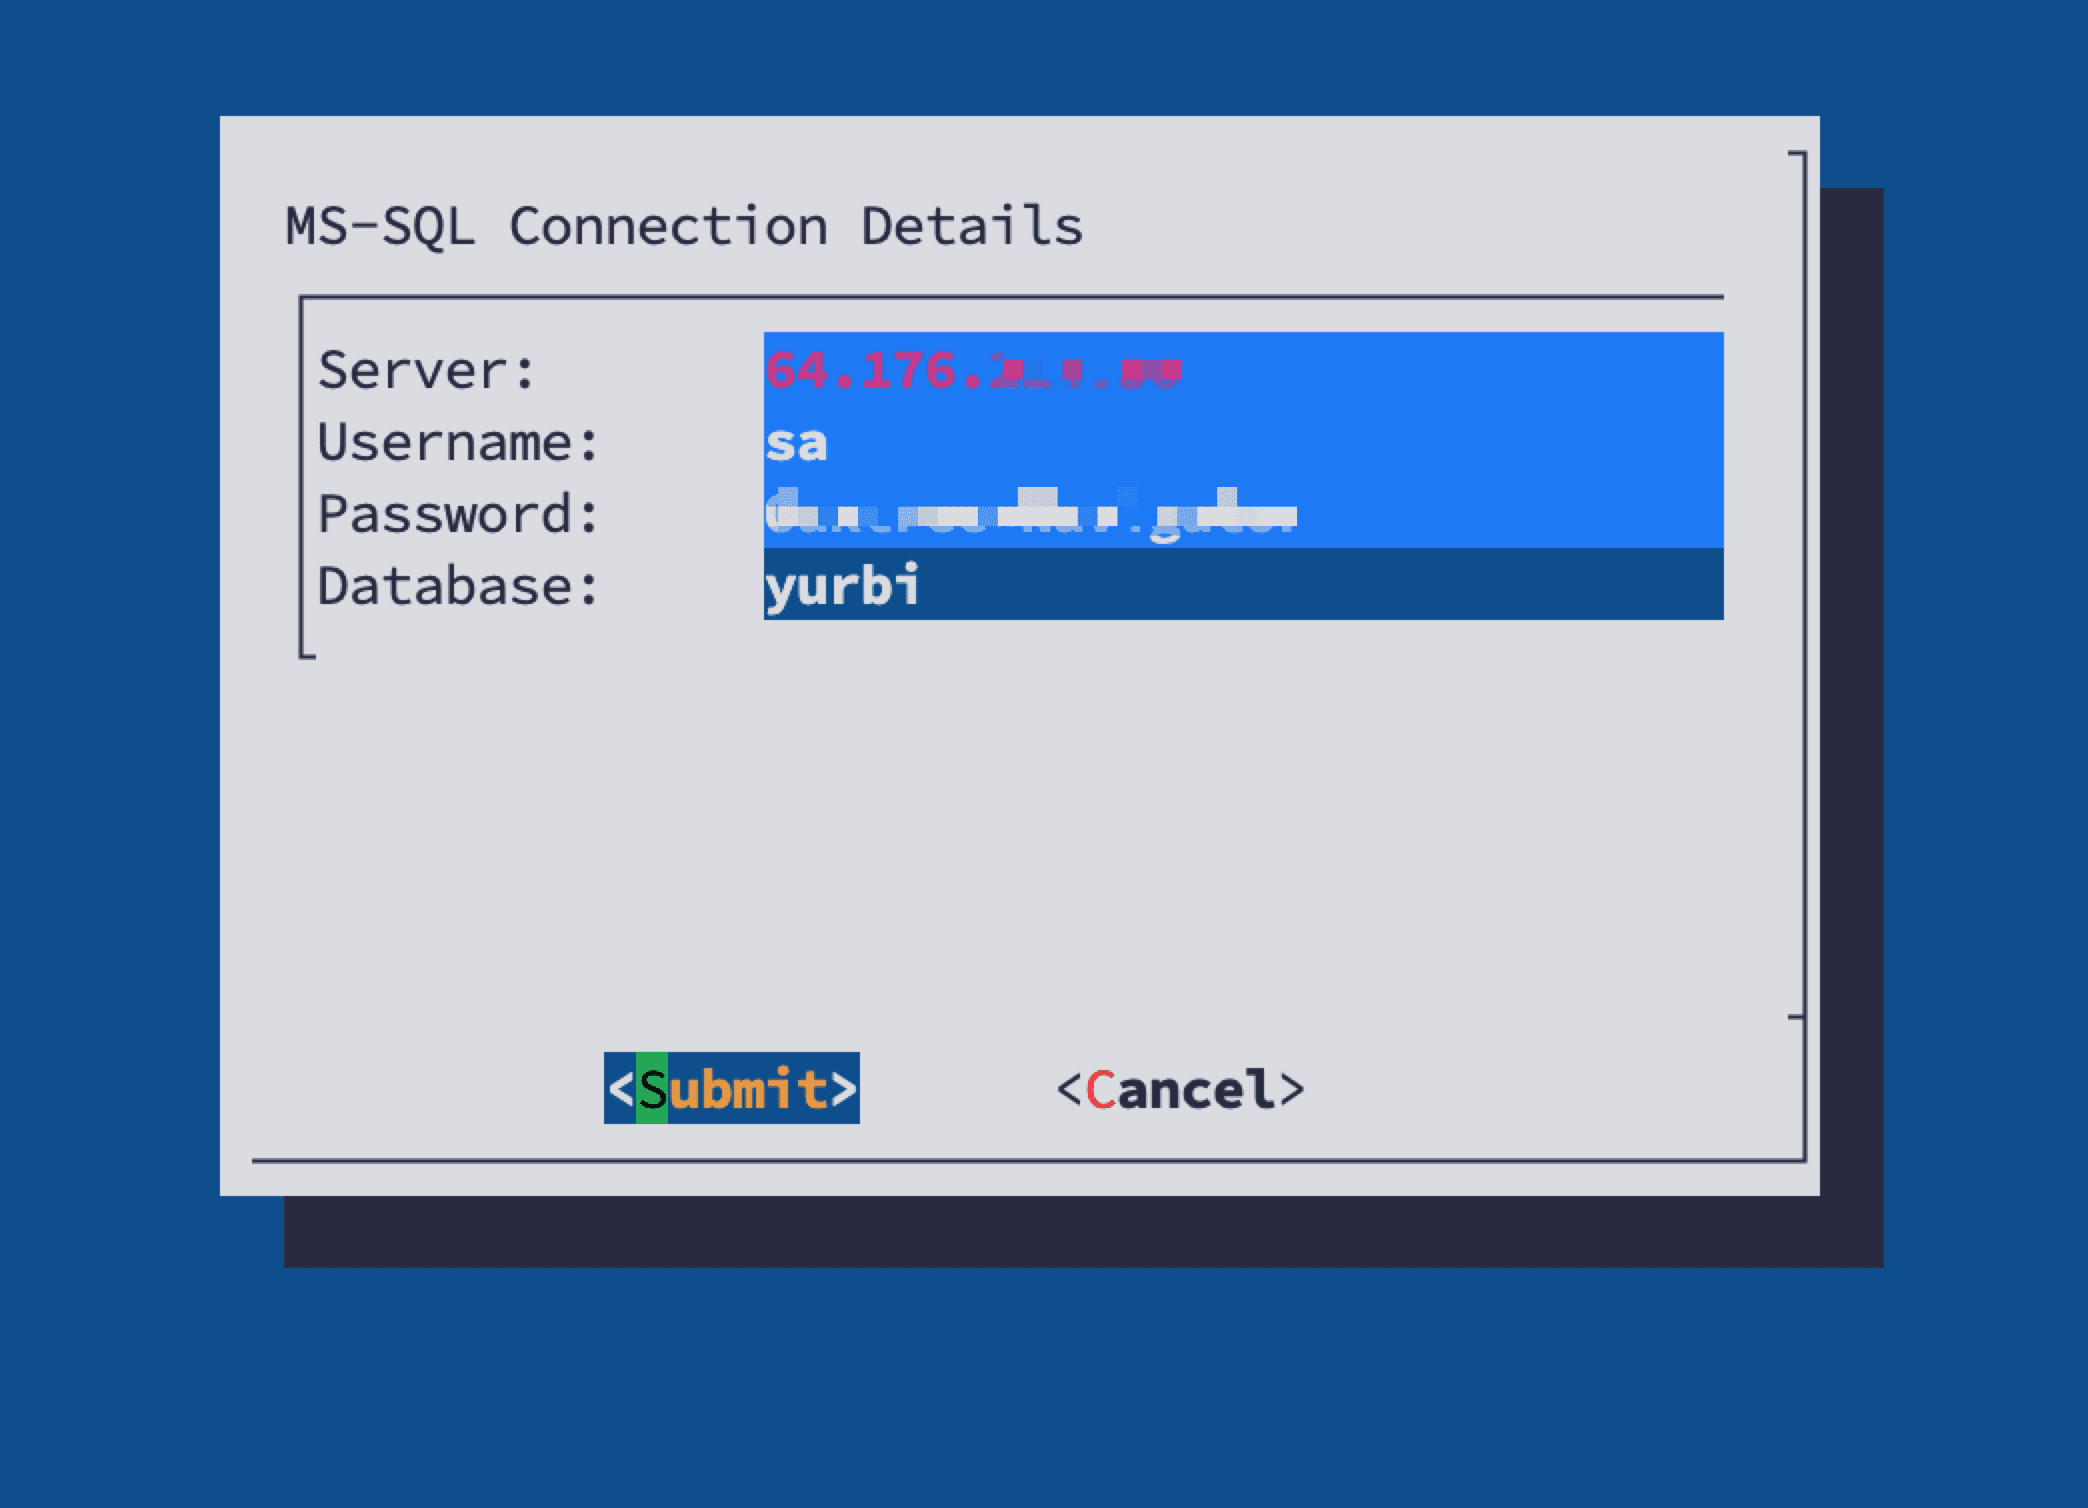
Step 5: Submit and Validate Connection Details
After submitting the information, the system will perform checks to ensure:
- Communication to the database is correct.
- The specified database does not already exist.
If there are any errors, you will receive error messages and be returned to the MS-SQL Connection Details screen. Review and correct the information, then try again.
Step 6: Continue with the Installation
Once the connection details are validated and no errors are found, the installation process will continue as normal. Please refer back to your initial install instructions to proceed with the remaining steps.