Version: Yurbi v11 or higher
Role: Admin
OS: Linux or Windows
Introduction
After the initial installation of Yurbi, the next step is to activate Yurbi and generate a valid trial license from our license management server.
Note: If you are re-installing Yurbi on a previously licensed server, please use the same email address during this process to install your production license keys.
Note: You cannot use the same licensing email in this process on more than one server. If you are installing a new server to transition from a prior server, use a unique email address to start a trial on the new server and contact us at [email protected] to assist you with the license transition.
Step 1: Access the Yurbi Interface
To start the activation process, open a browser and navigate to:
- Linux: http://<server ip>/
- Windows: http://<server ip>/yurbi
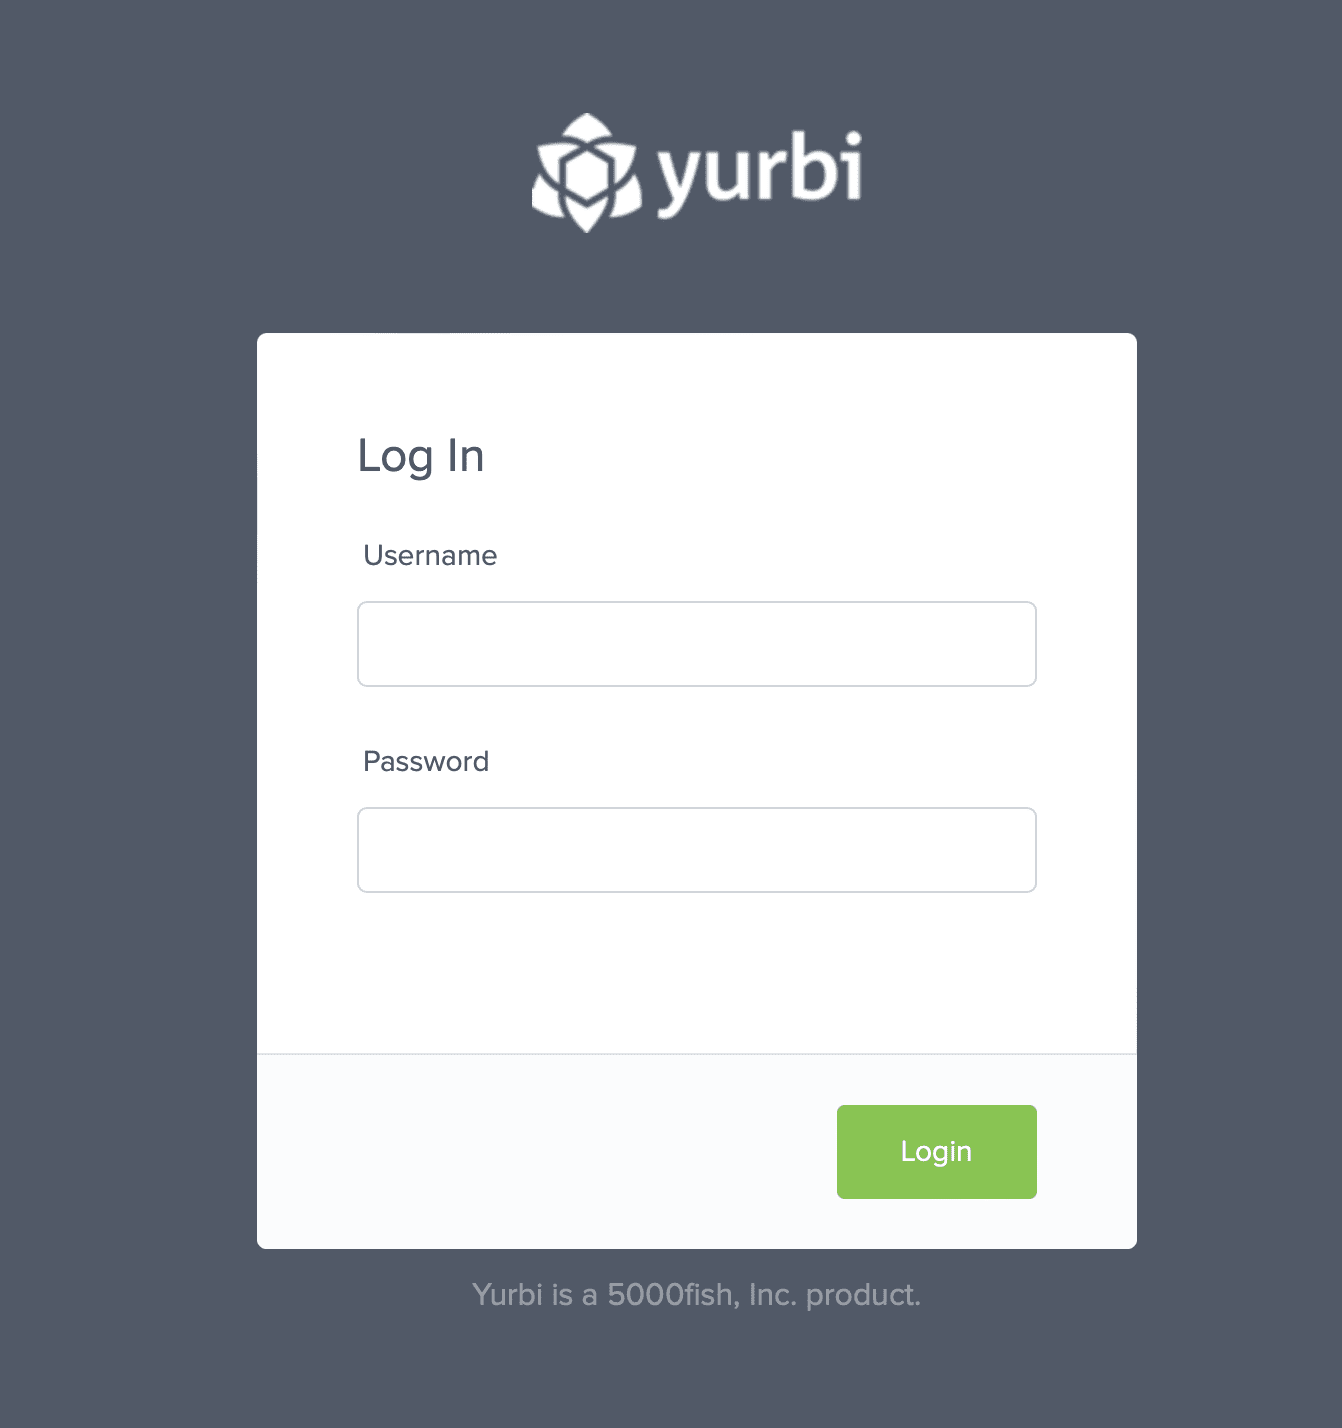
Step 2: Log In
Use the default login credentials:
- Username: admin
- Password: yurbi
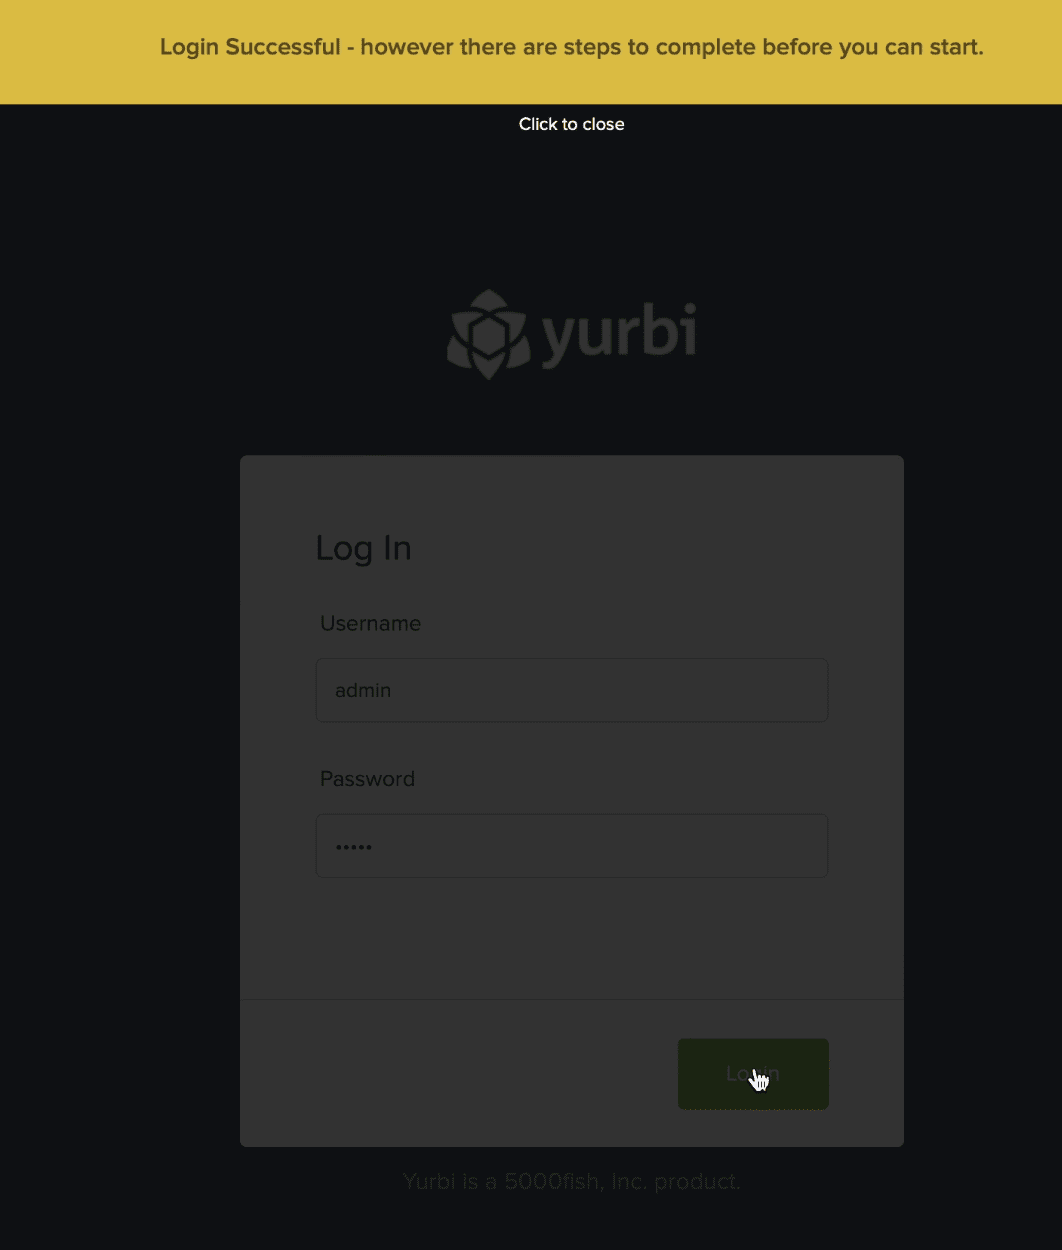
Step 3: Activate Yurbi
Upon logging into a new install, you should see a yellow bar message indicating you must activate Yurbi as part of the first use process. Follow the instructions provided to complete the activation.
If you see a red bar indicating there is an error, please ensure that the Yurbi services are running.
- Linux: Review the installation log at /root/yurbi_install.log
- Windows: Check the logs in the c:\program files\yurbi\logs directory
For assistance with troubleshooting, please send the logs to [email protected] and we can help resolve the initial issue.
Step 4: Review and Accept Terms and Conditions
Review the Terms and Conditions presented on the screen. If you agree, check the I accept checkbox located in the lower right corner, and then click Next to continue.

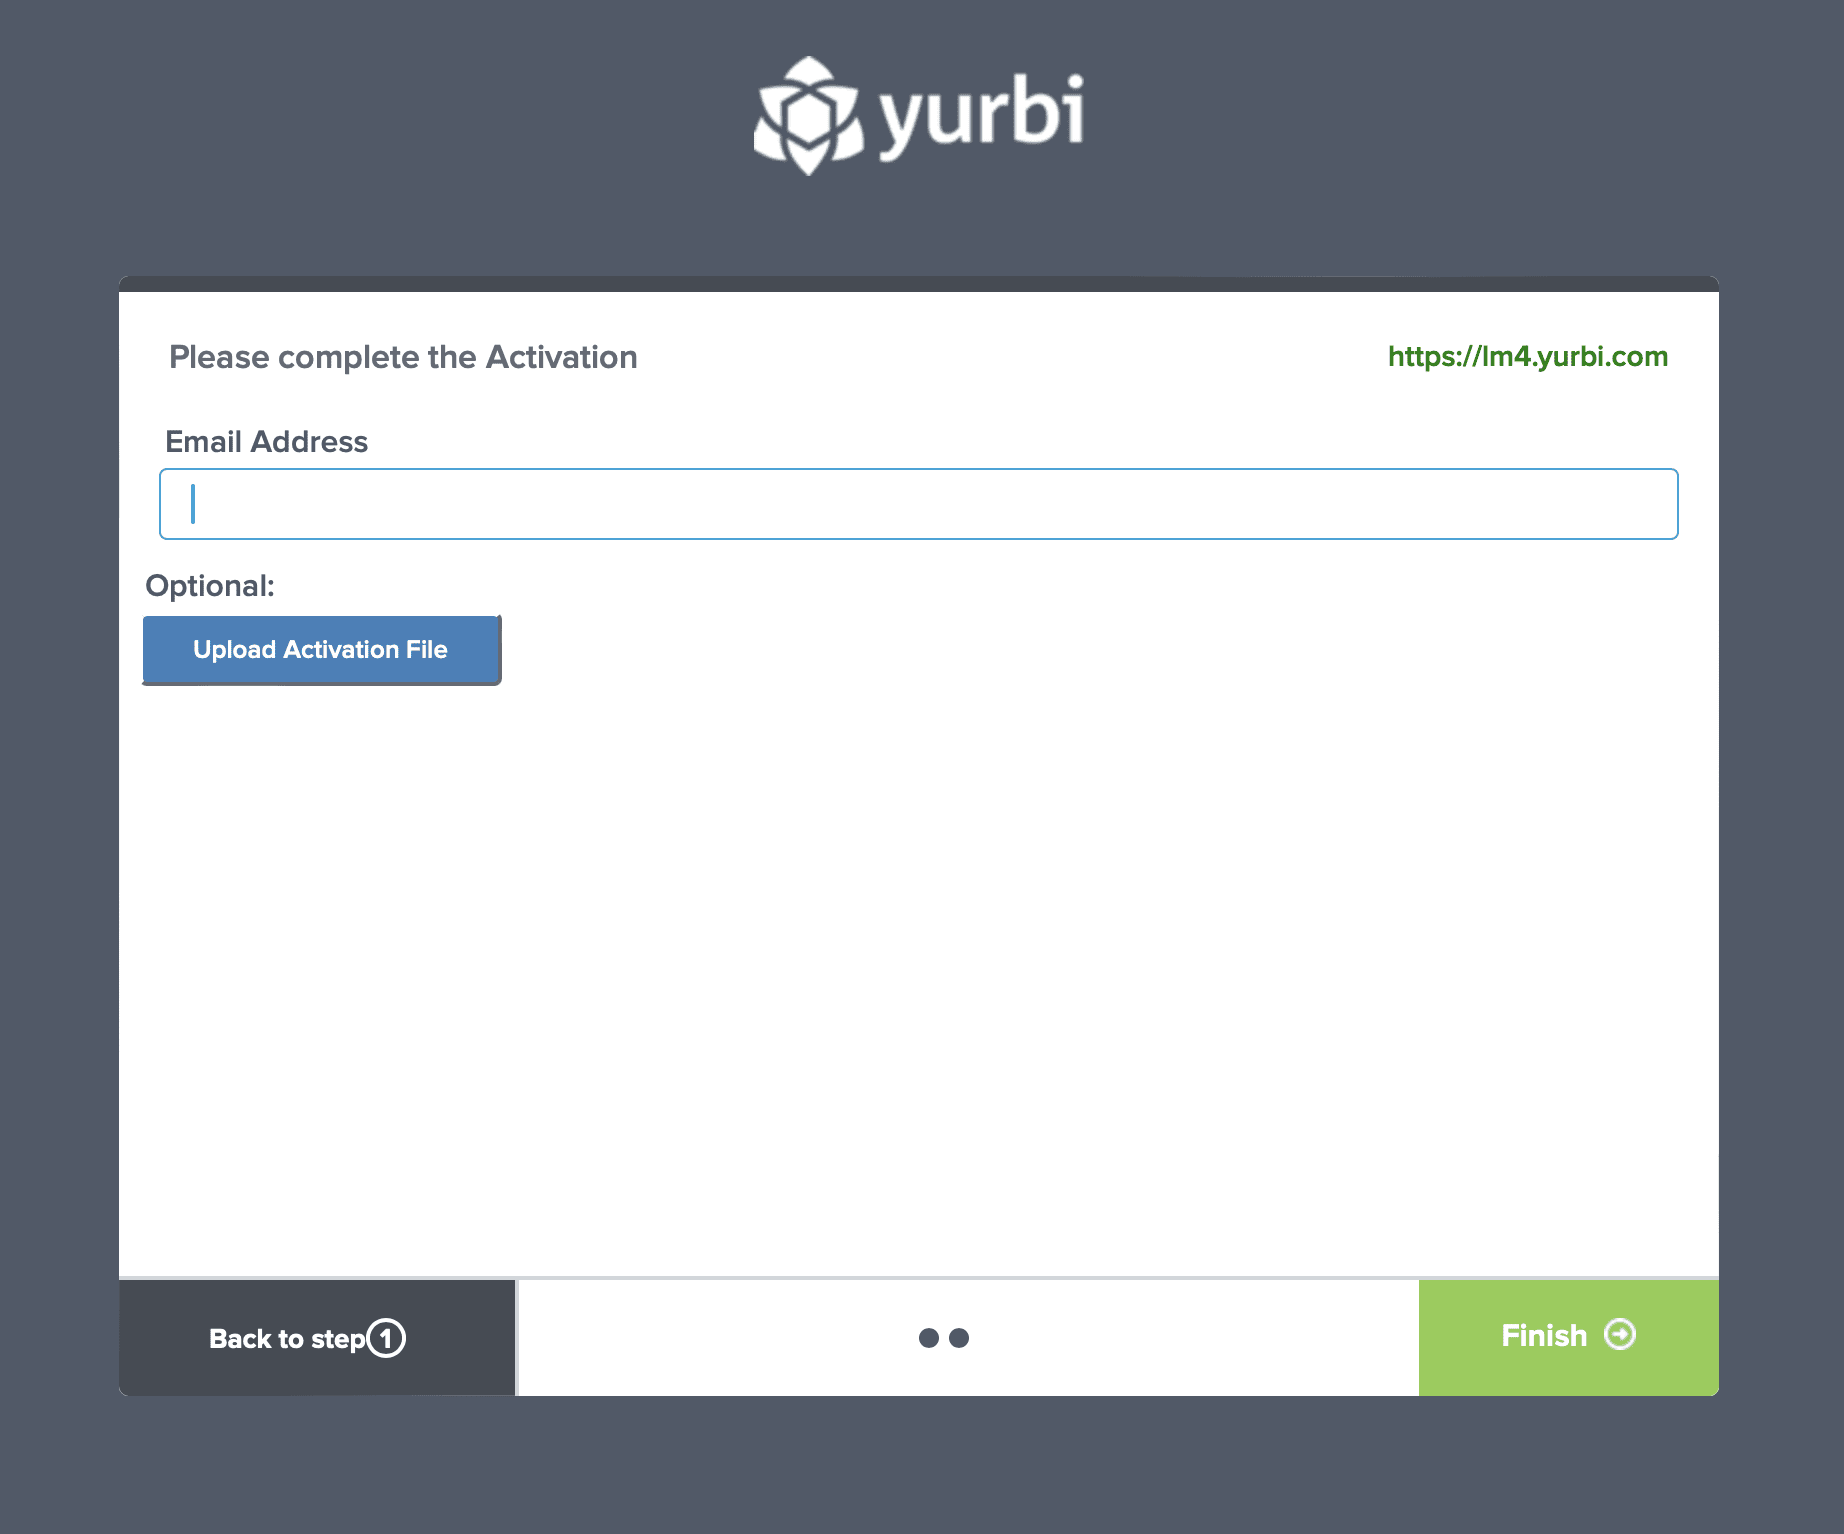
Step 5: Complete the Activation Screen
Look in the upper right-hand corner of the screen:
- If you see a green
https://lm4.yurbi.com, it means you are connected to our license management server and can proceed. - If you see that you are in offline mode and not connected, you have two options:
- Allow communication to
https://lm4.yurbi.comto complete the activation. - Alternatively, you will see an Installation ID on the screen. Email this ID to [email protected], and we will send you a key file that you can upload from this screen to complete the trial activation.
Assuming you are connected, the final step is to enter an email address to apply to your trial license. This email doesn't need to be valid, and we will never send anything to it. The email should be unique and not something you have registered a trial under before.
We recommend using the format [email protected] or [email protected] so that we can easily identify your server and assist you with trial extensions or application of non-trial keys in the future.
Enter your activation email address and press Finish.
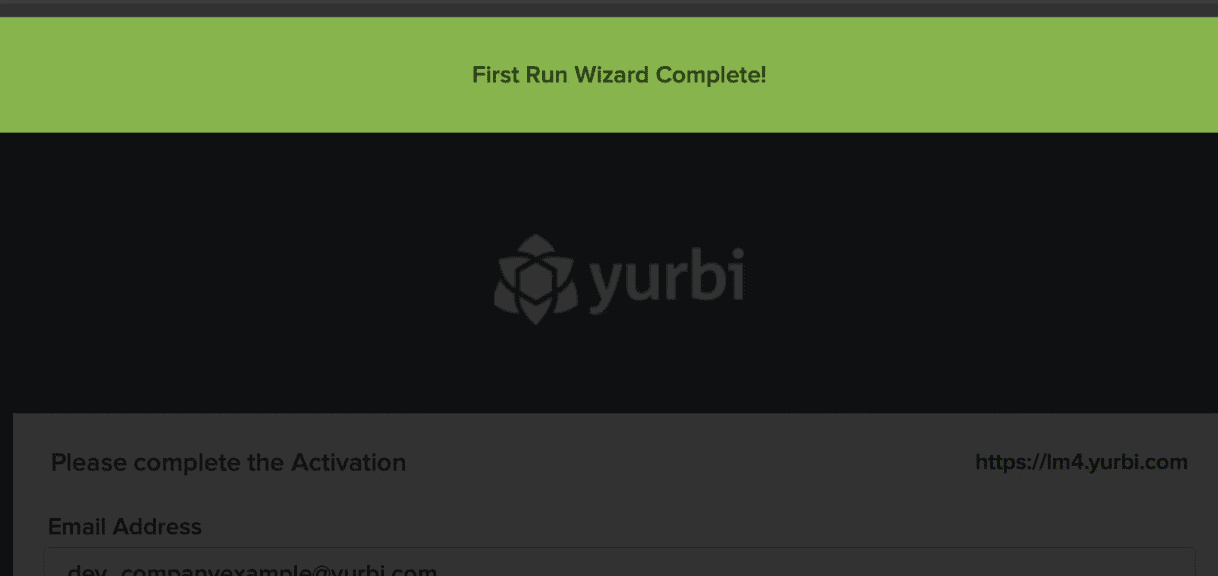
Step 6: Finalize Activation
After hitting Finish, you will see a pause as your server communicates with our license manager.
- If successful, you will see a green bar message saying First Run Wizard Complete!.
- If you see a red bar message, it generally indicates that the email used was previously registered, or there was a network timeout or connection issue.
Please retry the process. If you continue to have issues, contact us at [email protected].
Step 7: Successful Activation
With a successful activation, you will be automatically logged in as admin to your blank state dashboard. As a reminder, the default login credentials are:
- Username: admin
- Password: yurbi
Post Activation Suggested Activities
- Change the Default Admin Password: See this article.