Version: Yurbi v11 or higher
Role: You must have root privileges or be a root-equivalent user to perform this installation.
Applies to: Yurbi installs on Linux
Introduction
By default, Yurbi will install using port 80. It is highly recommended to install an SSL certificate to ensure secure communication between your end-user browsers and the Yurbi server, especially if you are allowing communication outside your private environment.
We have written a utility script to make this process seamless. However, this script assumes that you are not using a proxy server and do not have an internal SSL certificate process.
This script will:
- Obtain a free SSL certificate from Let's Encrypt.
- Open port 443 on the server firewall.
- Upon successful completion of the SSL process, close port 80 on the server firewall.
Prerequisites
Before running this script, you need to add an A record in your public DNS to point a fully qualified web domain address to the public-facing IP address of your server.
If you are unsure of these terms, this process should be completed by your IT department or a technical consultant responsible for your network and security. For additional questions, you can also contact us at [email protected].
Start the Process
To start the process, SSH to your server and run this command:
curl -s https://f002.backblazeb2.com/file/5000fish/yurbi/linux/ssl_setup.sh | sudo bash
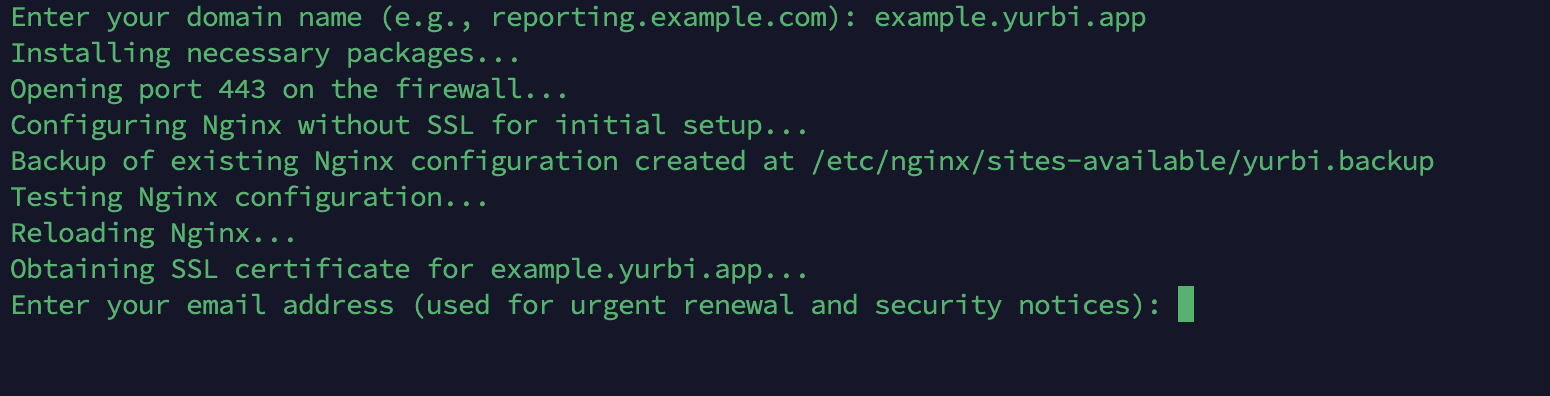
Step 1: Provide Domain Information
The script will start by asking you for the fully qualified web domain that you set up in your DNS server. Generally, this will be in the format of reporting.domain.com. Do not enter https:// or any trailing /.

Step 2: Domain Validation and Email Address
The script will perform error checking to ensure the domain is valid. Assuming all tests pass, the next prompt will request a valid email address. This email address will be sent to the SSL certificate provider, Let's Encrypt, to provide you with notifications of any important information.
By default, the SSL certificate will be set to auto-renew. Therefore, it is important to provide an email address that is monitored and valid.
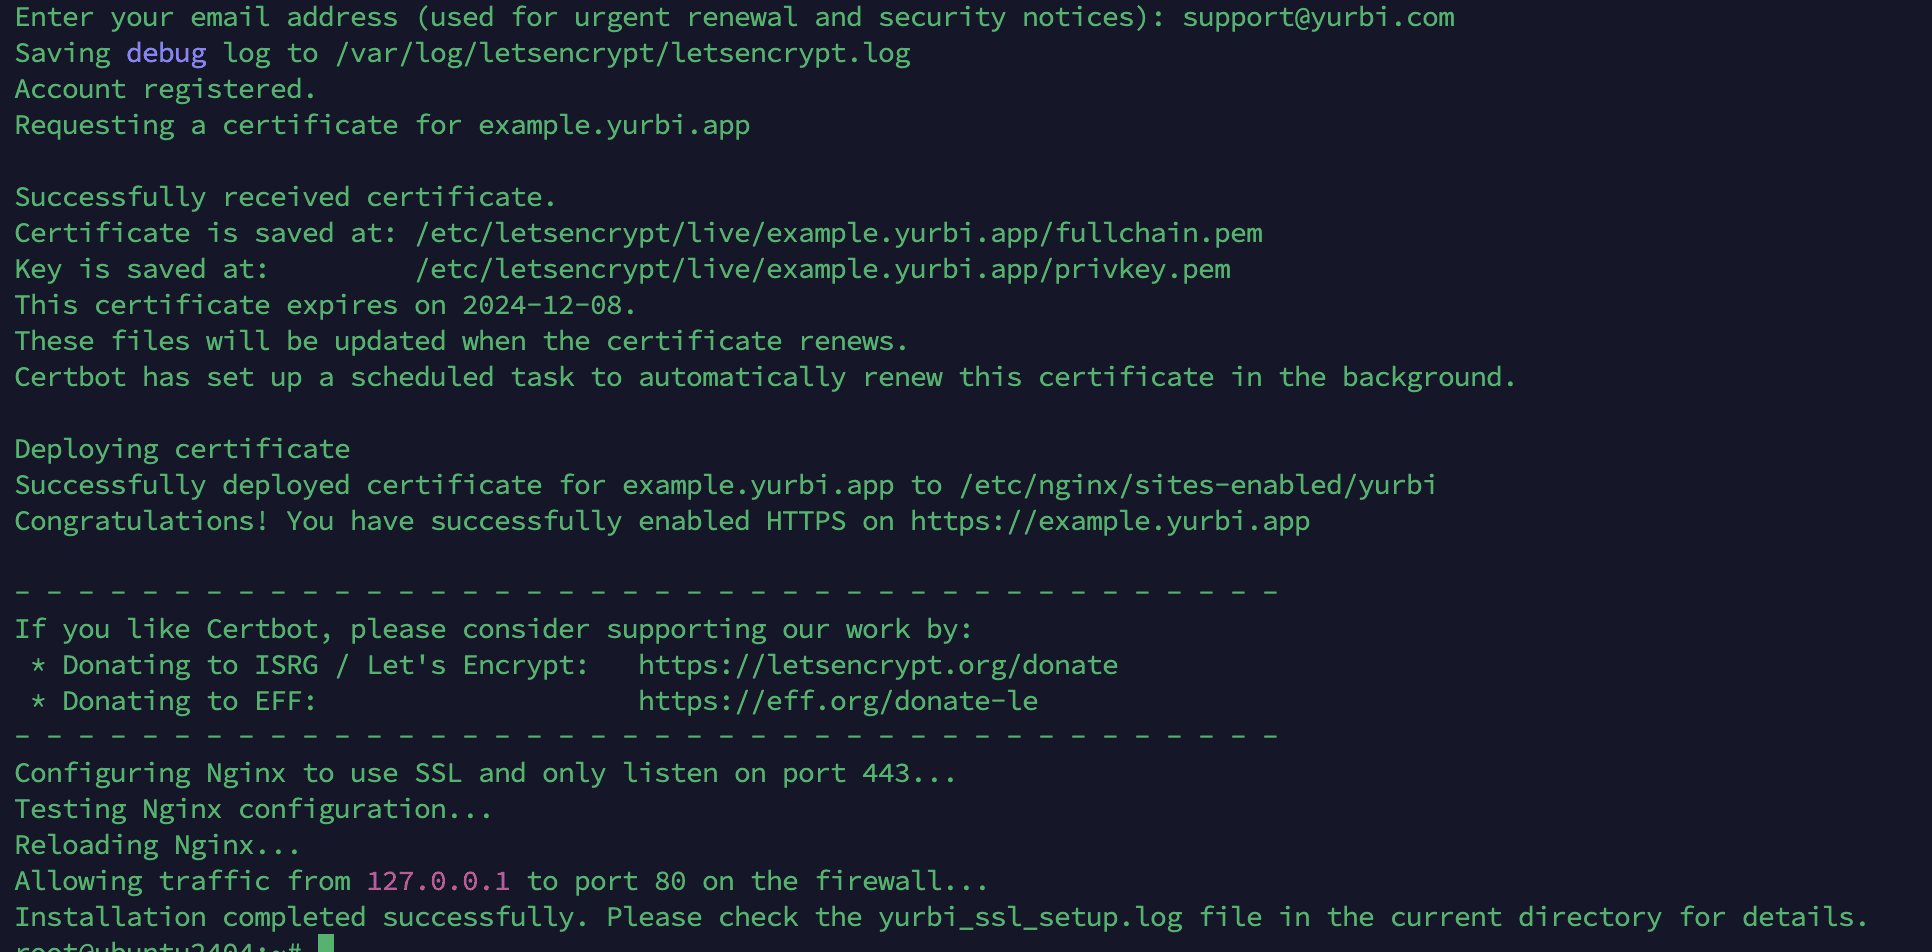
Step 3: Provision SSL Certificate and Configure Server
The script will proceed to provision the SSL certificate and set up NGINX, the firewall ports, and Yurbi to use the SSL certificate over port 443.
- If the process is successful, the output will look like the screenshot below.
- If you encounter an error, there should be information on how to troubleshoot.
For further assistance, you can also reach out to us at [email protected].
Step 4: Validate the Configuration
To validate the configuration, open your browser and go to:
https://<your configured domain>
Confirm that you are able to log into Yurbi successfully.