Version: Yurbi v11
Role: Builder or higher
Permission: Builder access to the application
In this guide, we will cover on how you can configure the report headers and footers of the report you are exporting.
Note that headers and footers only show in Export to Excel or PDF or via Schedule Email with in Excel or PDF format. Another thing to remember is that footer is only applicable to PDF format. These features only apply to data grid visualizations Grid/Table and Aggregate Grid Report. Other visualizations such as Charts, KPIs, Treemaps, and Geo Maps export and are scheduled as PNG image files and will not have a header or footer. However, you can click to the Data Tab to export the raw data as Excel or PDF and the header or footer will apply there.
Let us dive into the process:
Click Actions and a drop-down menu will appear.

Select Report Headers

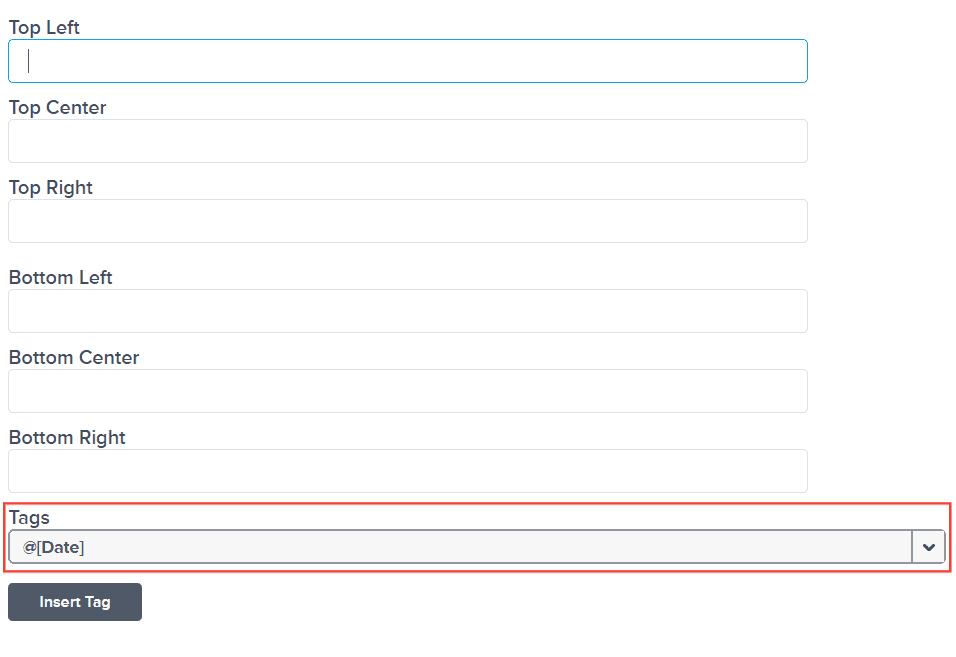
You can customize the value of the headers and footers by typing in on their respective field boxes.

Note: Top Left, Top Center, and Top Right are Headers of the document while Bottom Left, Bottom Center, and Bottom Right are Footers.
You can use the tags value as well to input the data in the field box. To do this, click on your desired field box.

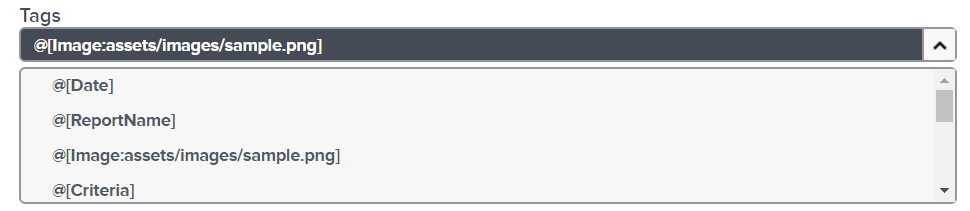
On the tags drop-down menu, select the value you want to use.
Here are what each tag means:
@[Date] - The current date the report is generated
@[ReportName] - The name of the report
@[Image:assets/images/sample.png] - replace sample.png with the name of your image which is stored on the server in /yurbi/frontend/assets/images/ directory. Alternatively, you can use a web address in ths format: @[Image:https://pathtoyourfile/sample.png]
@[Criteria] - The report prompt criteria applied to the report
@[Time] - The current time the report is generated
@[Company] - This is pulled from the company field of the user's profile
@[ReportDesc] - The report description
@[CriteriaDates] - This will report only the criteria applied to a date prompt
@[RowCount] - The number of rows in the report data
@[Pages] - Total number of pages (applicable to PDF only)
@[Page] - Current page (applicable to PDF only)
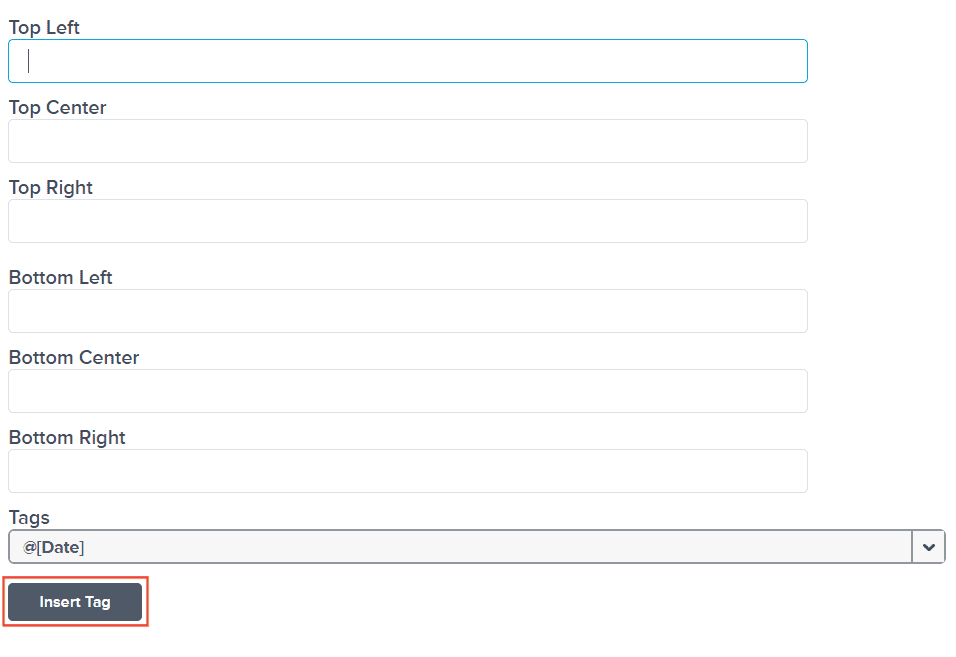
Click Insert Tag
When using the @[Image:assets/images/sample.png] tag, replace assets/images/sample.png with the link of the image.
Click Finish

When you export the report, the configured headers or footers will appear. For Excel export, only headers will appear while PDF export will have a header and footer.
And there you have it! You now know how to configure report headers and footers in your reports!