Yurbi Version 12: User Guide Overview
Version: Yurbi v12
Role: Agent and higher
Permission: agent with view permission or higher
Welcome to Yurbi Version 12! This guide will help you navigate the new interface and get started with ease.
Logging In
1. Open the Yurbi Login Page.
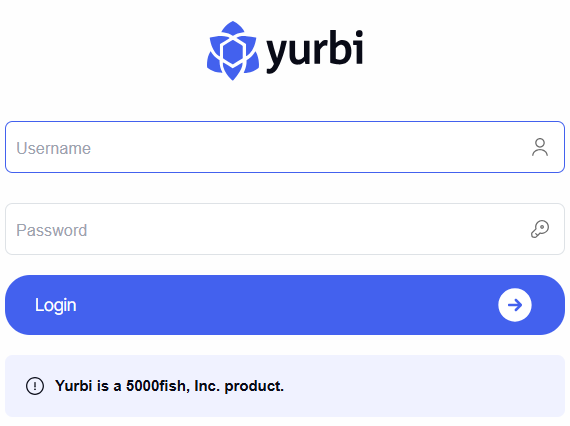
2. Enter your login credentials provided to you.
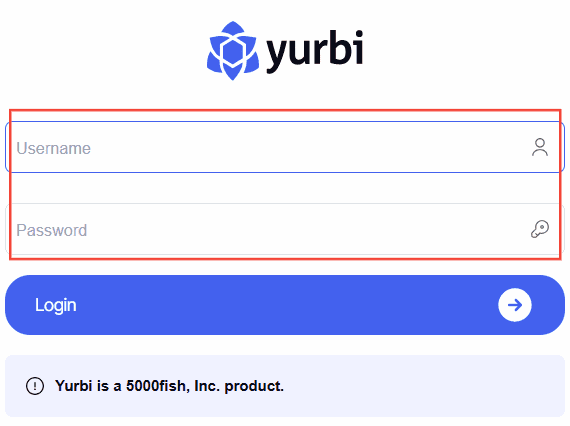
3. Click the Login button to access Yurbi.

Navigating the Dashboard
1. After logging in, the Yurbi Dashboard will appear.

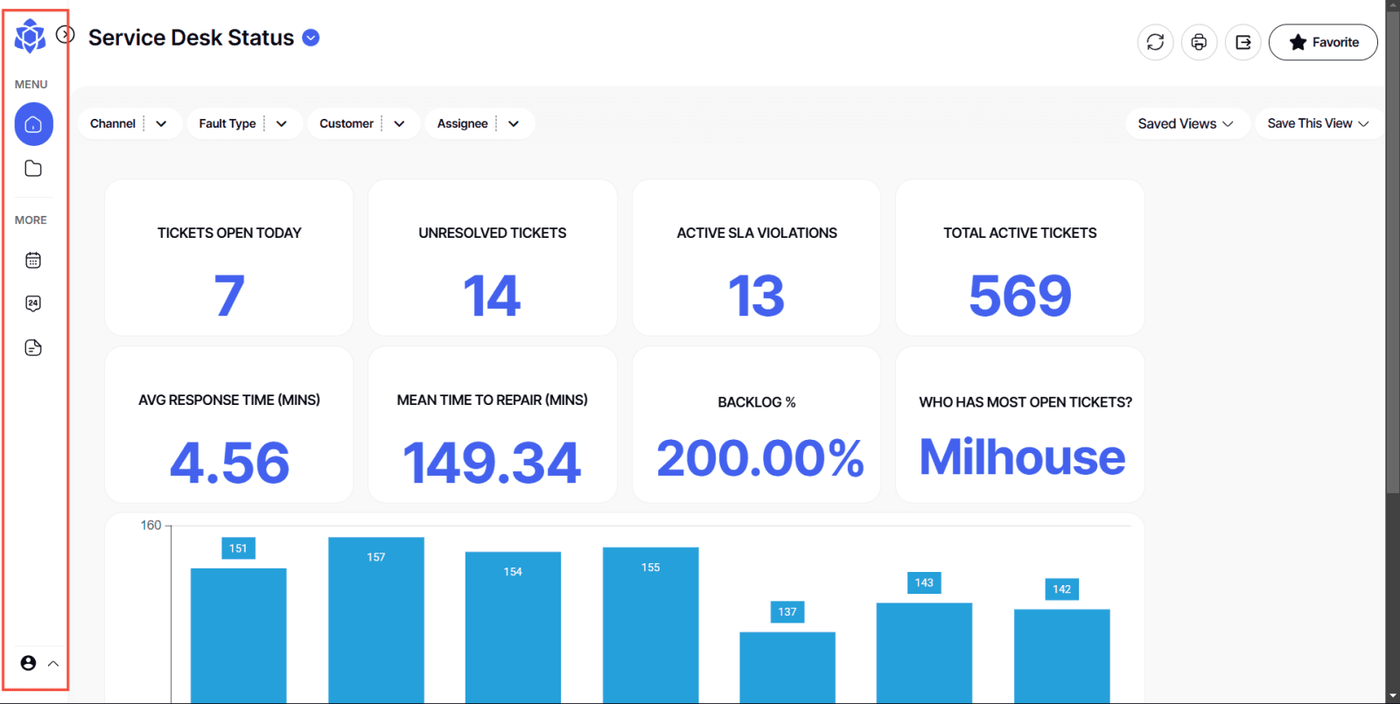
Left Sidebar:
1. Here, you'll find the menu options: Settings, Schedule, Documentation, Support, and User Profile.
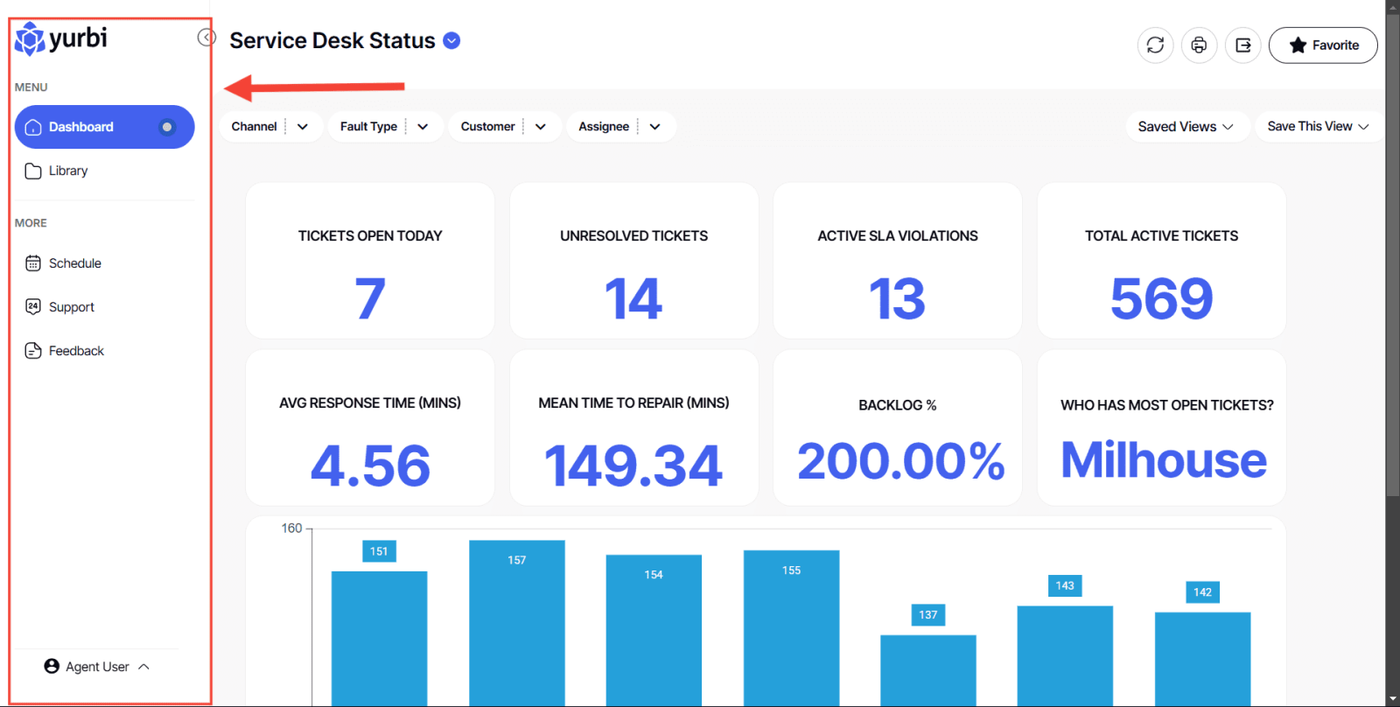
2. To minimize the left sidebar, click the arrow button at the top.
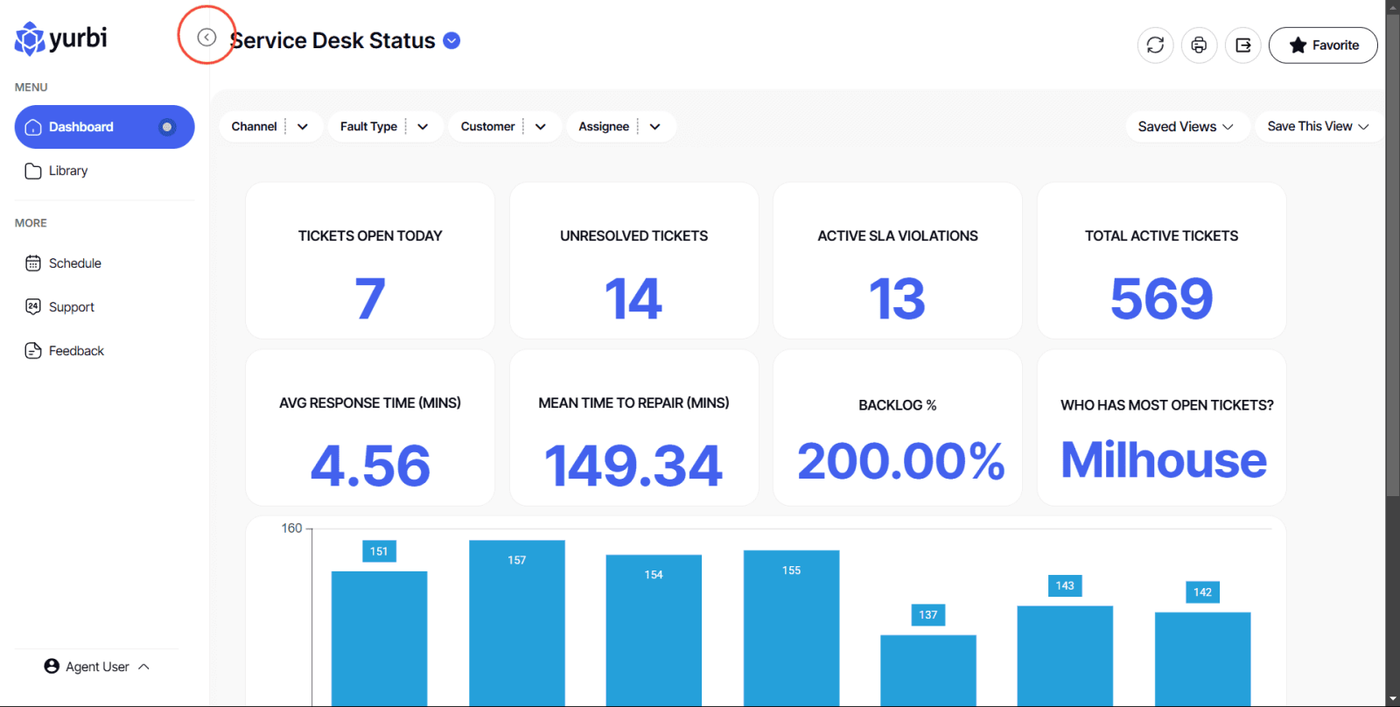
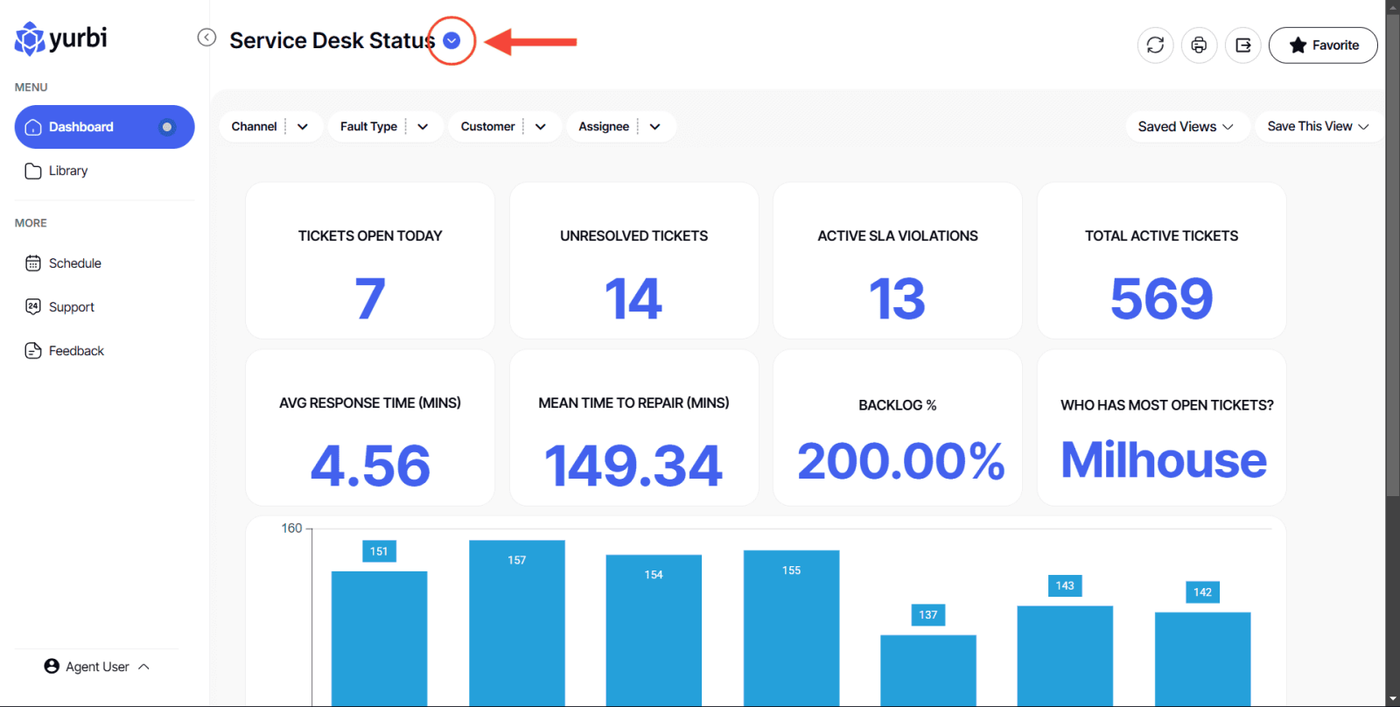
Dashboard Overview:
1. The dashboard name is located at the top left corner.
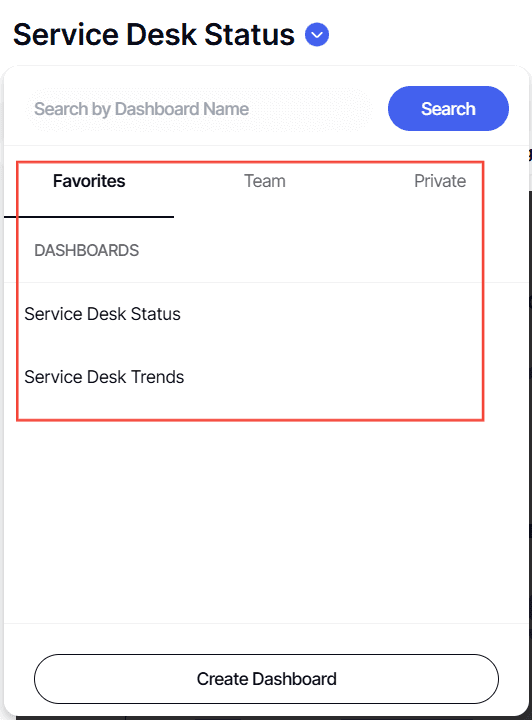
2. Click the arrow beside the dashboard name to access:
- Favorite Dashboards
- Team Dashboard
- Private Dashboard
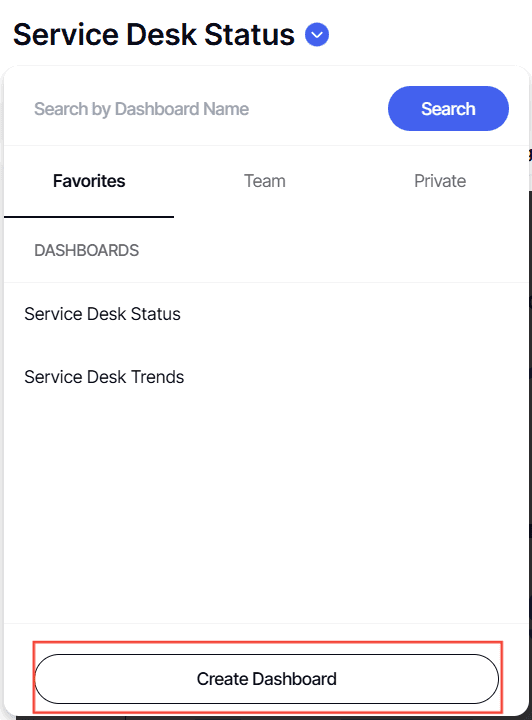
3. To create a new dashboard, click the Create New Dashboard button in this area.
Dashboard Options
1. On the right side of the dashboard, you’ll find various options:
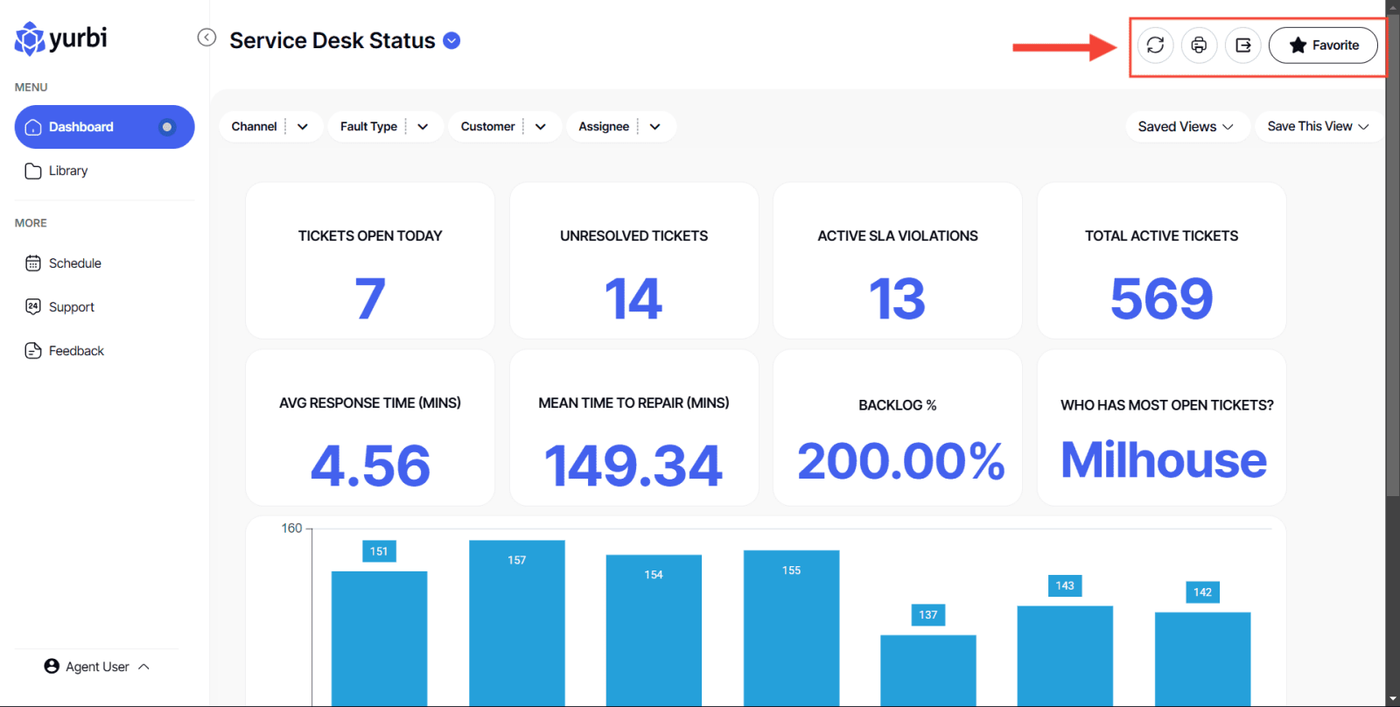
Edit Dashboard option
Given that the user profile has a edit permissions

Reload Dashboard option
Refreshes the dashboard

Print option

Export option

Favorite Button

Add Widget Button
Given that the user profile has a permission from the admin.

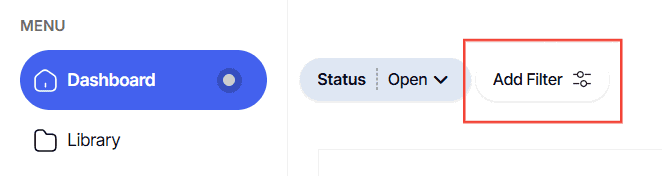
Filters
1. To add a filter, look for the Add Filter option in this section.
Given that the user profile has a permission from the admin.
Saved Views
1. You can find your saved views next to the Saved Views option
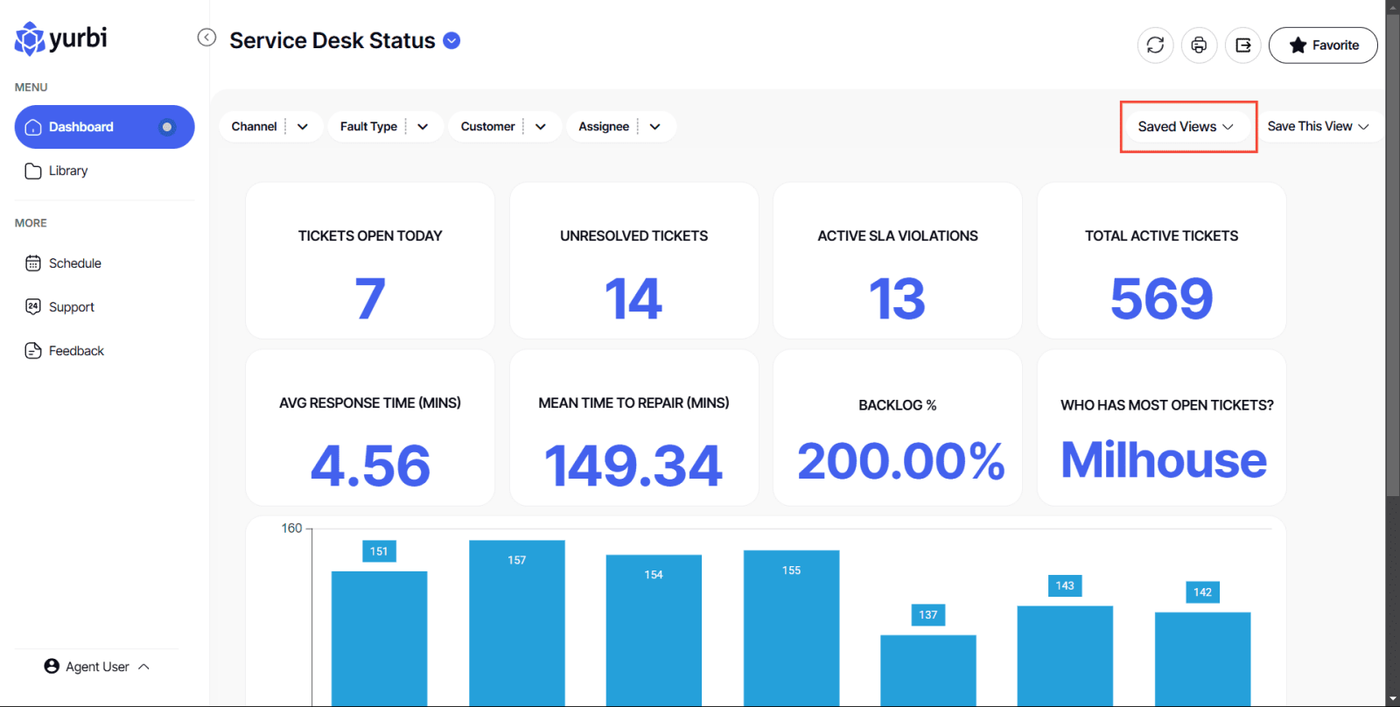
2. To save your current view, click the Save This View button.

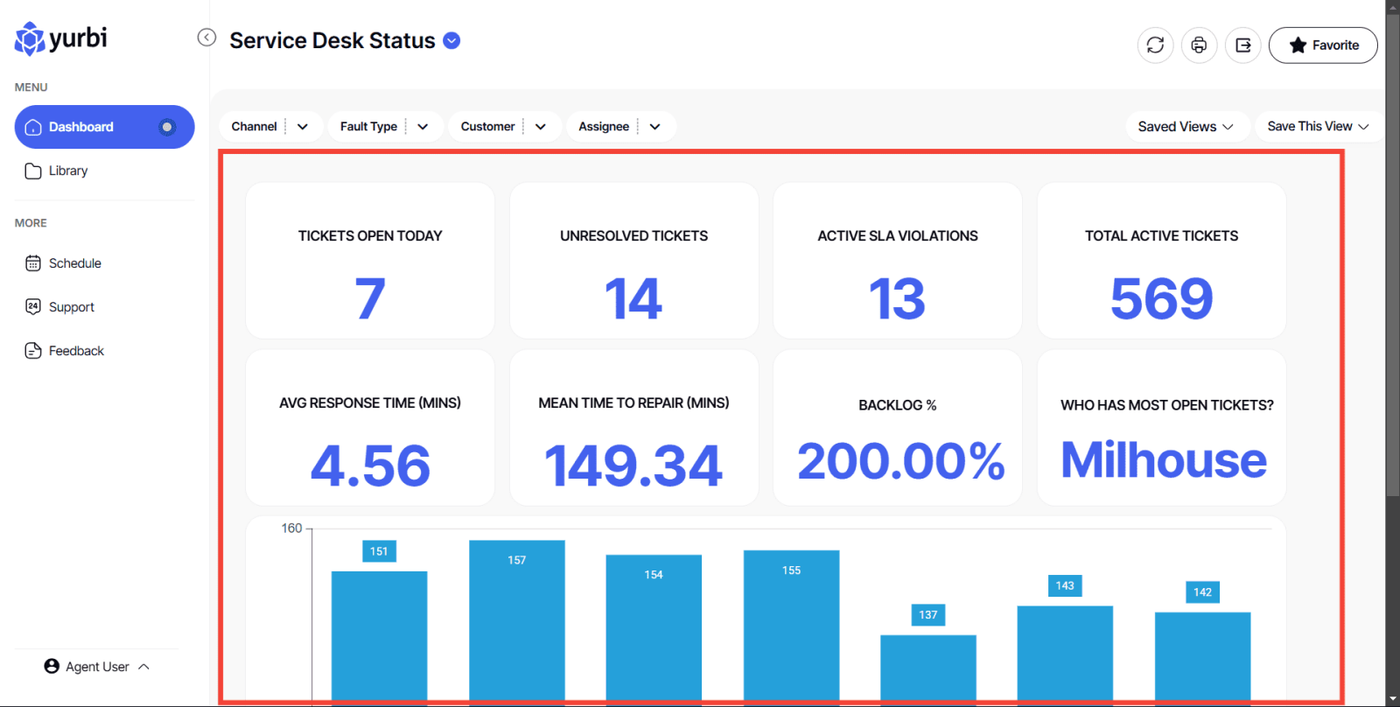
Widgets Area
1. All the widgets you have added will appear in this section.
Now you’re ready to explore Yurbi’s powerful features! If you have any questions, feel free to refer to the Documentation or Support options in the left sidebar.