How to schedule a library report or dashboard
Version: Yurbi v12
Role: Agent and higher
Permission: Agent with view permission to the library folders
Overview
Scheduling a report or dashboard allows the receiver to get a snapshot of it delivered to at their email address, presenting them with the sender’s default view and respective data security settings.
Accessing the report
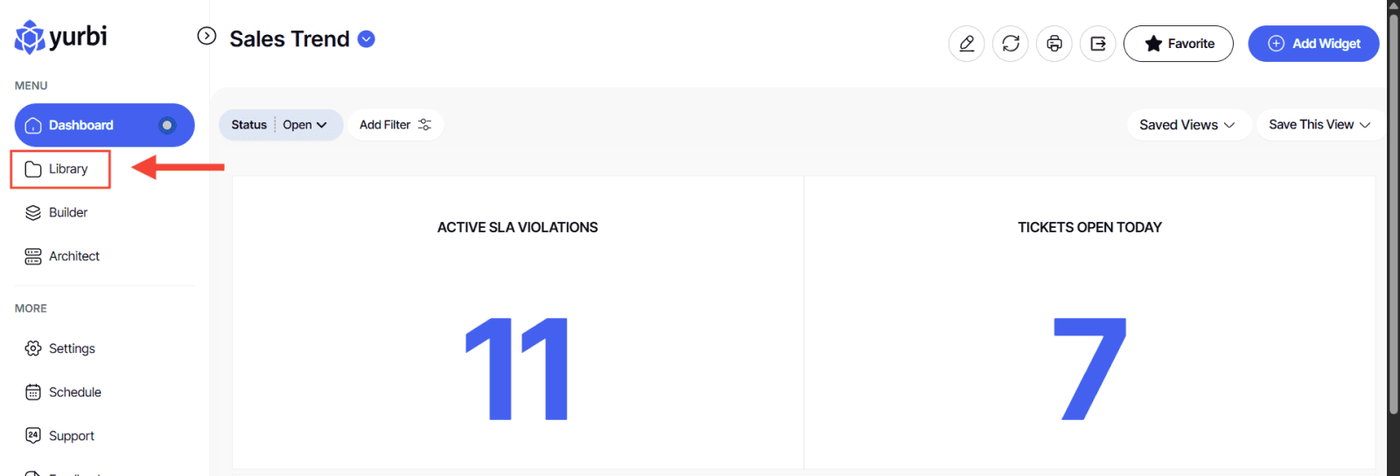
1. Click on the Library button, which is found below the Dashboard button.
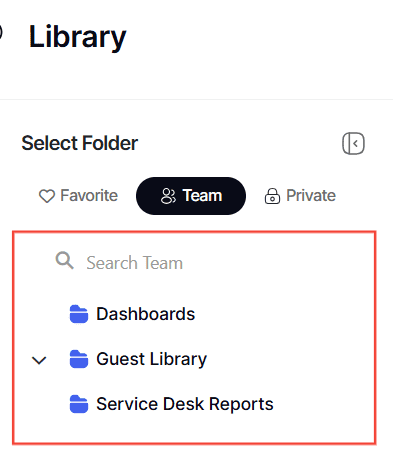
2. Choose between the Team or Private subsection.
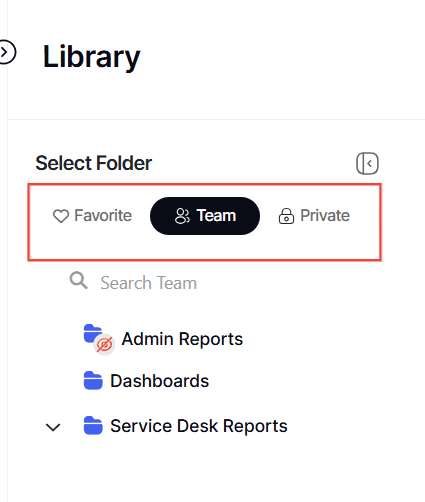
3. Select the folder where the report or dashboard is nestled in
Scheduling using Schedule Option
Here is the method when scheduling a library report or dashboard via Schedule option.
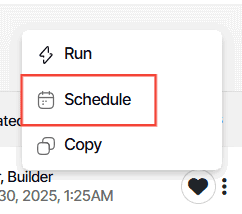
1. Click the three dots button at the end of the report or dashboard.
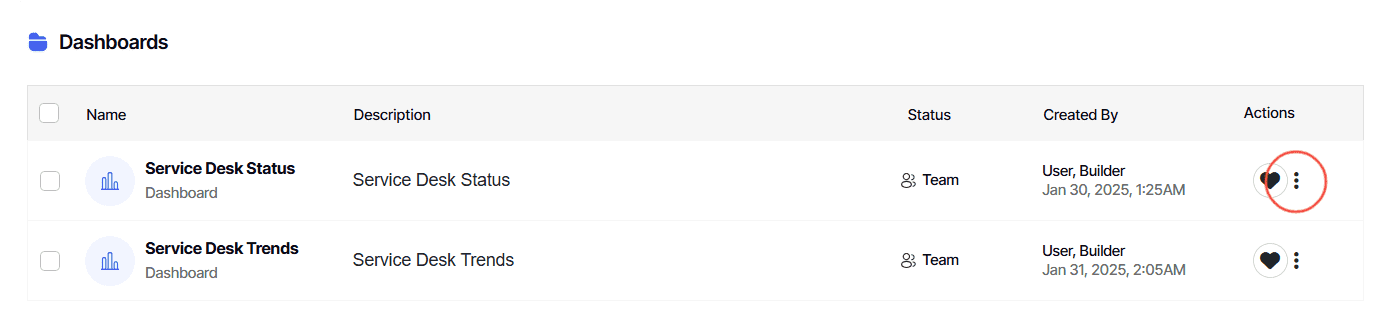
2. An action menu will appear, from there select Schedule and follow the steps as mentioned above.
3. Specify the scheduling details, including when the report or dashboard should be shared and its frequency.
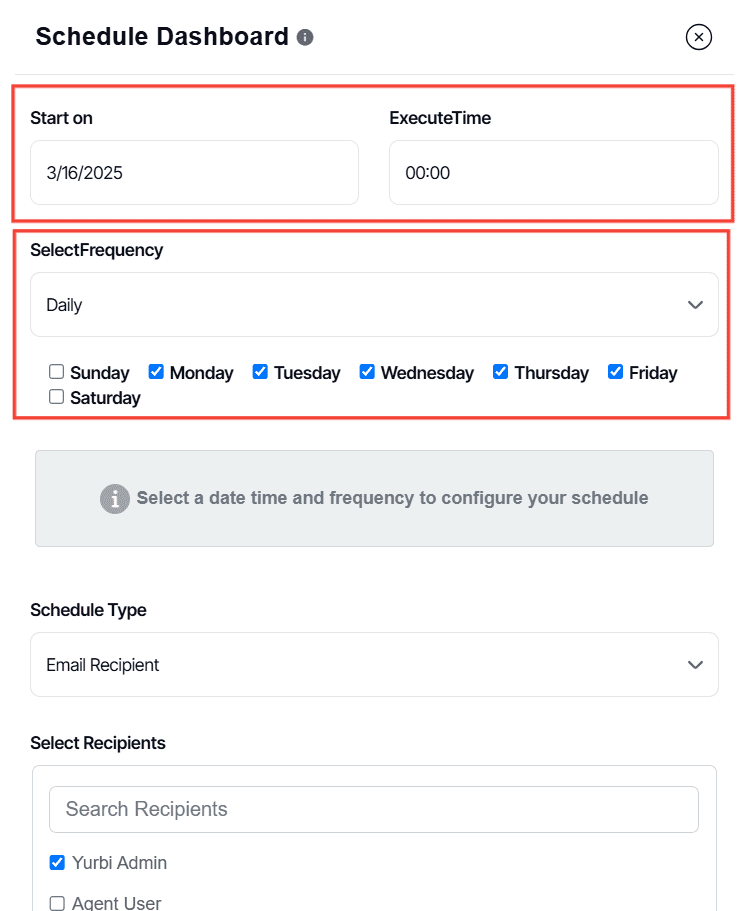
When setting a report's schedule, if you adjust the start date to a day in the past, for example, yesterday, the scheduler interprets this as a missed action and will promptly send out an email.
Keep in mind, this email won't contain yesterday's data but the current data at the time of sending. This technique is useful for triggering an instant email from the scheduler.
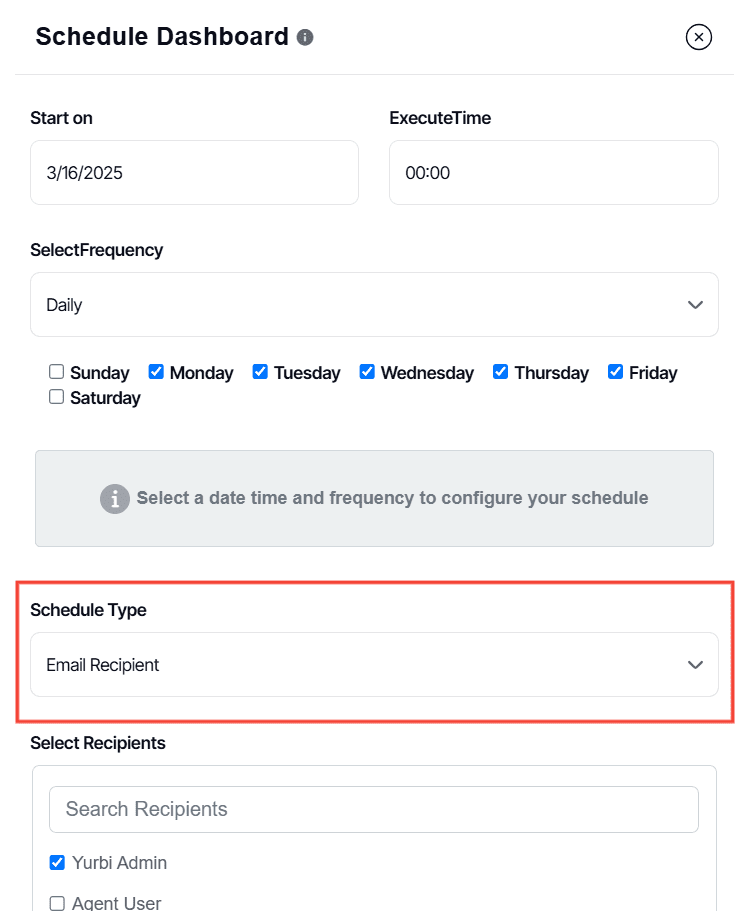
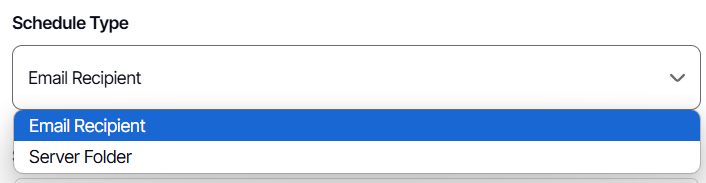
4. Select Schedule Type
5. Select the recipients from the available list or add their emails to the Email List field. If you need to send to a larger group, consider using the Bulk Email option.

Only individuals with access to the report will appear in the list of potential recipients.
- Note: If you want to type in email addresses of users not registered, the server admin needs to enable the bulk email scheduling feature.
To restrict the recipient list to members of the user's own group, you can activate 'tenant mode.' For guidance on enabling this setting, please click here.
6. Fill in your email subject and body.

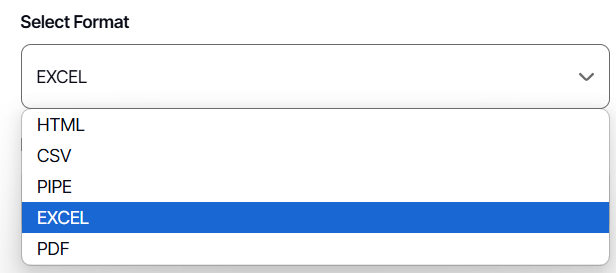
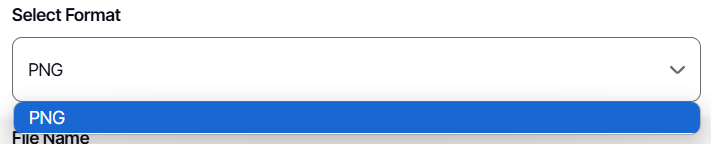
7. Now you can select the file format for the dashboard snapshot and enter a name for the file
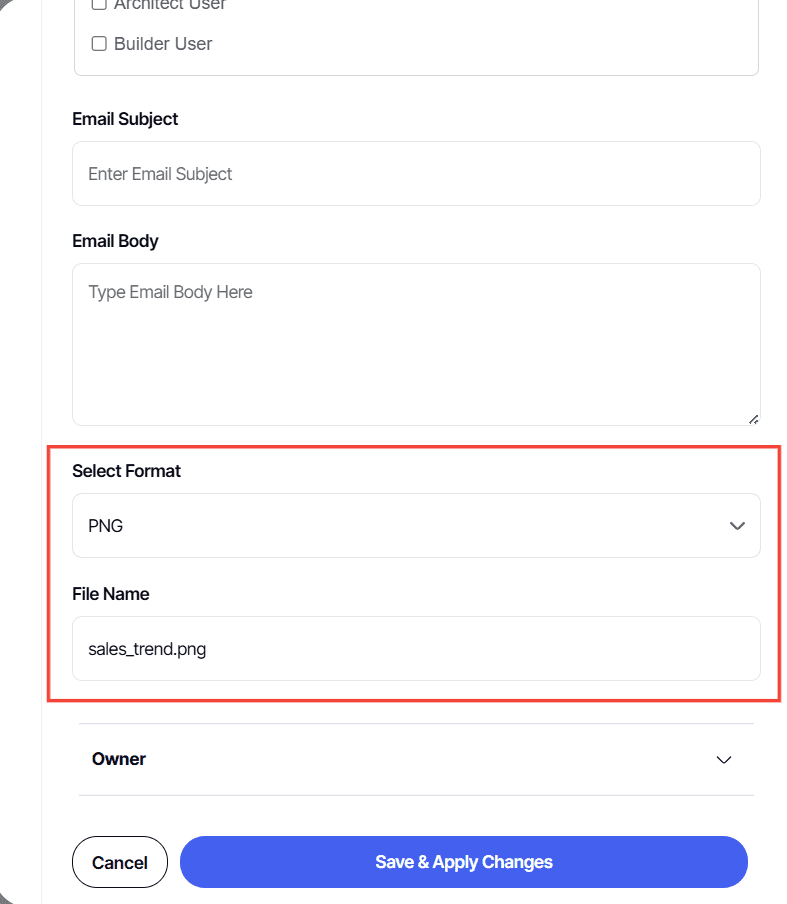
8. For DataGrid reports, you will have these options.
9. For Dashboards, this is the only available option
Type in user’s preferred File Name

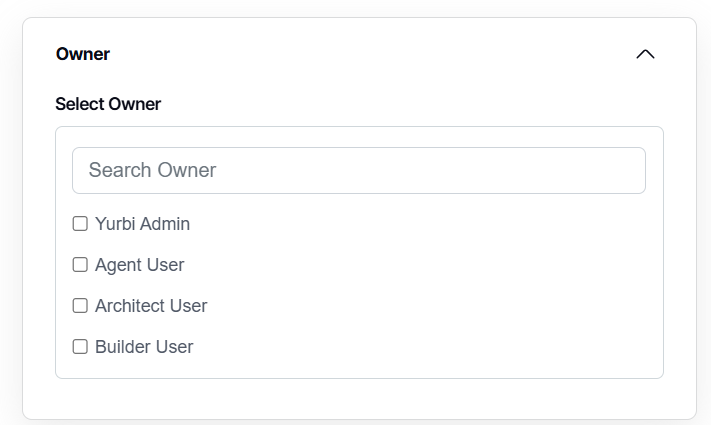
10. Optional would be selecting the owner of the dashboard by clicking the Owner accordion and selecting the appropriate user.
11. Click Save & Apply Changes

Understanding Data Security in Reports
- Keep in mind that when you share reports with other recipients, what they receive will depend on their particular data access permissions. Therefore, they might see different results from what appears in your scheduled report if their access to data is more restricted or different.
- Additionally, it's worth noting that the report scheduler is designed not to send out empty emails. This means if the report contains zero records and essentially has no data, the scheduler will not send an email. Emails are dispatched only when there is actual data to report.
And there you have it! You now know how to schedule a report or a dashboard!