How to create a date-type dashboard filter
Version: Yurbi v12
Role: Agent and higher
Permission: Agent with view permission or higher
Overview
In this guide, we'll focus on crafting date-based filters. These filters are often used to segment data based on date values such as months, weeks, years, etc.
Note: All images shown are just an example. Names, fields, and values will be dependent on the organization and the user logged in.
Creating a New Filter
1. Click on New Filter, located below the dashboard name.
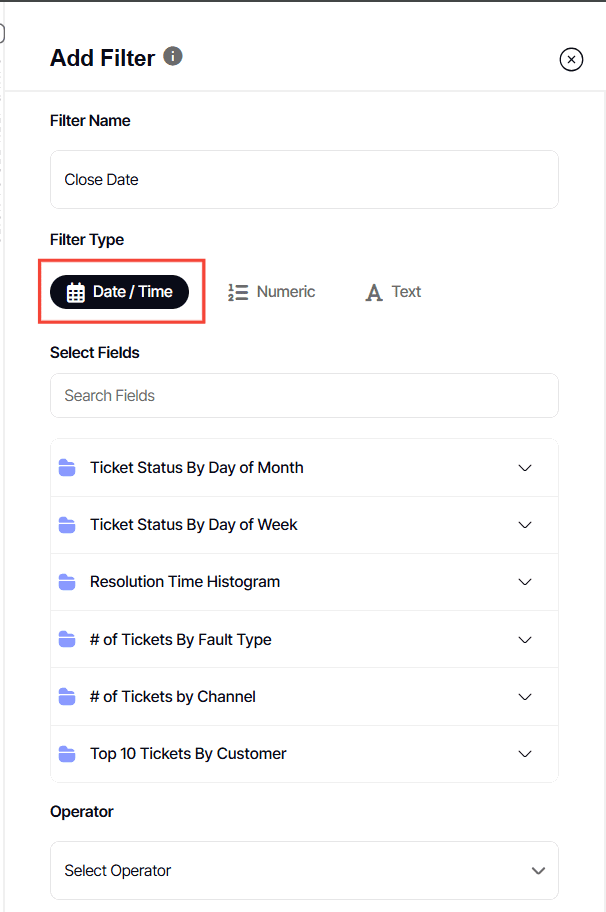
2. Name your filter – Give it a meaningful name to identify it easily later.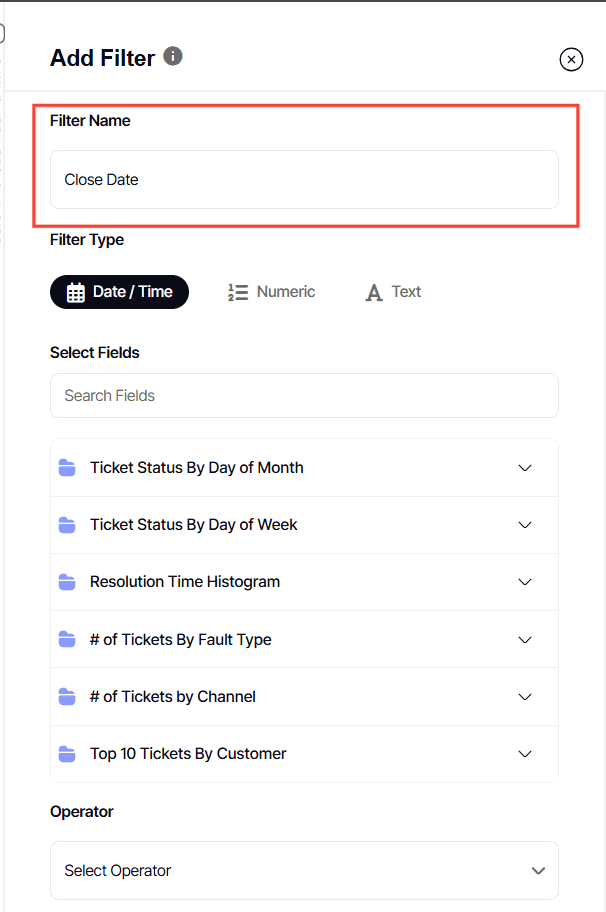
3. Select numeric filter type
The system will display the fields available to filter as per your selected Filter Type.
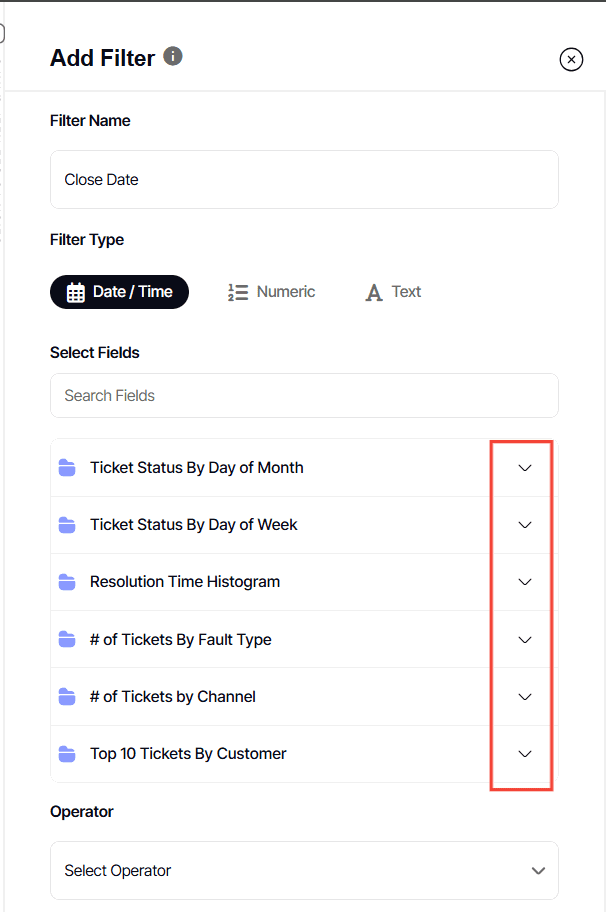
4. Under Selected Field, click down arrow for each widget listed
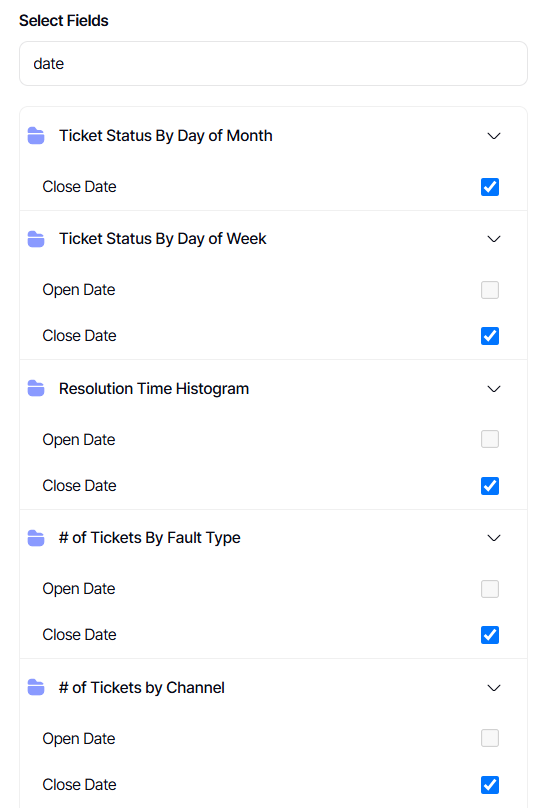
5. Check the field this filter should apply to. A single filter can only apply to 1 field per report.
Each box represents a report on the dashboard. As an agent with view permission, you cannot control what fields are shown.
TIP: Ideally, you'll want to tick the same box for every field. But no worries if a checkbox field doesn't appear! Your dashboard data will remain consistent and accurate.
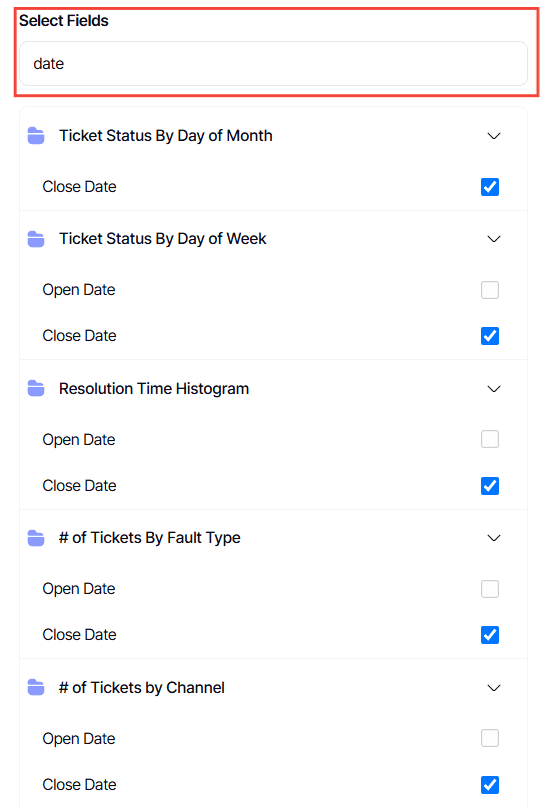
6. You can also use the search box to locate the field you want to use.
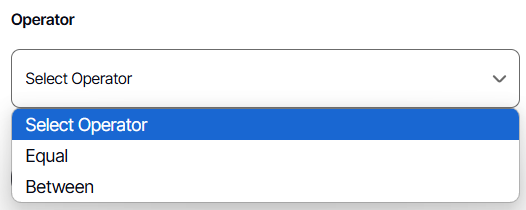
7. Select the Operator you want to use
8. In a Date/Time Filter Type, under Operator, you can choose among EQUAL, or, BETWEEN. Here is how they differ:
NUMERIC FILTER: EQUAL DROP-DOWN
1. EQUAL: This provides a single-select or dropdown list filter or a search box.
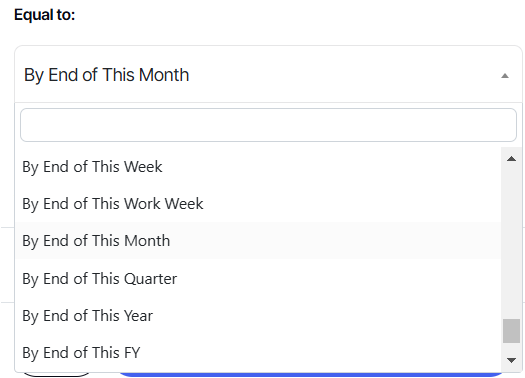
2. To get a drop-down filter under EQUAL operator, select the date you want to use.
3. Tick off Enable Get Values List
4. Click Save & Apply
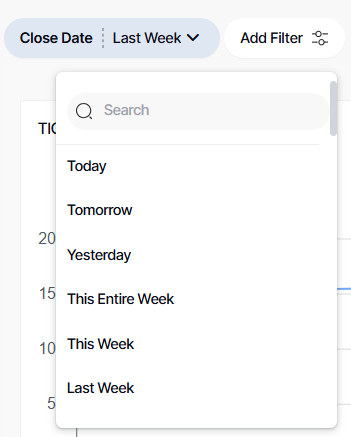
5. To activate your filters, click on the filter you just created.
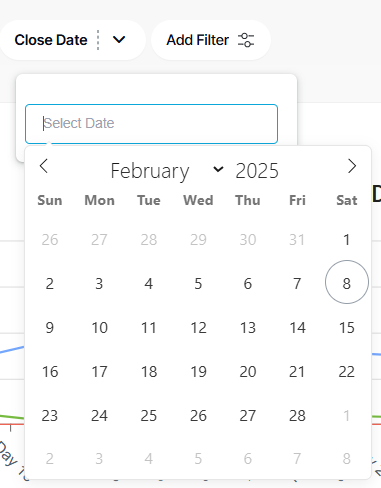
6. For this configuration of an EQUAL filter, this will be the filter interface shown in the dashboard.
NUMERIC FILTER: EQUAL CALENDAR
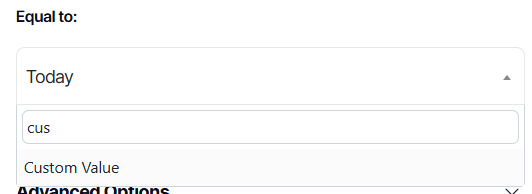
1. To get a calendar filter under EQUAL operator, either scroll down or search for Custom Values
2. Leave the EQUAL operator blank.
3. Uncheck Enable Get Values List
4. Click Save & Apply
5. To activate your filters, click on the filter you just created.
Note: After clicking save & apply, you will be redirected to the dashboard with the filter activated already.
6. For this configuration of an EQUAL filter, this will be the filter interface shown in the dashboard
NUMERIC FILTER: BETWEEN
1. A BETWEEN will give you a numerical search box where you can type in the value once in the dashboard.
2. Leave the Between fields blank
3. Click Save & Apply
4. To activate your filters, click on the filter you just created.
Note: After clicking save & apply, you will be redirected to the dashboard with the filter activated already.
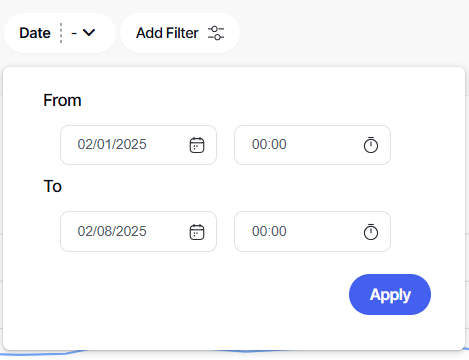
5. For this configuration of a BETWEEN filter, this will be the filter interface shown in the dashboard
Remember to save each time you make changes, either to overwrite or save as a new one.
And there you have it! You can now create numeric filters for your dashboard!


