By default Yurbi will install an embedded PostgreSQL database. If you prefer to use Microsoft SQL Express as the Yurbi backend database please follow these steps.
Although this document is specific to Microsoft SQL Express 2012 – the installation is very similar in other versions of Microsoft SQL Express
Quick Tips: If you’re already familiar with the installation and configuration of SQL Express – please note these tips for configuration of SQL Express for use by Yurbi.
Download Microsoft SQL Express installation media from a trusted source.
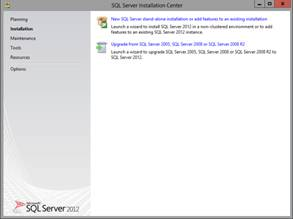
Begin the installation by running the downloaded executable. Choose the Installation option on the left, then choose New SQL Server Stand-alone… Option on the right
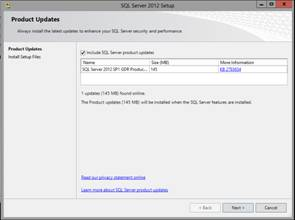
Optionally, choose the option to install product updates along with this installation. This option is recommended.
Click Next > when ready. The setup procedure will install all the needed setup files and move to the next section of the installation. This may take a few minutes
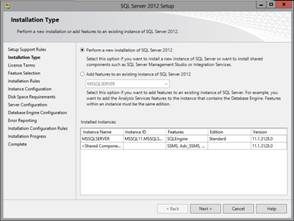
Select Perform a new installation of SQL Server 2012 option. This screen will show if there are any other instances of SQL Server running on this machine. The instance name and versions are shown.
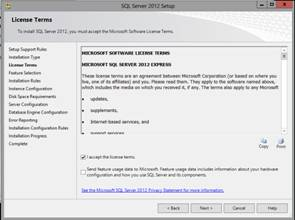
Agree to the License Terms, then Click Next > when ready
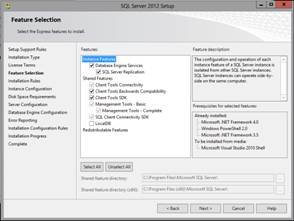
Select the features to be installed. The minimum features for a Yurbi installation is:Database Engine Services. It is highly recommended to install the Management Tools – Complete. It is possible during this step to specify the install locations Click Next > when ready
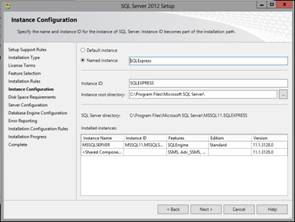
During this step, define the Instance Name. With SQL Express it is highly advantageous to use a named instance. This ensures that different applications that may also be using SQL Express are not conflicting with one another. Click Next > when ready
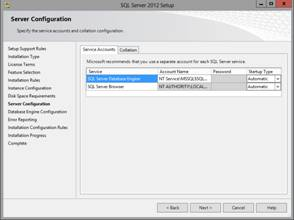
In this screen – ensure the SQL Browser service is set to Automatic. Click on the Collation tab then click Next.
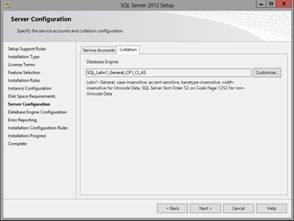
Select SQL_Latin1_General_CP1_CI_AS Collation. This is the recommended collation for Yurbi then click Next.
Select Mixed Mode for the authentication mode on the Server Configuration tab. Specify a password for the SA account. This password will be used during the Yurbi installation. Click Next
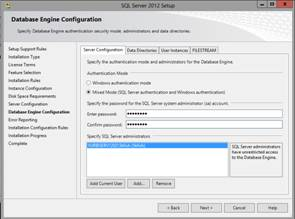
Click Next, then on the Error Reporting and Installation Configuration Rules screens – the installation will progress to completion
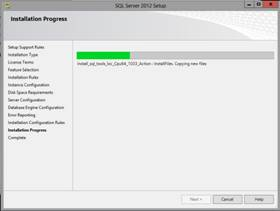
Monitor the installation progress
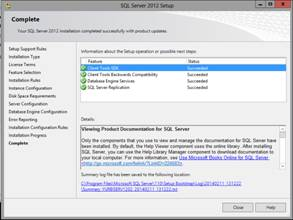
Click Close after reviewing the installation completion information
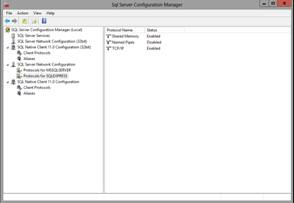
Open SQL Server Configuration Manager
Ensure the client protocols for the newly installed instance of SQL Express are Enabled. Cycle the SQL Services if needed after making any changes.
Install Yurbi to use this instance of SQL Express