How to create a user
Role: Admin
Permission: Admin access
Overview
As an administrator, the user has the power to create users which are assigned to the different people within the organization. These users will be limited in their access by the functions, and roles that they have.
Creating a User
1. Log in as an administrator.
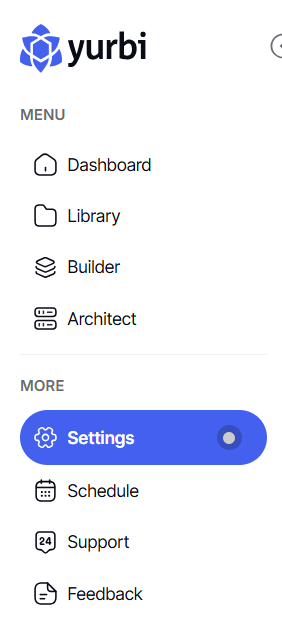
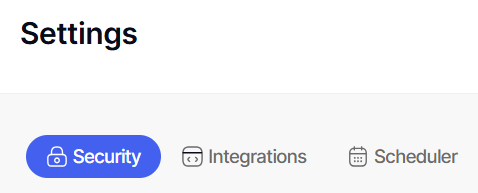
2. On the left side panel, click Settings

3. Under Security tab, you will find the Users tab
4. Click Create User

5. Enter the First and Last Name of the user.
This is used to identify the individual and displayed across various sidebars as the profile name.

6. Enter the Login ID or Username that the user will use

7. Enter the email address.
This email will receive notifications and updates according to the set schedule.

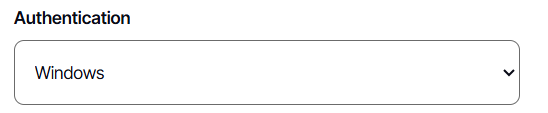
8. Authentication specifies the authentication method for user login credentials.
If password is chosen, fill in the password that the user will use

If Window is chosen, password field box will not show.
9. Enter company name.
This indicates the business or organization the user is associated with.

10. Enter the description about the user’s account.
This provides a brief overview or background information relating to the user's account.

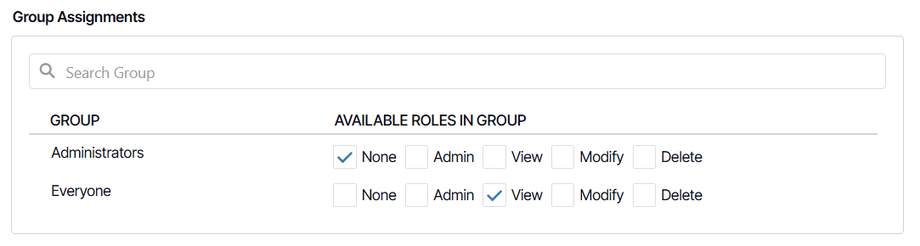
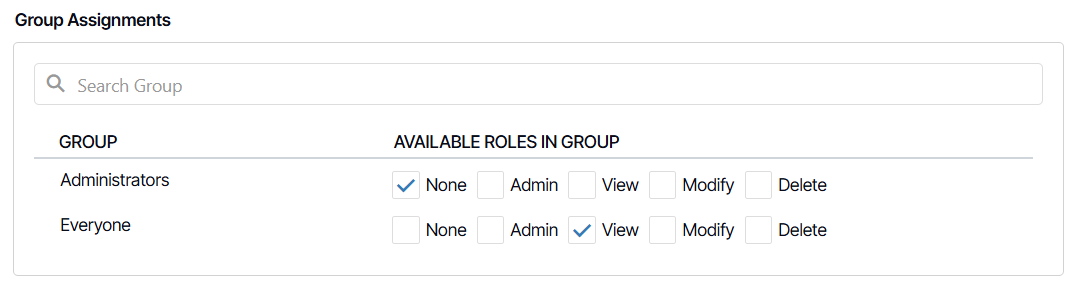
11. Select the group assignment for the user by ticking the box.
This designates the user's role within specific groups to control permissions for actions such as deleting or modifying library items and integrates users into departmental security and scheduling systems.
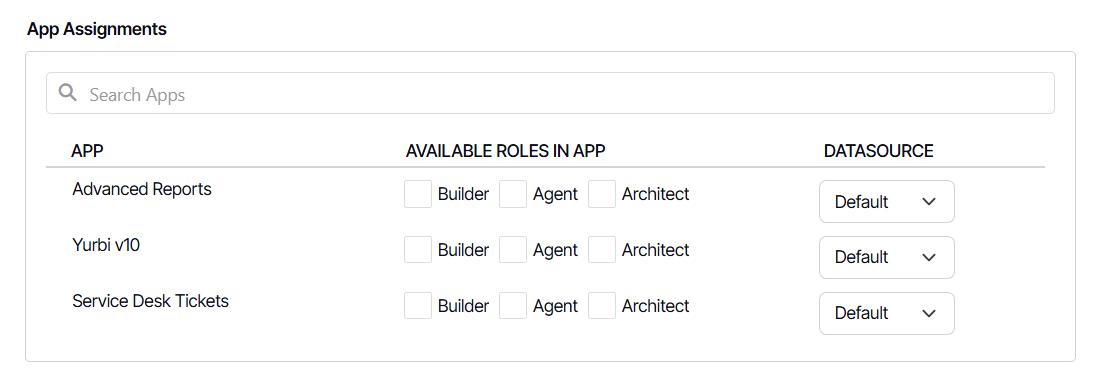
12. Select the app assignments for the user by ticking the box beside the role of that specific app.
This allows for the configuration of user access roles for each application and the selection of a specific data source from a database if alternatives to the default are provided for that App.