How to create a new report type
Version: Yurbi v12
Role: Architect
Permission: Architect access to the application
Access the Architect Section
This section show how you can access the architect section
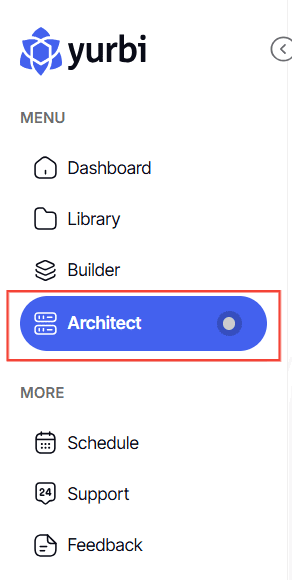
1. Once logged in, Click on Architect found on the sidebar.
Application and Report Type
This section shows the steps on how you can access the application and create a new report type.
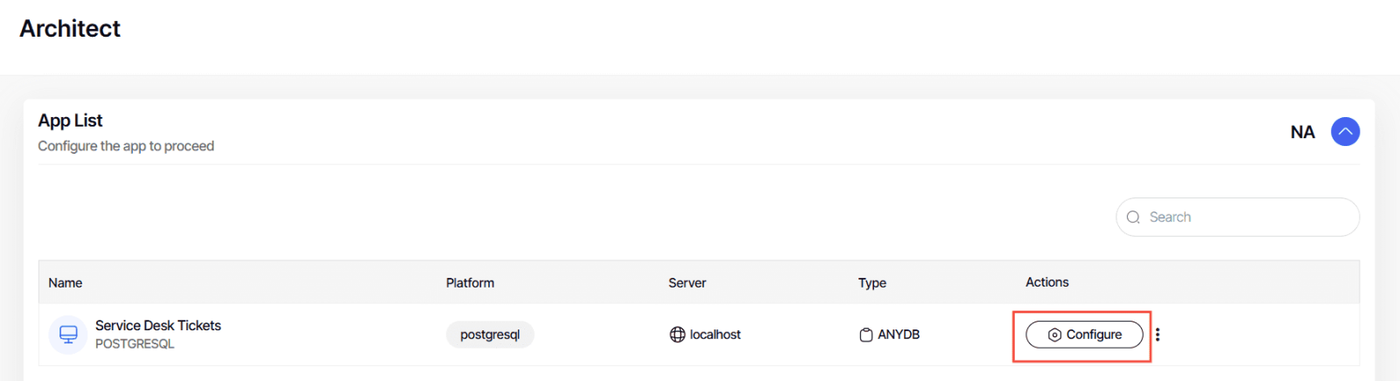
1. Select the app to edit in App List and click Configure.
Note: For this guide, we have created a sample. Applications will vary depending on your organization's admin.
2. Click Add Category button

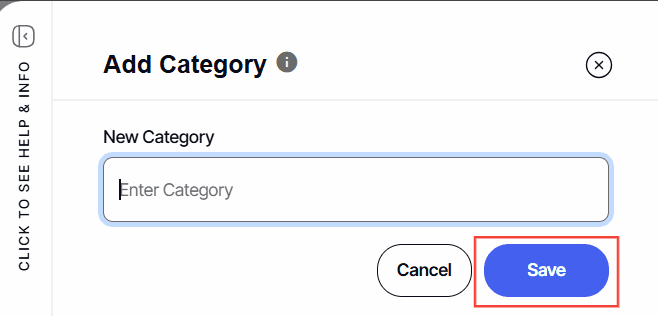
3. Type in the name.
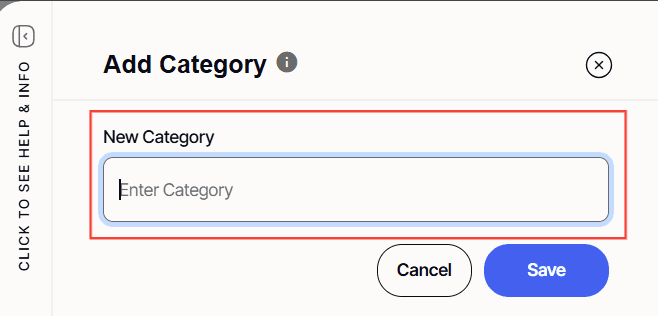
4. Click Save.
Adding a database table
This section shows the steps on how you can add a database table to the report you are creating
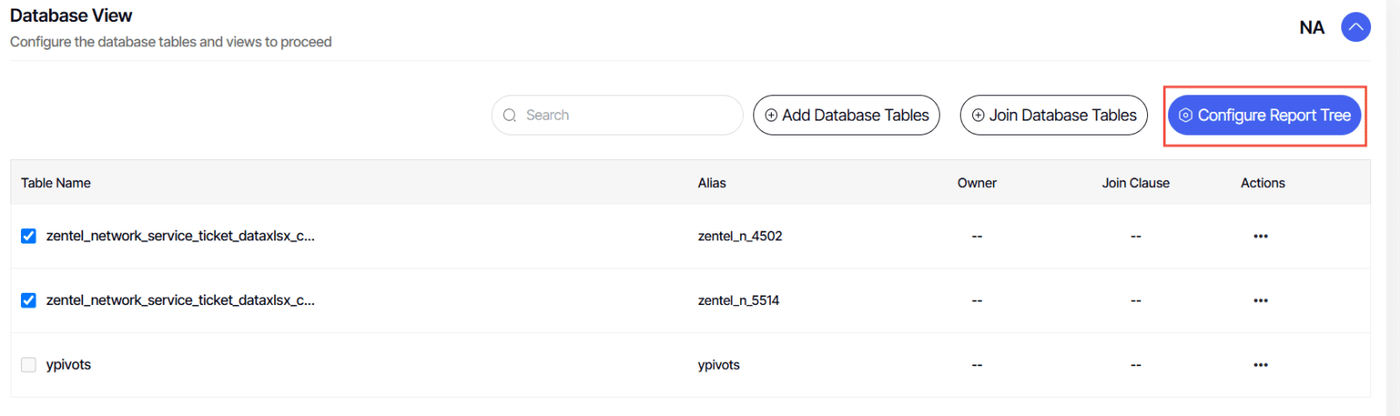
1. Click on Add Database Tables.
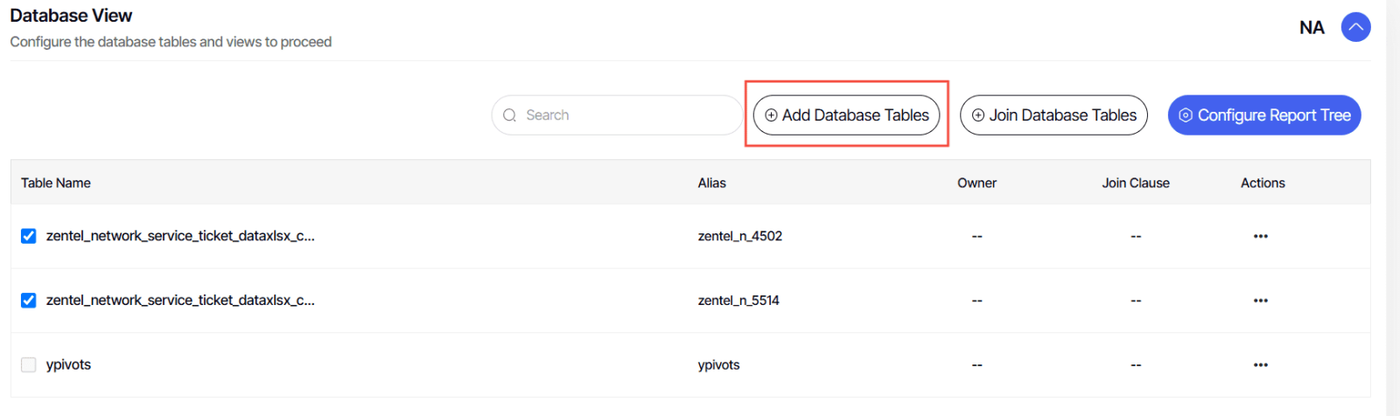
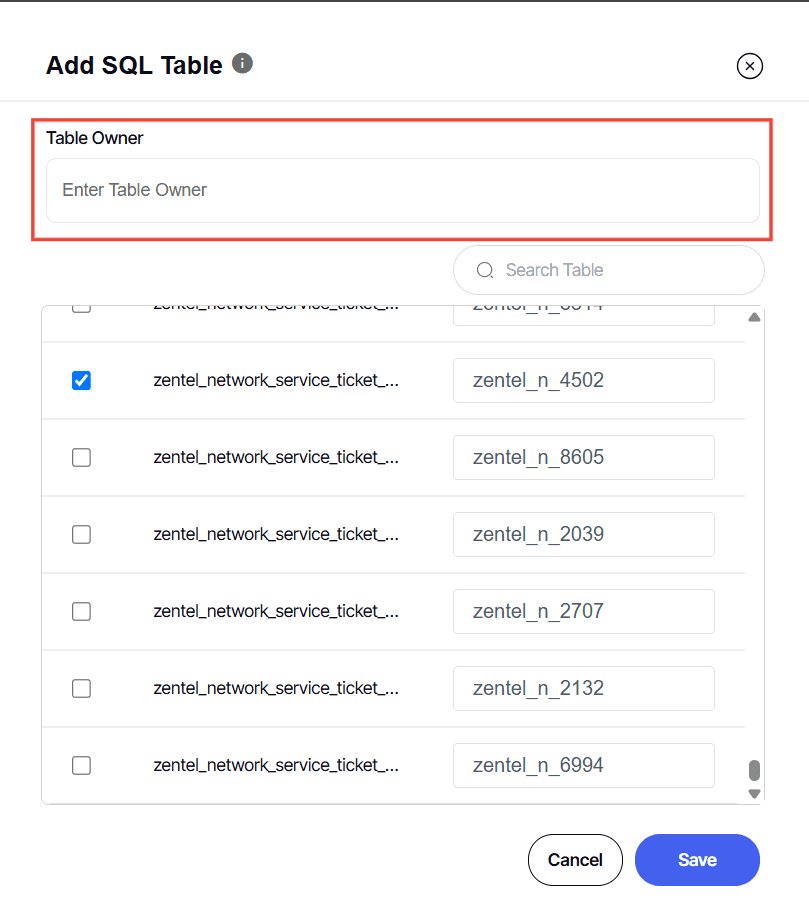
2. An Add SQL Table dialog box will appear

3. Leave the Table owner blank unless you know the specific table owner.
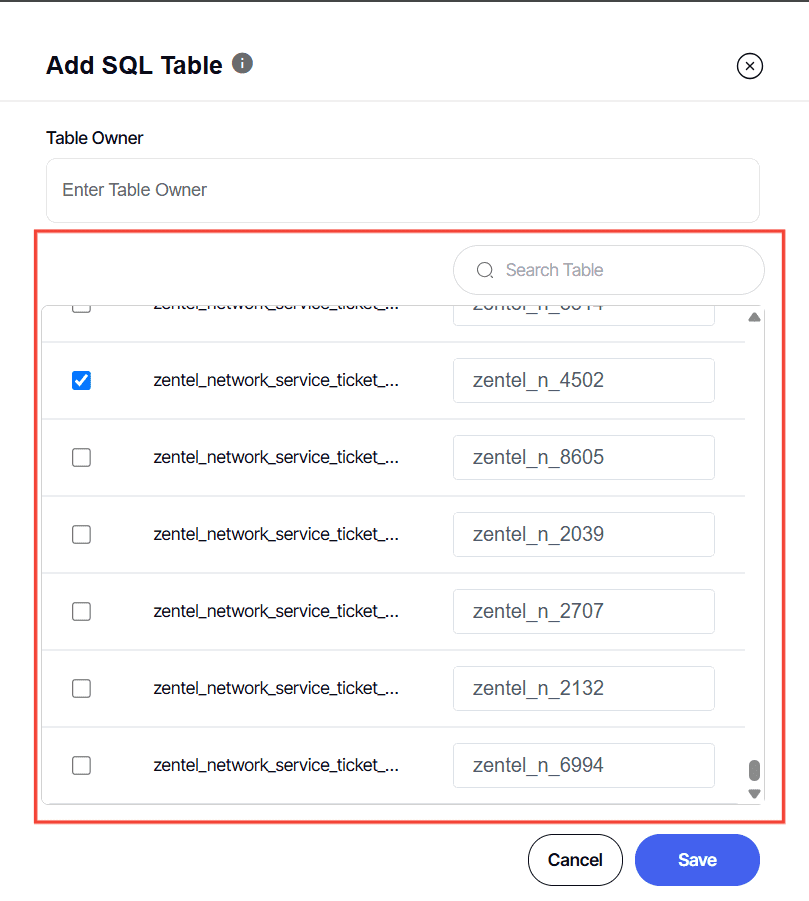
4. Select the table you want to use by ticking off the box. Either use the search box or scroll down.
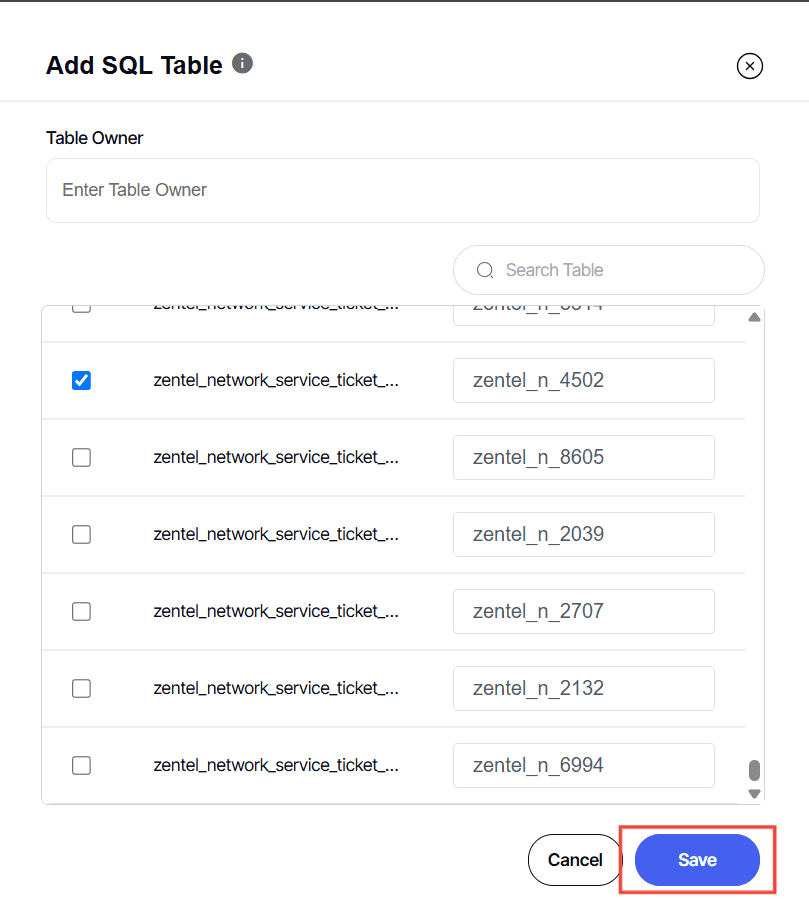
5. Click Save
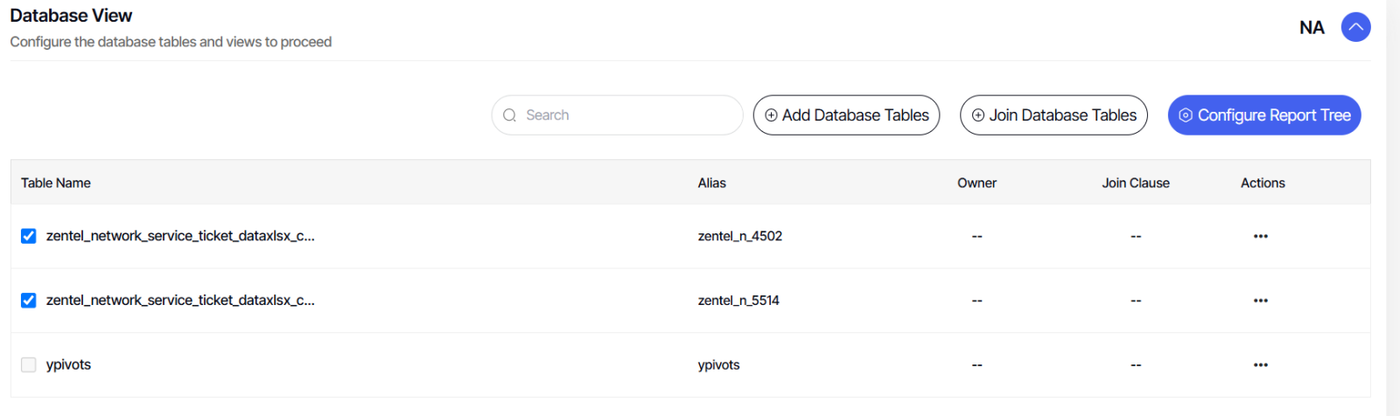
Join Tables
This section shows the steps on how you can join database tables in the report you are creating.
1. Add as many tables as needed within the report type.
2. To join tables, select two tables (only two can be joined at a time).
Note: After selecting two tables, the checkboxes for other tables will be grayed out.
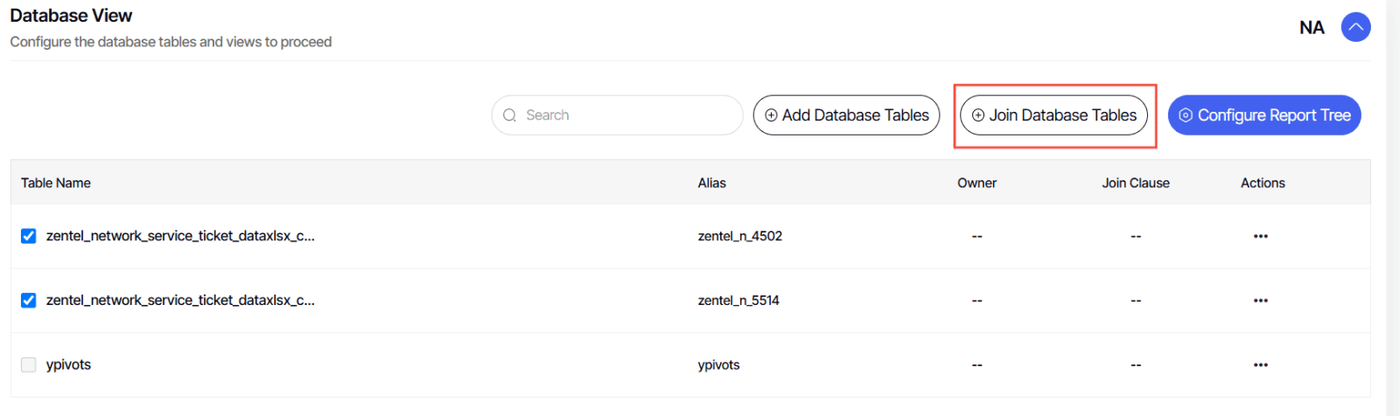
3. Click the Join Database Tables button.
Note: The first table selected will be the primary table, and the join clause will appear in the second table.
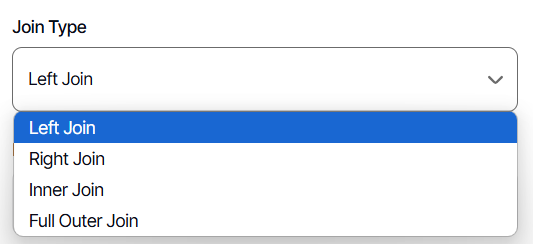
4. Select your desired join type.
5. Do not change anything within the Parent Alias field box.

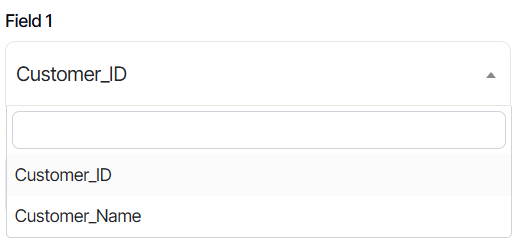
6. Choose your Field 1.
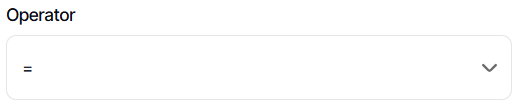
7. Operator should be equal sign [=].
8. Alias should not be changed.

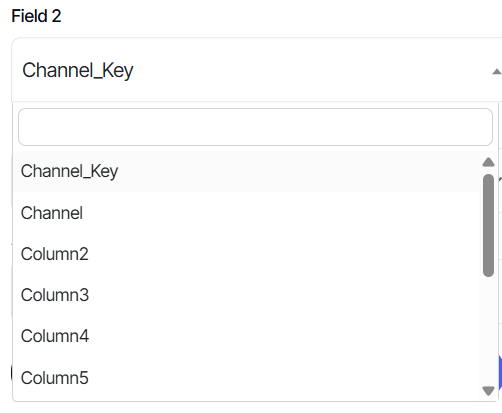
9. Select your Field 2 in the dropdown box.
10. For the 2nd Operator dropdown box, Select And.

11. Click Save.

Repeat this process for the other tables you have added.
Note: Only the primary table has an empty join clause; other tables must have a join clause to establish relationships between them.
Add Report Fields
This section shows the steps on how you can add report fields to the report you are creating.
1. Click Configure Report Tree
2. In the report tree, select the root folder.

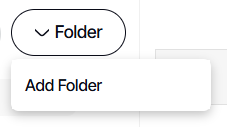
3. Click the Folder button.

4. Click Add Folder
5. Type in the folder name.
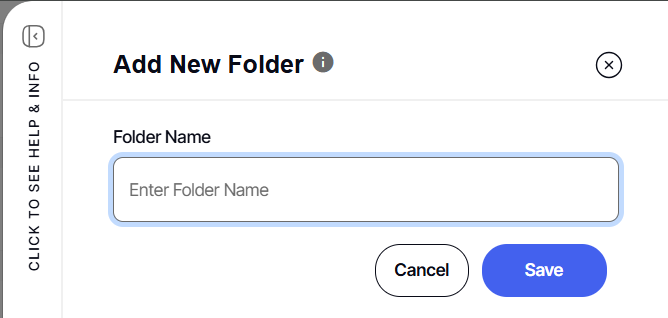
6. Click Save.

7. Select the newly created folder.
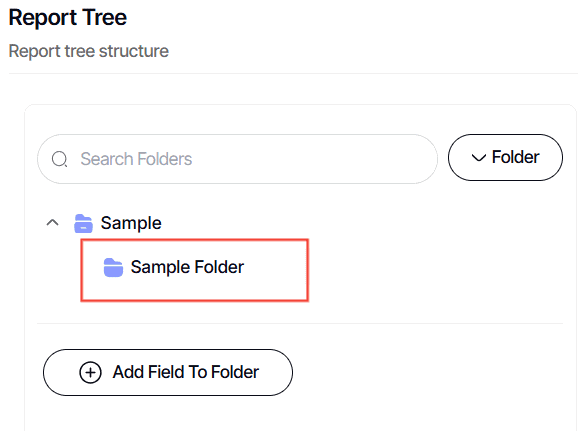
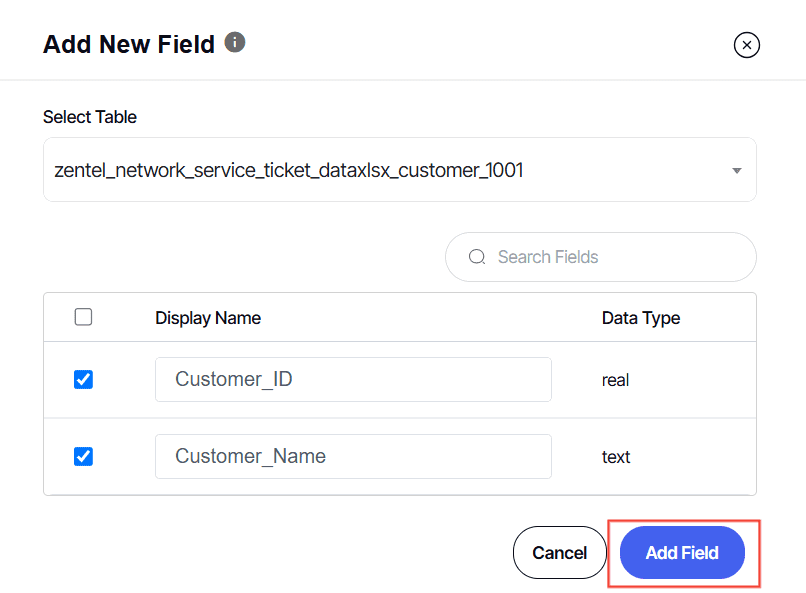
8. Click Add Field to Folder

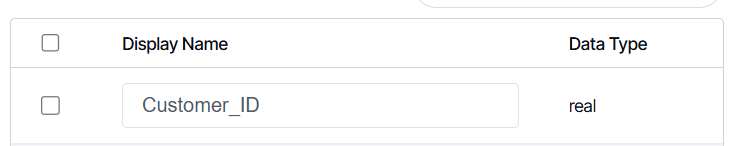
9. Tick the box off beside the fields
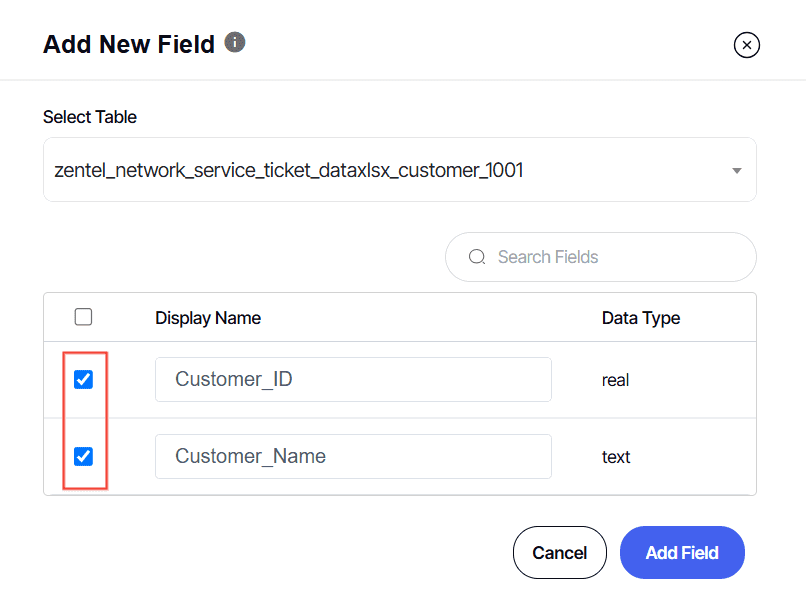
10. Configure the Display Name
11. Click Add Field.
Repeat these steps as you choose which fields to add.
Reminder:
- Remember to arrange fields in a way that makes them easily accessible in the builder.
- There is no save button here. Any work done is automatically saved and appears in real time in the builder application.
And there you have it! You now know how to create a new report type in the architect section!