

How to configure Mail Settings
Version: Yurbi v12
Role: Admin or higher
Permission: Admin or higher
Overview
When scheduling a report or dashboard, the user may encounter an error require to have an email address. Here are the steps on how to address them.
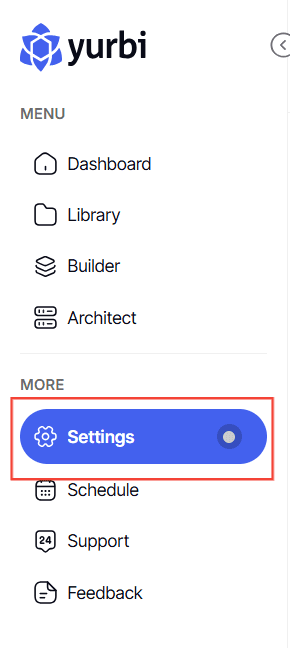
Step 1: Access Settings
Click Settings to open the configuration menu.
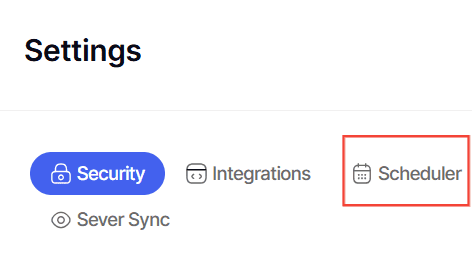
Step 2: Open Scheduler
Select Scheduler from the menu options.
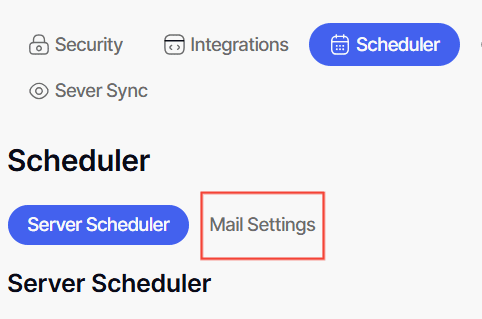
Step 3: Enter Mail Settings
Click Mail Settings to access email configuration options.
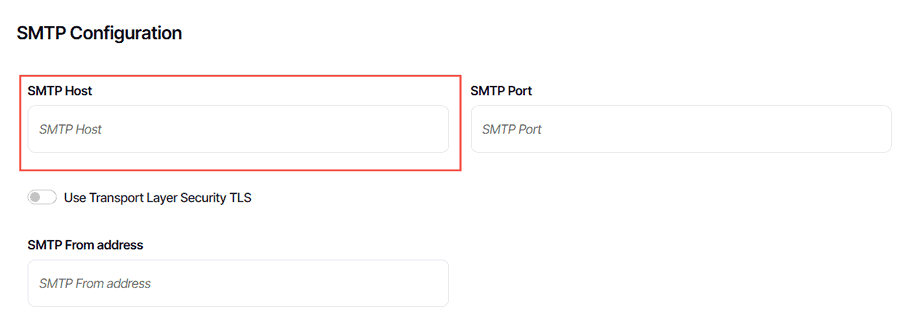
Step 4: Configure SMTP Settings
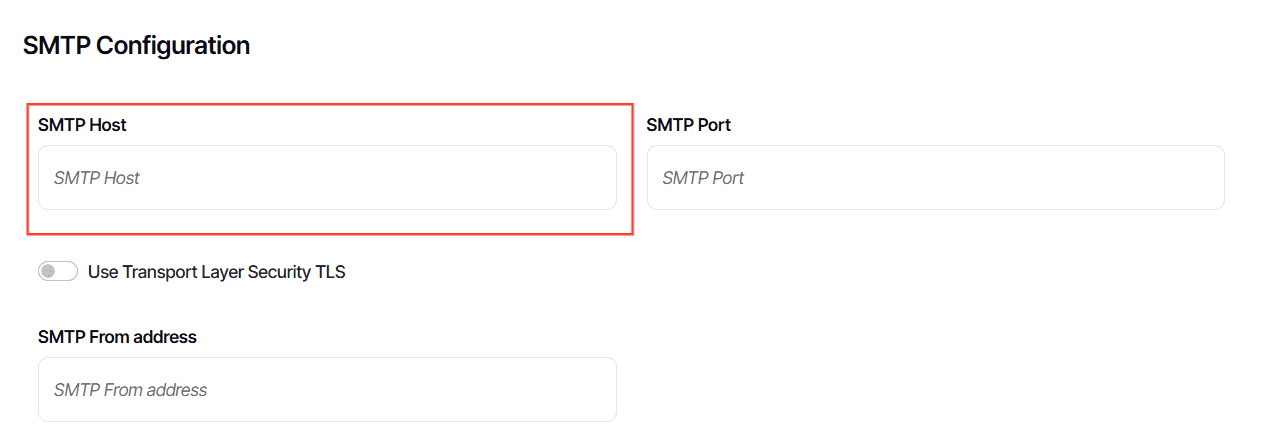
Enter SMTP Host:
Type in the SMTP Host (your email gateway of the SMTP server).
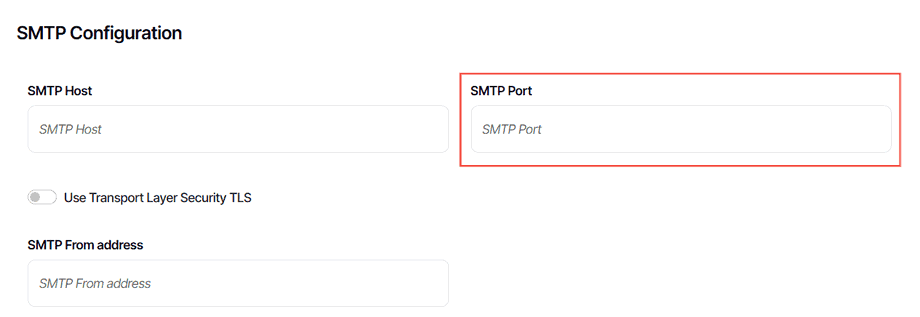
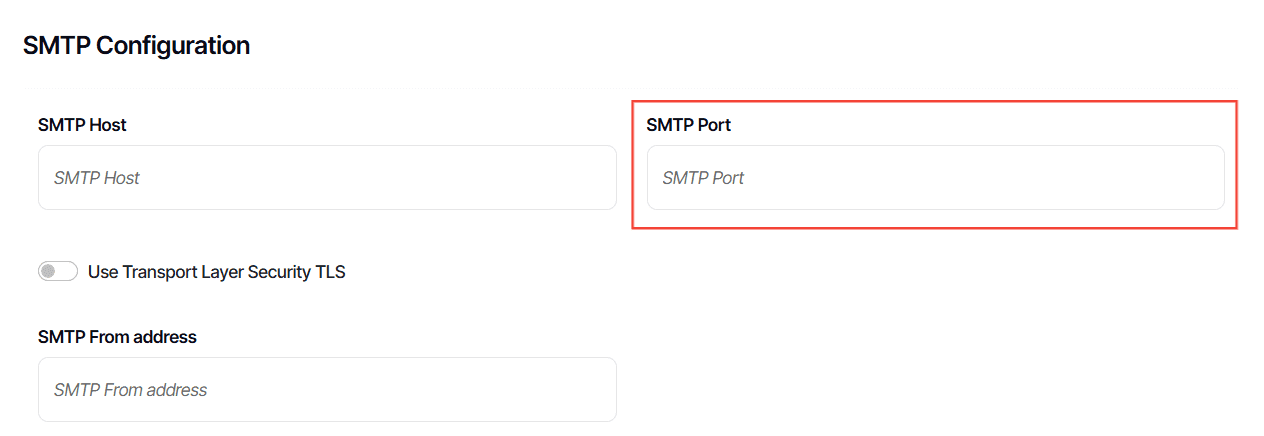
Enter SMTP Port:
Input the SMTP Port (default is usually 587).
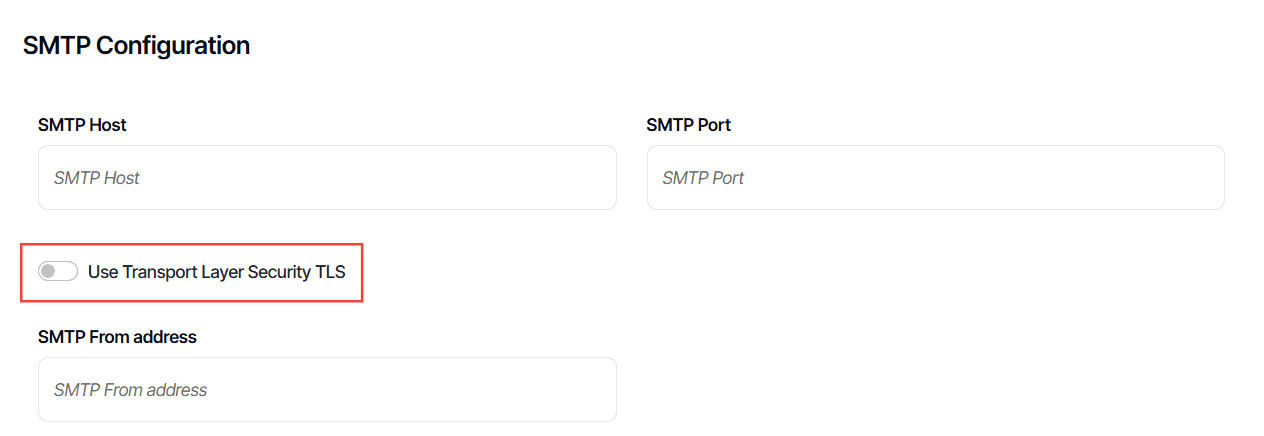
Step 5: Manage TLS Settings
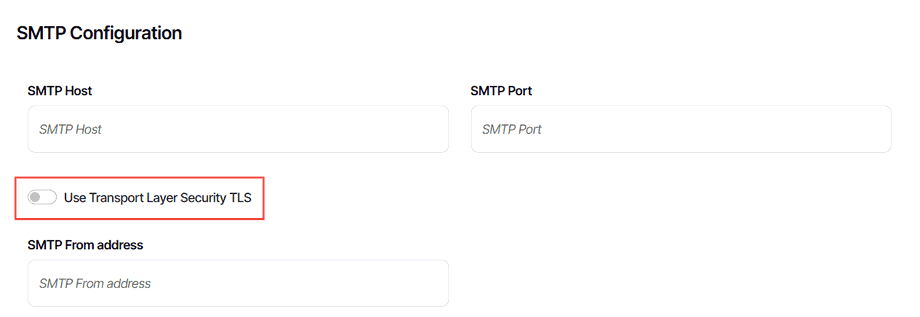
Toggle TLS:
If your server requires it, enable Transport Layer Security (TLS) by toggling the button on.
Step 6: Configure the Email Sender Details
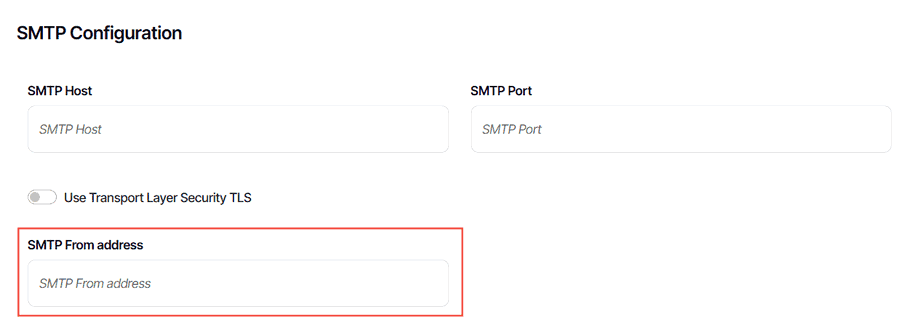
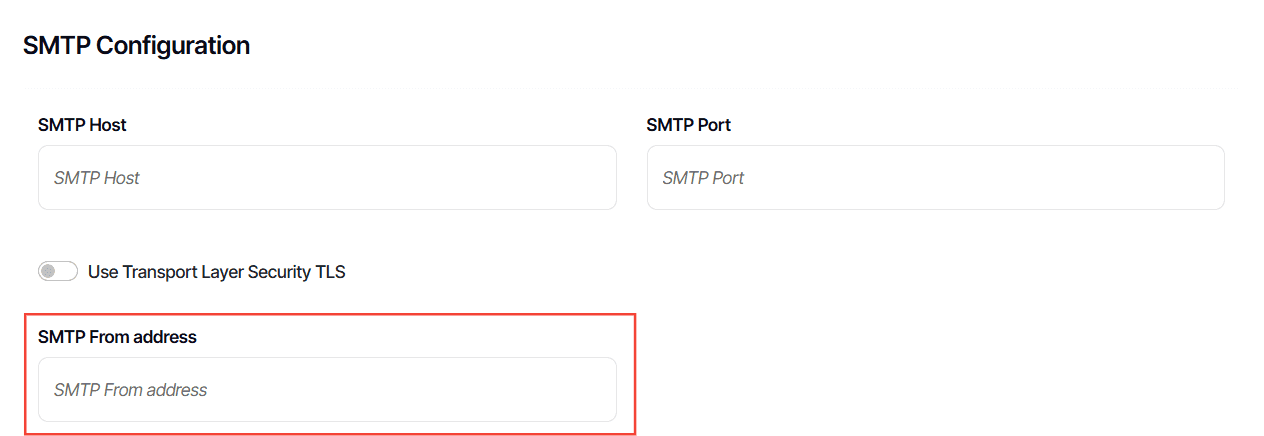
Enter SMTP From Address:
This is the email address that will appear in the 'From' field of the emails.
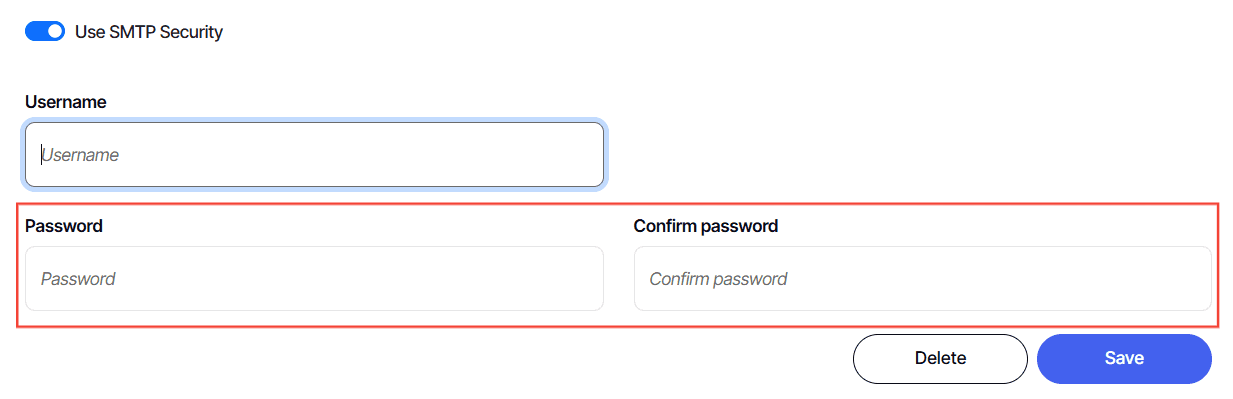
Step 7: Enable and Setup SMTP Security
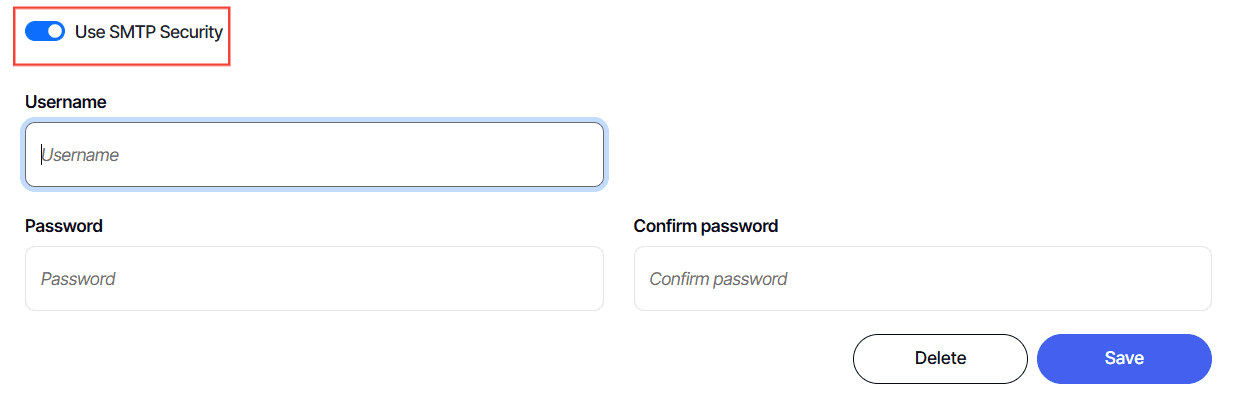
Toggle Use SMTP Security:
Activate this feature if required by your email server.
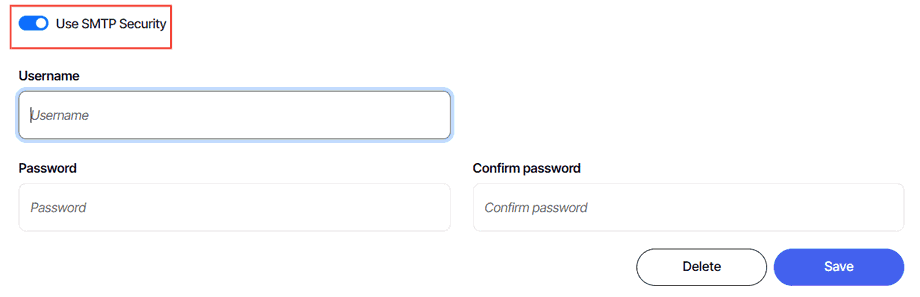
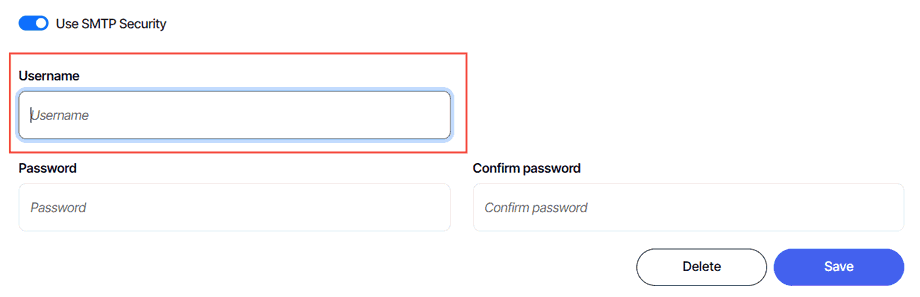
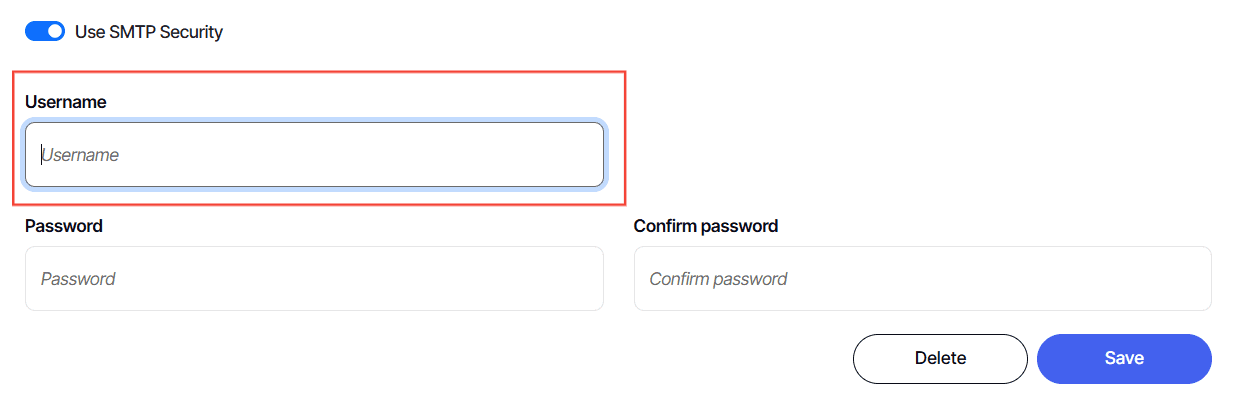
Enter Username:
Input your email server username for a secure connection.
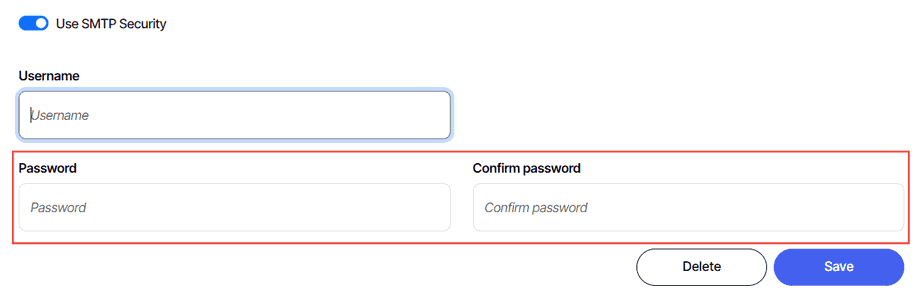
Enter and Confirm Password:
Type in your password and confirm it to establish the secure connection.
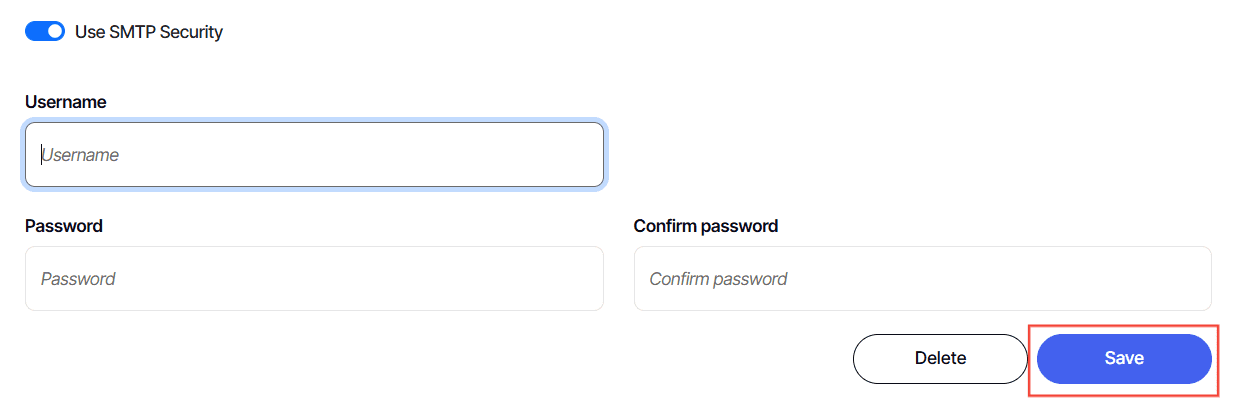
Step 8: Save configuration
Click Save
Common SMTP Provider Settings
The settings Yurbi needs are standard SMTP fields, but every provider has its own values and quirks. The reference below covers the most-used providers in 2026. For each one, the Use Transport Layer Security TLS toggle and the Use SMTP Security toggle (which enables the Username and Password fields) should both be ON unless explicitly noted otherwise.
If your provider isn't listed, see Generic / Other Providers at the bottom — the typical shape works for almost everyone.
Important — sender address rules vary. Most providers require the SMTP From address to be verified or authenticated in their dashboard before they'll accept sends. A few (notably Maileroo) go further and require the From address to match the Username exactly. Always check the "Important restrictions" note under each provider before saving.
Gmail / Google Workspace
Field | Value |
|---|---|
SMTP Host |
|
SMTP Port |
|
Use Transport Layer Security TLS | ON (use port 587) |
SMTP From address | Your full Gmail or Workspace address (e.g., |
Use SMTP Security | ON |
Username | Same as your SMTP From address |
Password | A 16-character App Password (not your regular Google password) |
Important restrictions:
You must use an App Password. Google requires 2-Step Verification on essentially all accounts, and 2FA-enabled accounts cannot use the regular password for SMTP. Generate one at Google Account → Security → 2-Step Verification → App Passwords. Google shows the 16-character password once — copy it immediately and paste it into Yurbi.
Sending limits apply. Free Gmail caps at roughly 500 emails per day; Google Workspace allows roughly 2,000 per day. The limit is per-recipient, not per-message — a single scheduled report to 100 recipients counts as 100.
The From address must match the authenticated account. You can't send "from" an arbitrary address on Gmail without configuring Gmail aliases first.
Office 365 / Microsoft 365
Field | Value |
|---|---|
SMTP Host |
|
SMTP Port |
|
Use Transport Layer Security TLS | ON |
SMTP From address | The licensed mailbox you're sending from |
Use SMTP Security | ON |
Username | Same as your SMTP From address (full email) |
Password | Mailbox password, or an App Password if MFA is enabled |
Important restrictions:
SMTP AUTH must be enabled on the specific mailbox. Microsoft disables Authenticated SMTP per-mailbox by default on new tenants. If your test send fails with the error "5.7.57 Client not authenticated", this is the cause — your Microsoft tenant admin needs to enable SMTP AUTH on this specific mailbox via the Exchange admin center or PowerShell. This is the single most common Office 365 SMTP failure.
App Password required if MFA is on. Generate one at My Account → Security info → App passwords for the user whose mailbox is sending.
Basic Authentication is being deprecated. Microsoft is in the process of retiring Basic Auth for SMTP submission. Enforcement is expected by late 2026. If your scheduled reports start failing in 2026/2027 with no other changes on your side, this is the likely cause — contact
team@yurbi.comand we'll help you transition.The From address must match an address the mailbox is authorized to send as. Typically the mailbox's primary address; aliases need to be configured in Exchange first.
SendGrid
Field | Value |
|---|---|
SMTP Host |
|
SMTP Port |
|
Use Transport Layer Security TLS | ON |
SMTP From address | Any sender you've verified in SendGrid (Single Sender Verification or Domain Authentication) |
Use SMTP Security | ON |
Username | The literal string |
Password | Your SendGrid API key (starts with |
Important restrictions:
The Username field must be the literal text
apikey. This is the single most common SendGrid mistake. Do not enter your account email or your account password — both will fail with "535 Authentication Failed."Generate an API key with Mail Send permission only. In SendGrid, go to Settings → API Keys → Create API Key, choose Restricted Access, and grant only the Mail Send permission. Copy the key immediately — SendGrid only shows it once.
Sender authentication is required before sending. In SendGrid, complete either Single Sender Verification (verifies one address) or Domain Authentication (verifies a whole domain) under Settings → Sender Authentication. Sends will be rejected with "550 Unauthenticated senders not allowed" otherwise.
The SMTP From address must match a verified sender. It does not need to match the Username — the Username is always the string
apikey.Free tier: 100 emails per day, indefinitely.
Mailgun
Field | Value |
|---|---|
SMTP Host |
|
SMTP Port |
|
Use Transport Layer Security TLS | ON |
SMTP From address | Any address on a domain you've verified in Mailgun |
Use SMTP Security | ON |
Username | Your domain's SMTP login (e.g., |
Password | Your domain's SMTP password (not your Mailgun API key, not your account password) |
Important restrictions:
Credentials are per-domain, not per-account. Each sending domain in Mailgun has its own SMTP username and password, found at Sending → Domain settings → SMTP credentials for that specific domain. The credentials are not the same as your Mailgun account login.
The password is not the same as your Mailgun API key. API keys are for the HTTP API; SMTP credentials are separate. If the SMTP password isn't visible (Mailgun hides it after creation), click Reset Password to set a new one.
The SMTP From address must be on a verified Mailgun domain. Sending from an unverified domain fails with "550 Sender not authorized."
Pick the right regional host. Mailgun has separate US (
smtp.mailgun.org) and EU (smtp.eu.mailgun.org) endpoints. They are not interchangeable — your domain is registered in one region or the other.
Amazon SES
Field | Value |
|---|---|
SMTP Host |
|
SMTP Port |
|
Use Transport Layer Security TLS | ON |
SMTP From address | A verified email identity or an address on a verified domain in SES |
Use SMTP Security | ON |
Username | The SES-generated SMTP Username (not your AWS Access Key) |
Password | The SES-generated SMTP Password (not your AWS Secret Key) |
Important restrictions:
SMTP credentials are not the same as AWS credentials. You must generate dedicated SMTP credentials in the SES console (SES → Account dashboard → SMTP settings → Create SMTP Credentials). This walks you through creating an IAM user with the right permissions and produces a separate username and password formatted for SMTP. Pasting your AWS Access Key / Secret Key directly into the Username / Password fields will not work.
The host depends on your AWS region. Use the SES region where your verified identities live. Examples:
us-east-1(N. Virginia),us-west-2(Oregon),eu-west-1(Ireland),ap-southeast-1(Singapore). Full list in the SES console under SMTP settings.Sandbox mode by default. New SES accounts can only send to verified email addresses until you request and receive production access from AWS. This is a one-time request submitted through the SES console; approval is usually granted within 24 hours.
The SMTP From address must be a verified identity. Either an individually-verified email address or any address on a verified domain.
Save the credentials when generated. SES shows the SMTP password only once. Download the CSV or copy it immediately.
Postmark
Field | Value |
|---|---|
SMTP Host |
|
SMTP Port |
|
Use Transport Layer Security TLS | ON |
SMTP From address | An address that matches a verified Sender Signature or Domain in Postmark |
Use SMTP Security | ON |
Username | Your Postmark Server API Token |
Password | The same Server API Token (enter the same value in both fields) |
Important restrictions:
Username and Password are the same value — your Server API Token, entered in both fields. This is unusual but intentional.
Use the Server API Token, not the Account API Token. Find it in Postmark at Server → API Tokens for the specific server you're sending through. The Account API Token (a different value) is for account management and won't work for SMTP.
Postmark does not support port 465 (implicit SSL). Use port 587 with STARTTLS, or fall back to 25 or 2525 if 587 is blocked.
The SMTP From address must match a verified Sender Signature or Domain. Verify these at Sender Signatures → Add domain or signature in Postmark before saving.
Approval delay on new accounts. Postmark verifies new accounts manually (typically 1–24 hours) before allowing live sending — expect a brief delay between signup and first successful send.
Brevo (formerly Sendinblue)
Field | Value |
|---|---|
SMTP Host |
|
SMTP Port |
|
Use Transport Layer Security TLS | ON |
SMTP From address | A verified sender or an address on a verified domain in Brevo |
Use SMTP Security | ON |
Username | Your Brevo login email (the address you sign into Brevo with) |
Password | A Brevo SMTP key — not your account password, and not the Brevo API key |
Important restrictions:
Use the SMTP key, not the API key. Brevo distinguishes between SMTP keys (for sending mail via SMTP) and API keys (for the HTTP API). Generate an SMTP key at SMTP & API → SMTP → Generate a new SMTP key. Copy it immediately — Brevo won't show the full key again.
The Username is your Brevo login email, not your SMTP From address. These can be (and usually are) different.
The SMTP From address must be a verified sender or domain. Set this up at Senders, Domains & Dedicated IPs in Brevo before configuring SMTP.
Old
smtp.sendinblue.comhostname. If you migrated from Sendinblue, update the SMTP Host tosmtp-relay.brevo.com. The old hostname may still resolve but is being phased out.Port 25 is not supported for client submission. Use 587, 465, or 2525.
Free tier: 300 emails per day, no card required.
Maileroo
Field | Value |
|---|---|
SMTP Host |
|
SMTP Port |
|
Use Transport Layer Security TLS | ON |
SMTP From address | Must match the Username exactly (see below) |
Use SMTP Security | ON |
Username | The alias (email address) you created when generating SMTP credentials, e.g., |
Password | The password generated alongside that alias in Maileroo |
Important restrictions:
⚠️ The SMTP From address must match the Username. This is unusual among SMTP providers — Maileroo ties the SMTP credentials directly to a specific sender alias. If your Username is
noreply@yourdomain.com, thennoreply@yourdomain.comis the only address you can send "from" with those credentials. Mismatched From/Username sends are rejected.One SMTP account per sender address. If you need to send from multiple addresses (e.g.,
noreply@andsupport@), generate separate SMTP accounts for each in Maileroo, then choose one when configuring Yurbi. (Yurbi holds one SMTP configuration at a time.)Generate credentials per domain. In Maileroo, go to Domains → [your domain] → SMTP Accounts → New Account, choose an alias, and Maileroo generates the password. Copy it immediately.
Domain must be verified in Maileroo (DKIM, SPF) before sends succeed.
Free tier: 3,000 emails per month.
Generic / Other Providers
For SMTP services not listed above (corporate Exchange or Postfix servers, hosting-provider SMTP relays, providers like SMTP2GO, Resend, Mailtrap, Zoho Mail, Mandrill, etc.), the configuration shape is consistent:
Field | Typical Value |
|---|---|
SMTP Host | The hostname your provider gives you |
SMTP Port | Almost always |
Use Transport Layer Security TLS | ON unless your provider explicitly says otherwise |
SMTP From address | A sender address your provider authorizes |
Use SMTP Security | ON (Yurbi uses authenticated SMTP; anonymous relays are not supported here) |
Username | The provider's SMTP credentials — sometimes your account email, sometimes a generated SMTP-only identifier |
Password | The provider's SMTP password — often distinct from your account login |
Two general patterns to watch for:
API key vs SMTP credentials. Many transactional providers (Mailgun, Brevo, SendGrid) keep these separate. The API key is for the HTTP API; the SMTP relay needs a different value. Use whichever your provider labels as "SMTP credentials" or "SMTP key."
Sender authentication. Almost every modern provider requires that the From address be verified or authenticated (typically via SPF/DKIM) before they'll accept sends. Set this up in the provider's dashboard before configuring SMTP here.
Yurbi uses the SMTP protocol exclusively for this integration. If your provider offers both an HTTP API and an SMTP relay, you want the SMTP relay credentials — Yurbi does not currently support API-based mail providers without an SMTP gateway.
And there you have it! You now know how to configure your mail settings!